| You may get .psd* file with watermarked stock images layers(!) "Milk monster and chocolate splash" Photoshop tutorial by making a payment. Put the tutorial title in "Add special instructions to seller" line of PayPal and it will be sent to you shortly. |
 |
Used images:
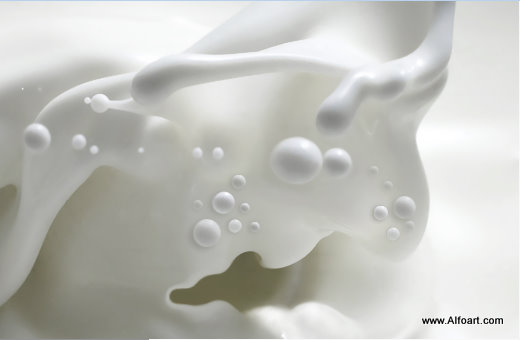
Milk [link]
Chocolate [link]
Bubbles [link] [link]
Eyes [link]
Water drop[link] - Creative Commons Attribution-Share Alike 2.5 Generic
Teeth [link]
Help files [link]
![[link]](https://commons.wikimedia.org/wiki/File:Dripping-faucet-1.jpg)
![[link]](images/milk-splashes/help.png)
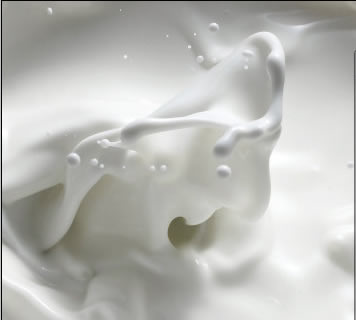
- Open milk texture image in Photoshop
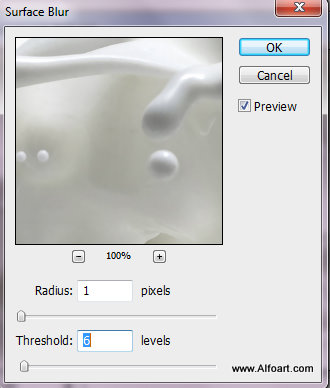
- The original image has some noise, in order to improve milk texture, apply Filter > Blur > Surface Blur with following settings:
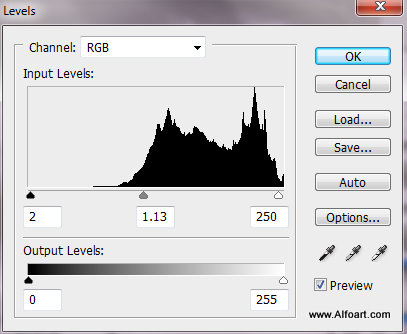
- Make the picture little bit lighter by playing with Levels settings.
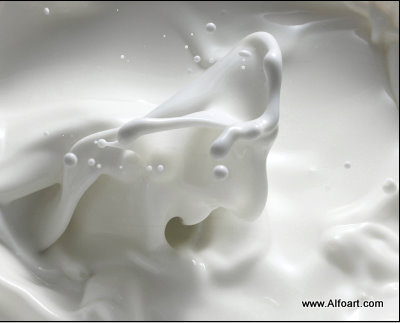
- This is result of our changes.
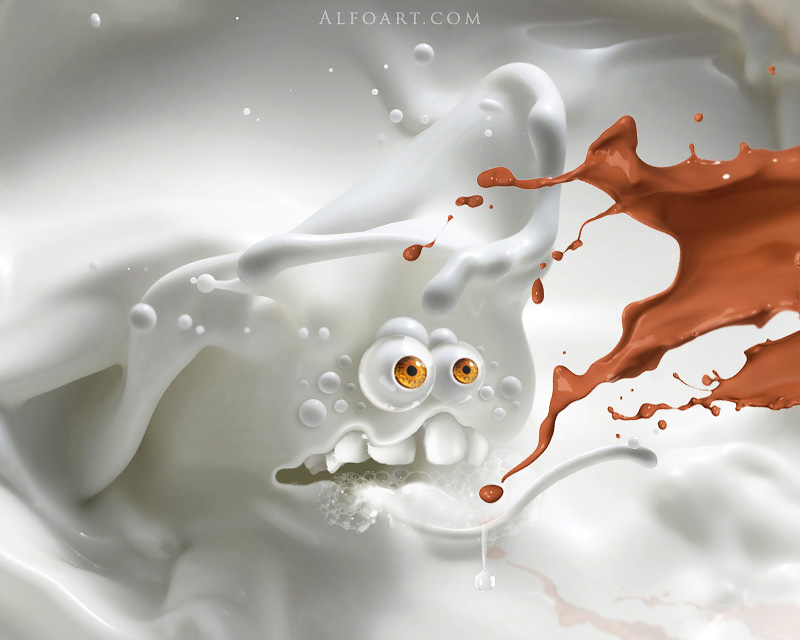
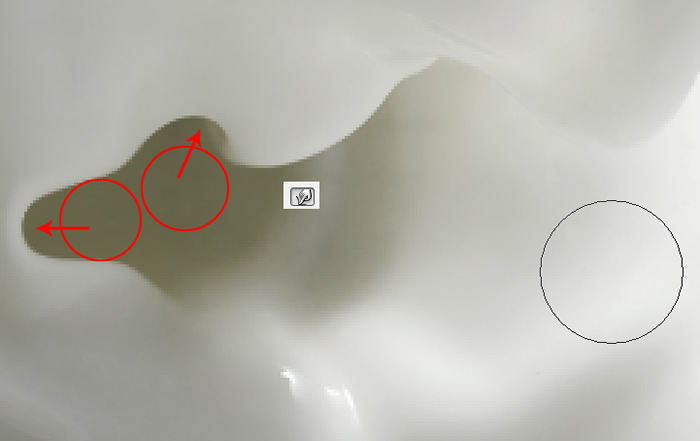
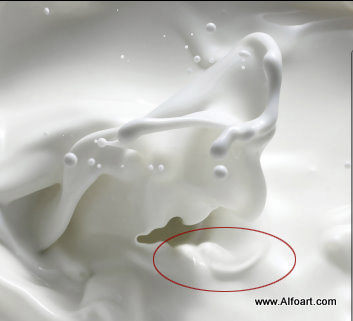
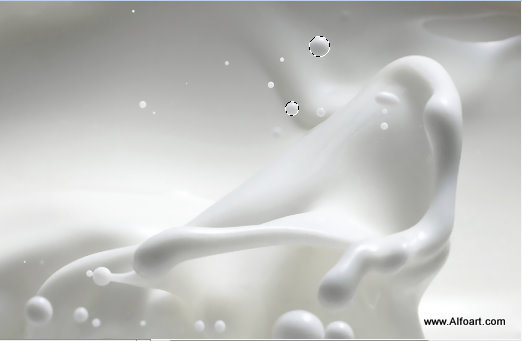
- To create monster character, we will use milk surface specifics. The central dark spot looks like mouth silhouette. Correct this shape with Liquify filter, Filter > Liquify. Choose Forward Warp Tool with brush size like on the screen shot and warp dark spot contour.
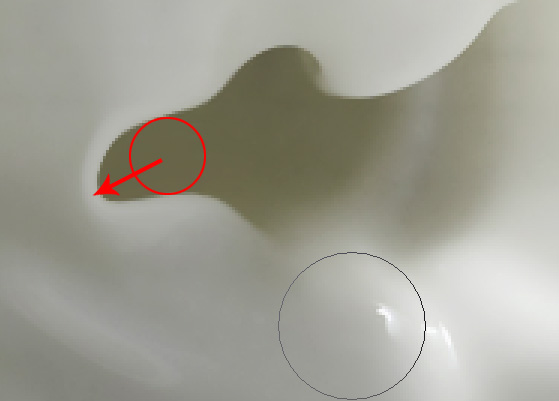
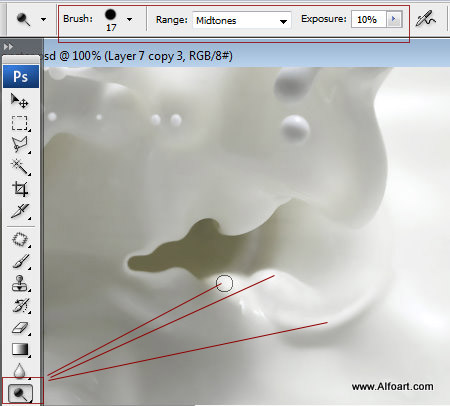
- To create tongue, use
 Burn and
  Dodge tools. Just lighten or darken areas next to the "mouth" of the milk texture.
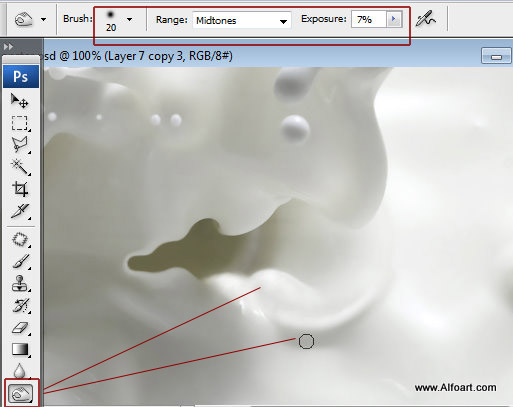
- Apply Dodge Tool to the convex areas of the "tongue".
- And Burn Tool to the shadow areas.
- Choose Elliptical Marquee Tool and select one of the milk drop. Copy selected drop and paste it into a new layer several times. Move the milk circles down and transform them like on the picture, to create cheek texture. Change Opacity settings for the far right side bubbles, make them translucent with Opacity 50-80%. Also, duplicate large milk drop above the mouth, make it larger using Free Transformation and move it a bit left.
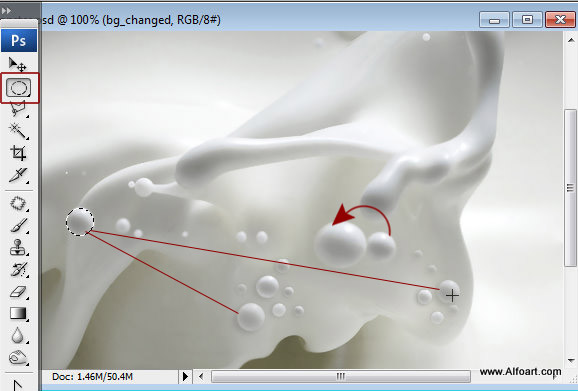
- You may copy and paste to cheeks area different milk drops, to get various bubbles texture.
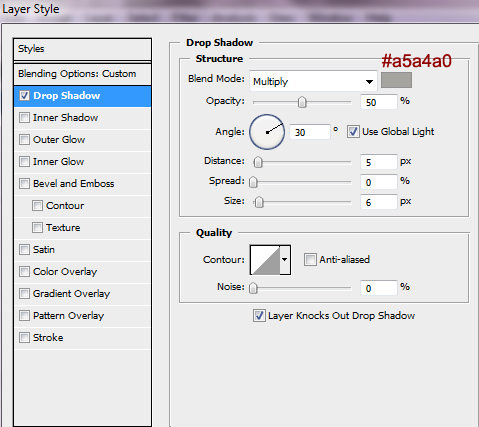
- Add Drop Shadow effect layer style effect to the copied milk circles.
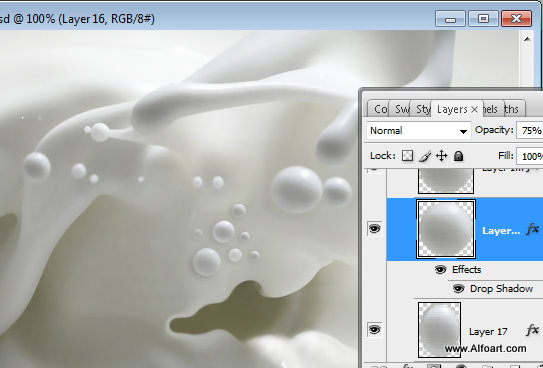
- For the small circles use Distance parameter around 1-2px.
- You should get something like on the image below: