


- You may download texture brush here.
- Apply following settings to textured layer created with the brush.

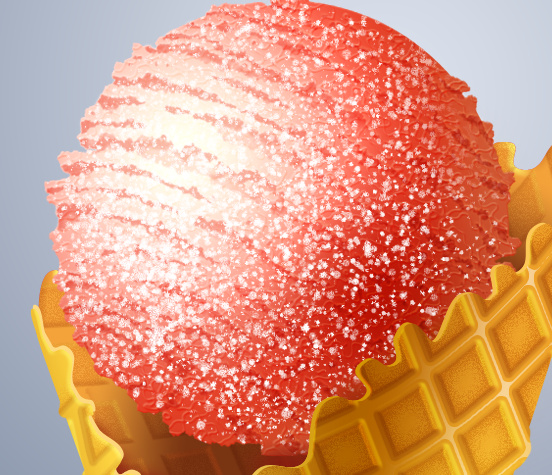
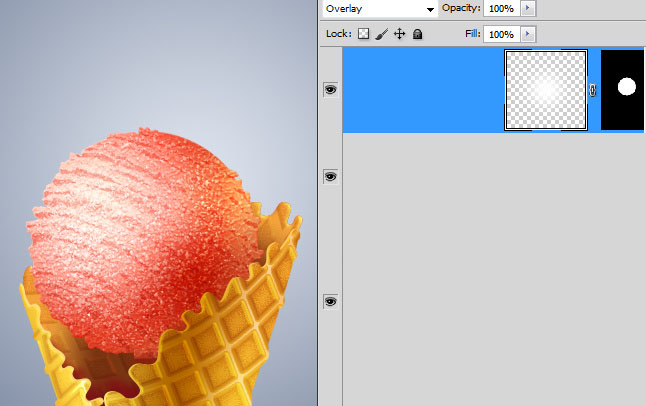
- Add Light spot using large soft brush in a new layer. Load selection for the ice ball before touching layer with the brush.
- Apply Overlay Blending Mode to the spot layer.
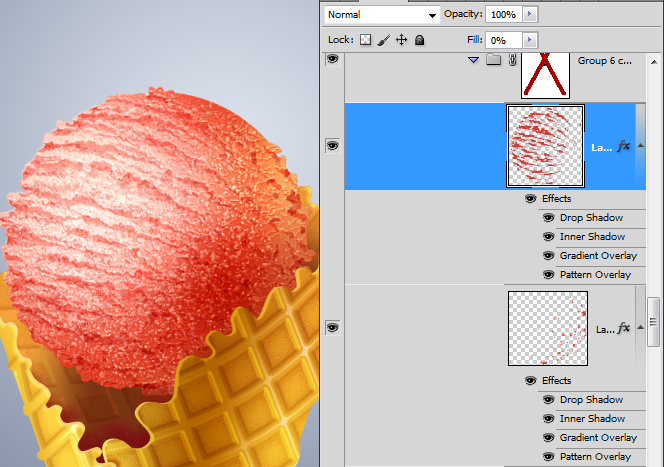
- Increase Ice ball texture with some amount of new spots. You may use the same brush as in the
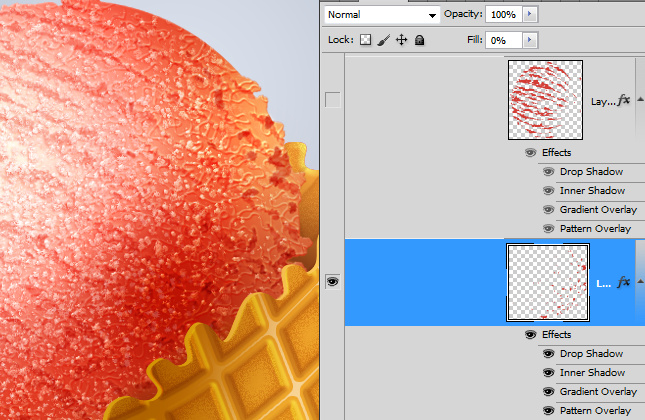
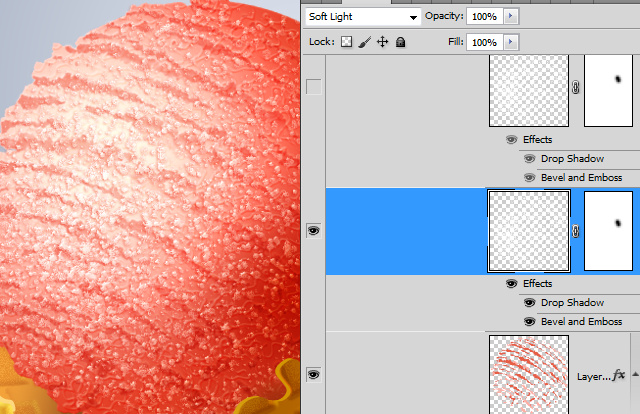
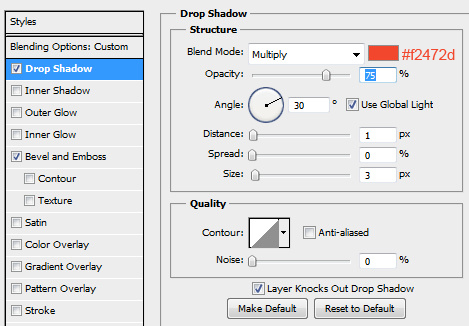
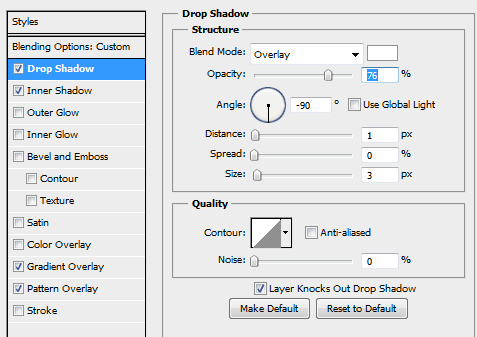
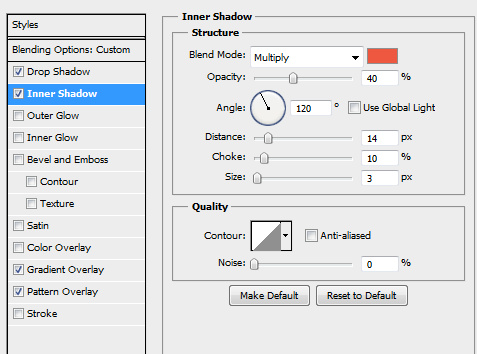
- Add layer style effects to this layer.
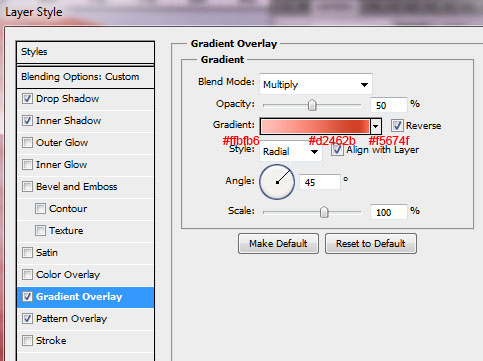
- Use "Wrinkles" preset Photoshop pattern.

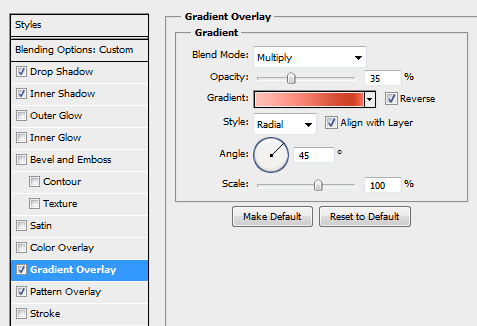
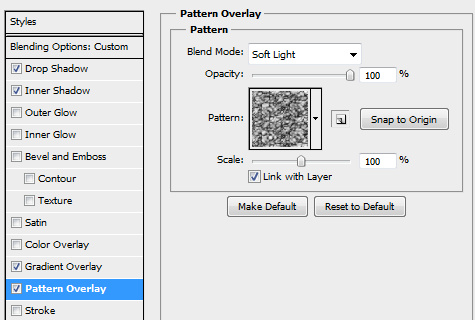
- You may increase ice cream texture with the new layer of ragged lines with the layer style effects below.


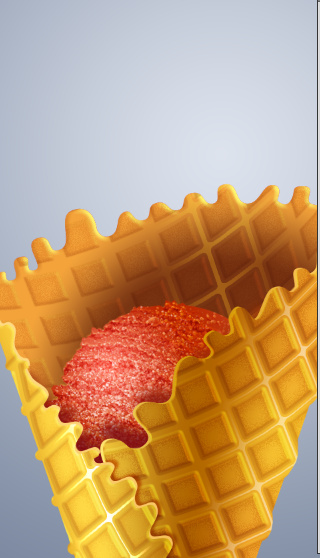
- After all ice cream layers are done, group them and duplicate the group.
- Make one group of layers invisible, move second one down a bit, use free transformation to make ice ball smaller.
- Place group with the small ice ball below front sides of cone and also below sides shadow layer.
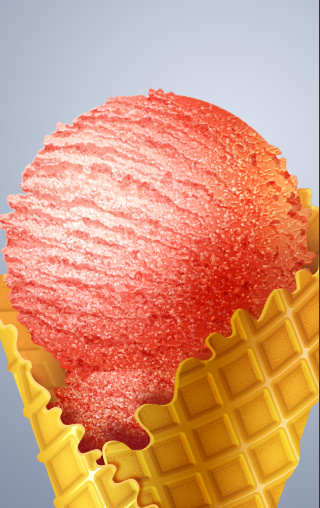
- Make visible original group of ice ball layers.

- Flip it vertically and draw 1px white line.
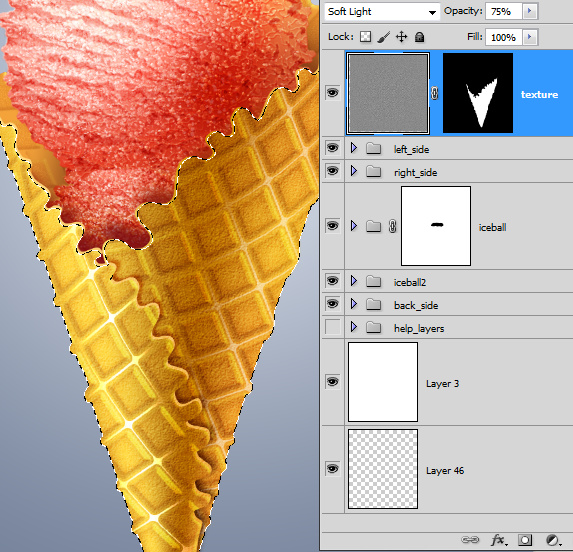
- You may also add texture to the cone shape, create texture layer with the preset "Stone" pattern 80 x 80 px and apply Soft Light layer effect.
- Load selection of the front cone sides and apply Layer Mask to the patterned layer.
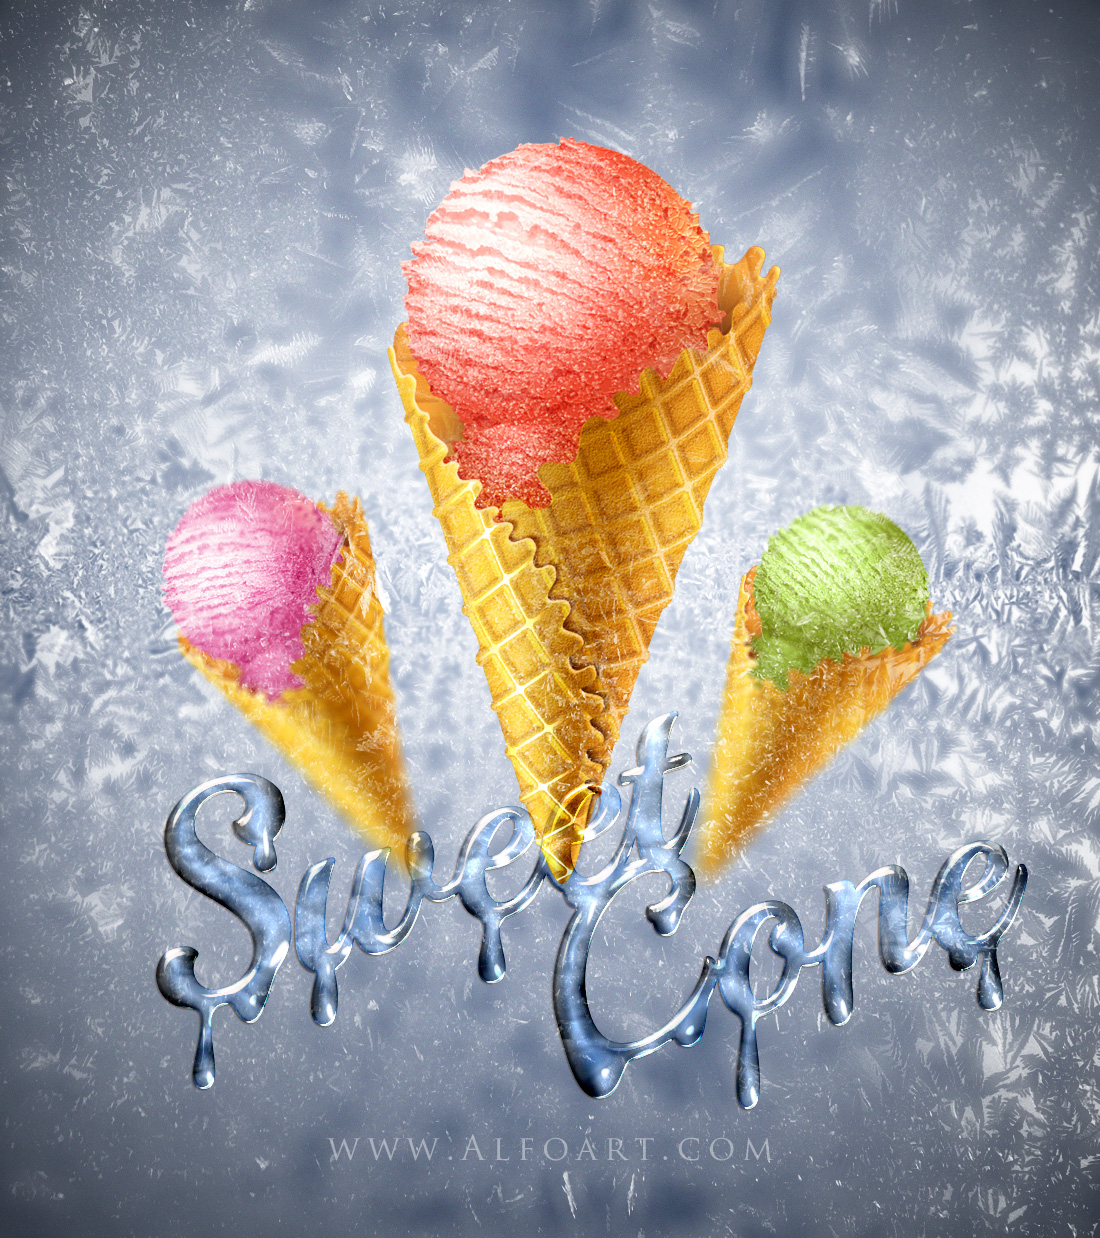
- You may find other helpful adjustments and effects for background inside the psd files from the first page of tutorial.
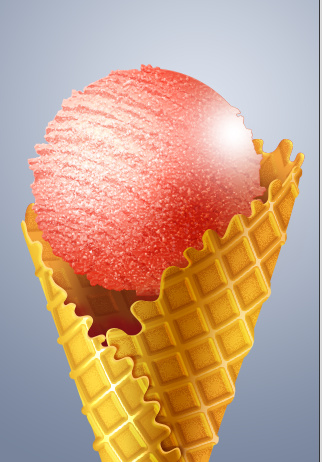
And here is the result!