Click to enlarge the image.

Download PSD file
Download waffle pattern
Texture Brush
![]() License and Attribution:This file is licensed under the Creative Commons license. Attribution is required and always appreciated. Thanks.
License and Attribution:This file is licensed under the Creative Commons license. Attribution is required and always appreciated. Thanks.
Used images: Ice background
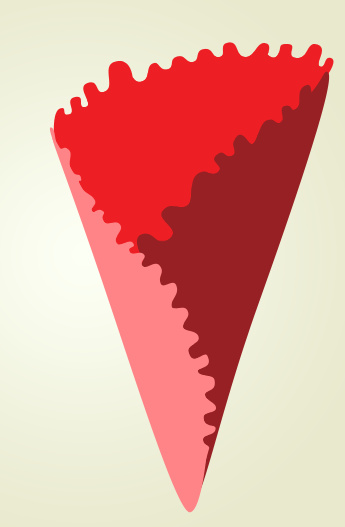
- Create waffle cone sides with Pen Tool

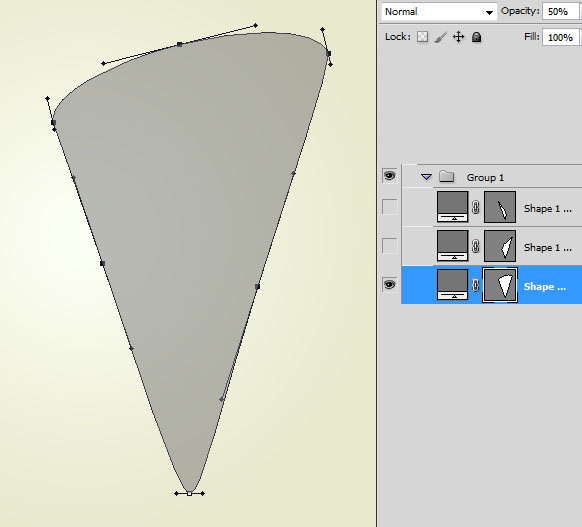
- Create each shape in a separate layer.
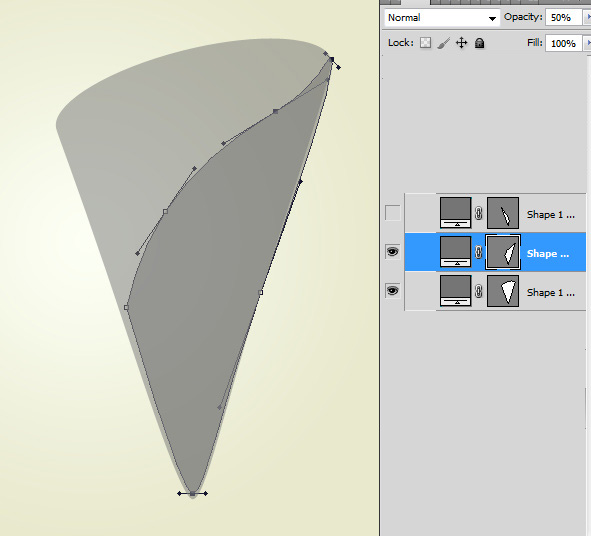
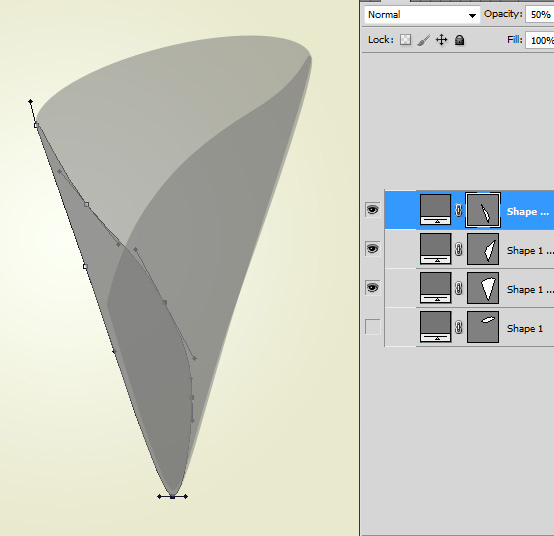
- Rasterize each layer, you may apply different colors to each layer to see shape of cone sides.

- Create wavy edges with Pan Tool or draw it with round brush.
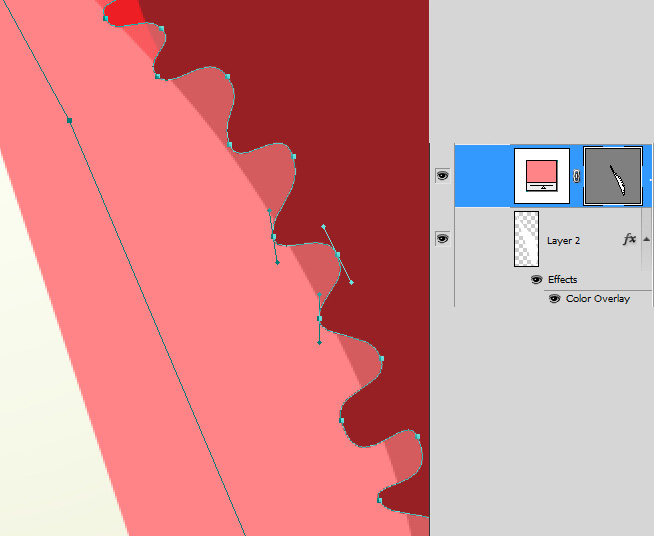
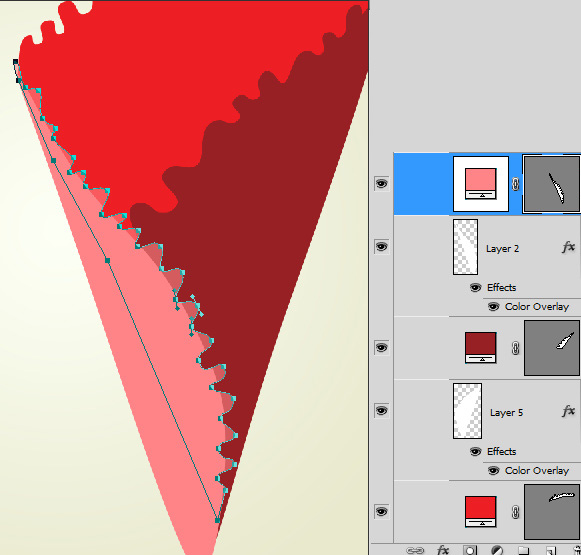
- Try to get something like this:
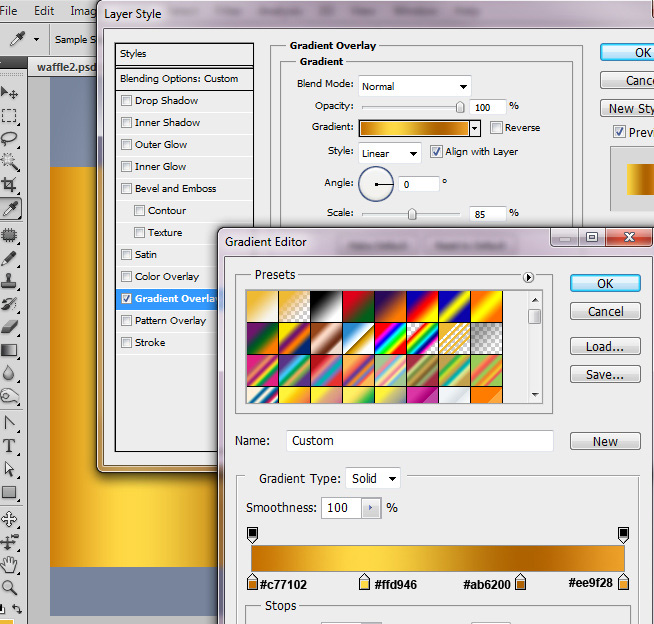
- Create a rectangular shape in a new layer. Use width and height of rectangular should cover whole cone.
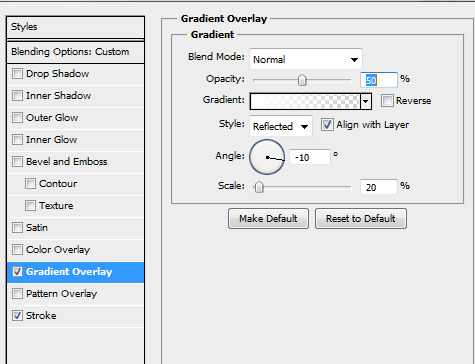
- Apply linear gradient to created shape:
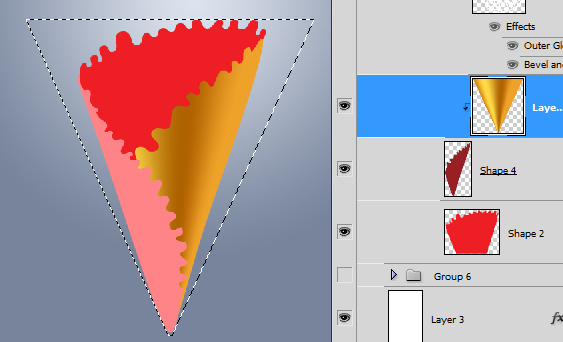
- I corrected marked areas on the screen shot below with the regular paint Brush Tool and green shades.

- Use golden gradient as an adjustment layer for the right side corner shape. Place gradient layer above the shape, right click, choose "Create Clipping Mask"
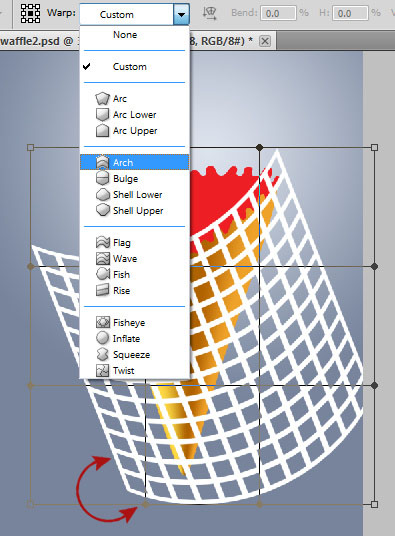
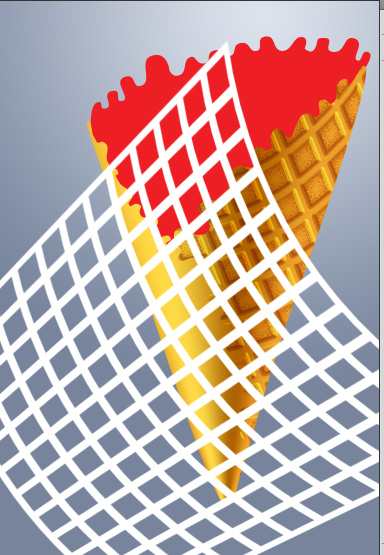
- Create a new large rectangular. Apply Fill = 0%for this layer and apply Waffle pattern to it. You may download pattern here. Merge pattern layer with the empty layer.
- Transform created shape just like on the screen shot below. First of all apply free Transformation to make white grid smaller and rotate it on 35/40° . Then apply "Arch" Warp transformation.
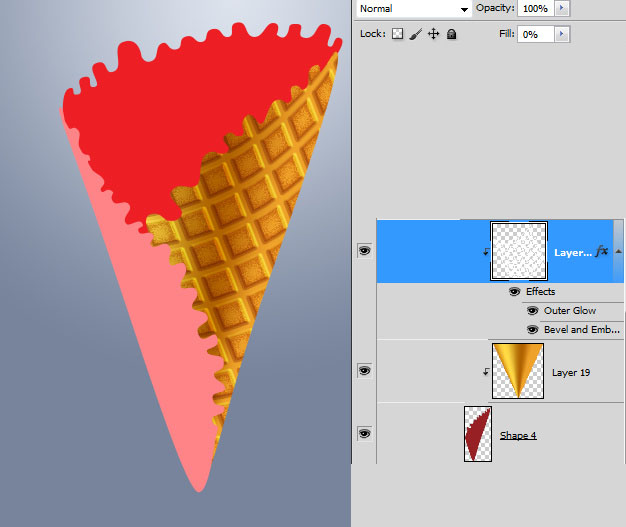
- Create Clipping Mask from this layer using the same way as in example with gradient layer.
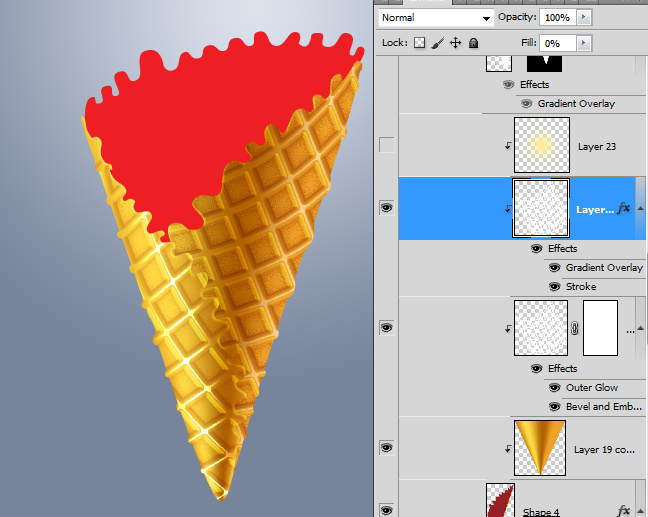
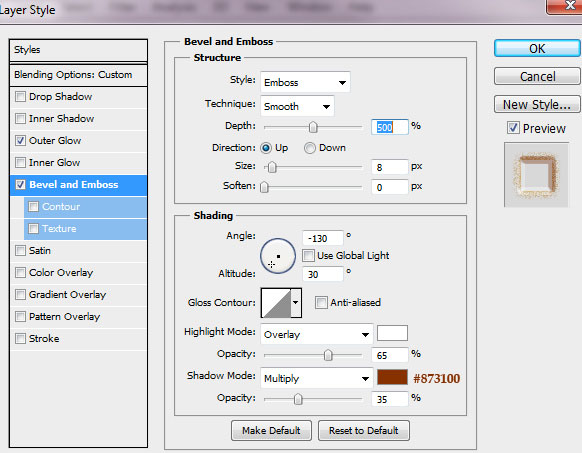
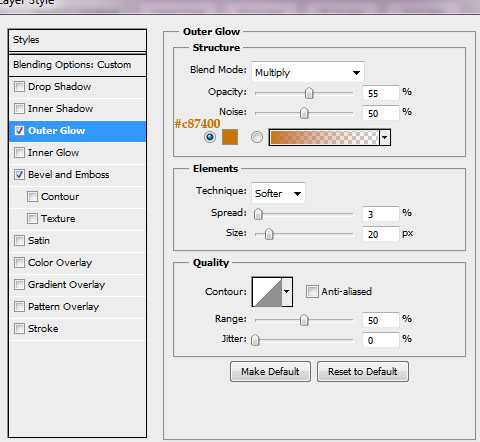
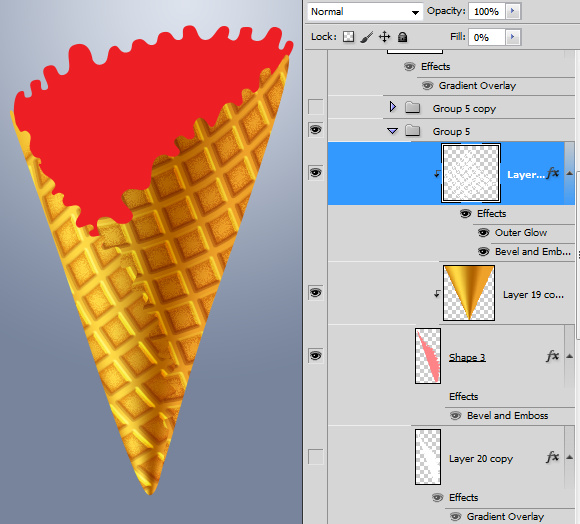
- Apply Outer Glow and Bevel and Emboss effects , use settings like on the screen shots below.
- Repeat previous actions to apply waffle texture to the left cone shape.
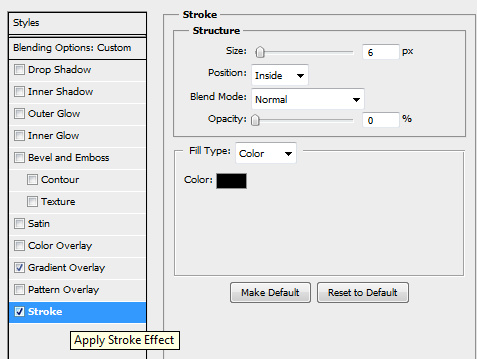
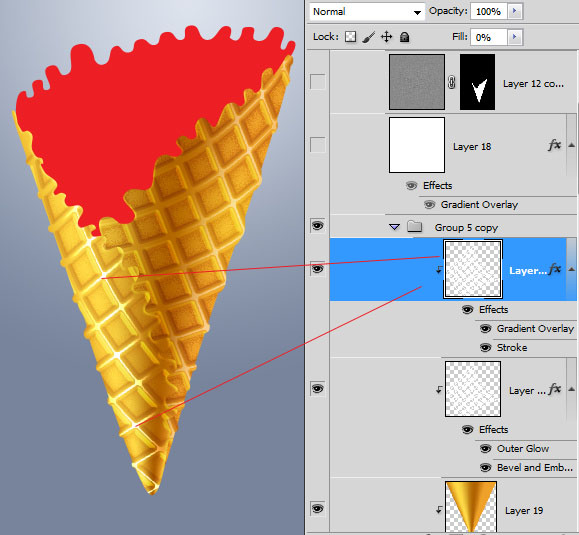
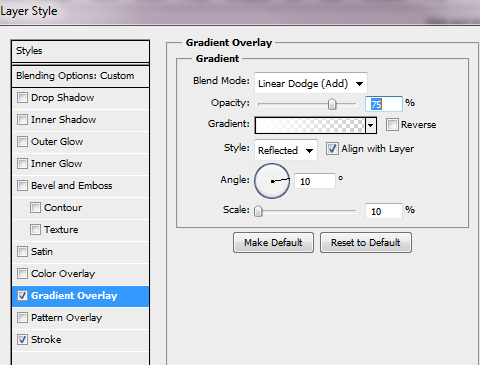
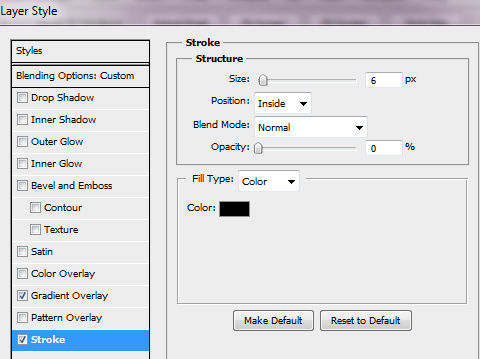
- In order to create light reflection, duplicate waffle texture clipping mask layer and apply following settings to it.
- Apply similar effect to the right part, but less shiny.