| You may get .psd* file of "Silver button" Photoshop tutorial by making a payment. Put the tutorial title in "Add special instructions to seller" line of PayPal and it will be sent to you shortly. |
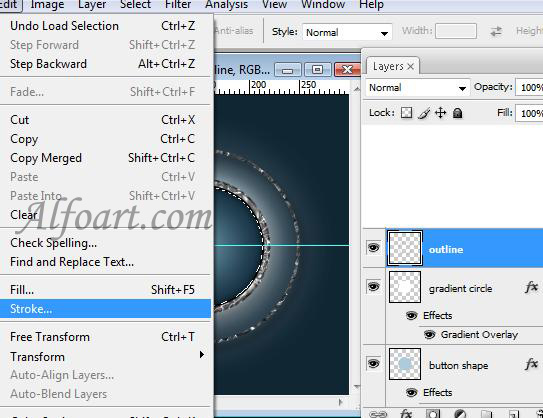
- Ctrl + Click on the layer with gradient circle. (Load selection).
- With the selection still active create a new layer called "outline" and add a black stroke of 2 pixels inside (Edit > Stroke)
- Filter > Blur > Gaussian Blur (3).
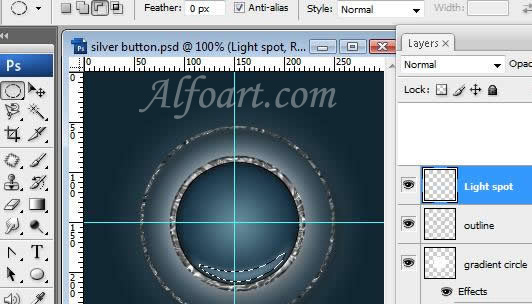
- Create circle selection using Ellipse Marquee Tool.
- In the options bar, select Subtract From Selection Area button and cut out top part of the circle.
- Fill it with light color.
- Choose Filter > Blur > Gaussian Blur (7).
- Ctrl + Click on the layer with gradient circle.
- Select > Modify > Contract (3).
- Create a new layer.
- Fill selection with linear white/transparent gradient.
- Adjust Opacity of the layer - 13%.

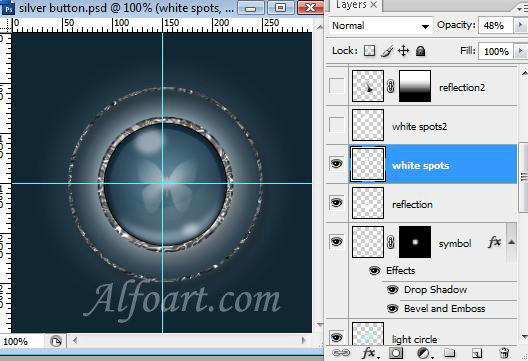
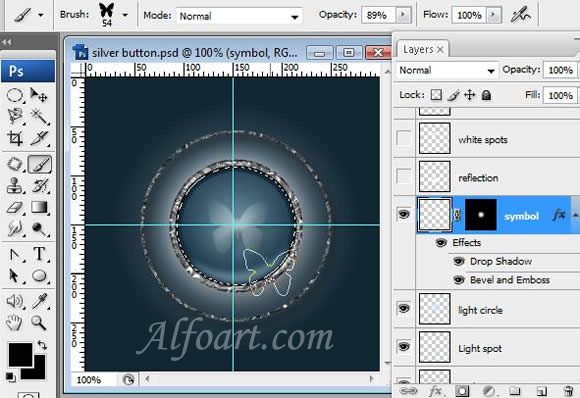
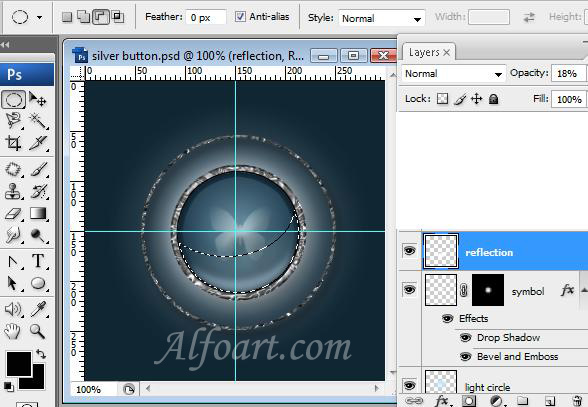
- Add any symbol or letters into a new layer. I used butterfly brush (from assorted brushes) and Vector Mask with radial (black/white) gradient.
- Create a new layer.
- Create circle selection using Ellipse Marquee Tool.
- In the options bar, select Subtract From Selection Area button and cut out top part of a circle.
- Fill it with light color. Opacity 18%.
- Create a new layer.
- Draw two white circles, fill them with white color.
- Choose Filter > Blur > Gaussian Blur (8).