Learn how to create realistic sea foam text effect and how to apply sea/ocean foam pattern to the text shape on the beach sand. You may get .psd* file of "Sea Foam Text Effect" Photoshop tutorial by making a payment . Put the tutorial title in "Add special instructions to seller" line of PayPal and it will be sent to you shortly.
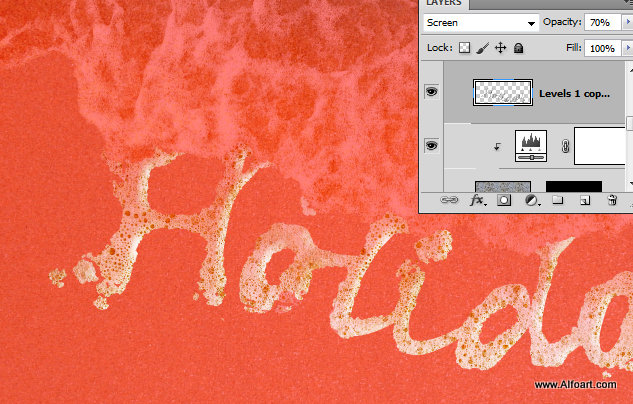
- Choose soft round and translucent(~30%) Eraser Tool and erase left side of black and white foam layer. This action will help to create volume effect.
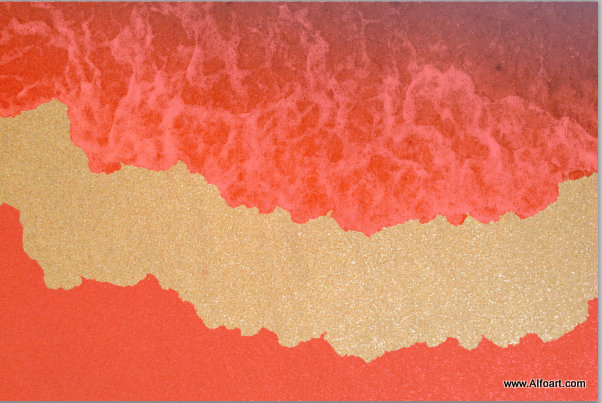
- You may see processed areas(red shade) on screen shot below:
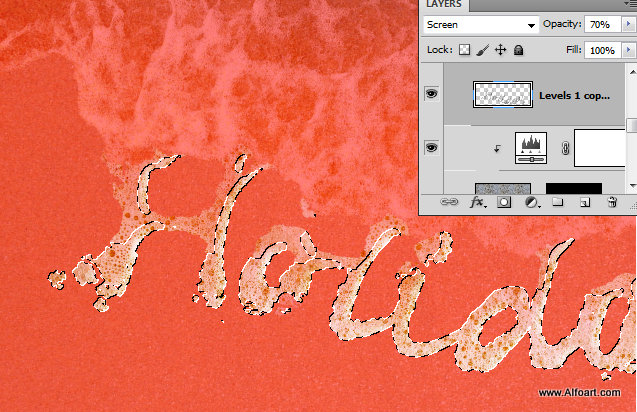
- Make Foam text layers invisible for a while.
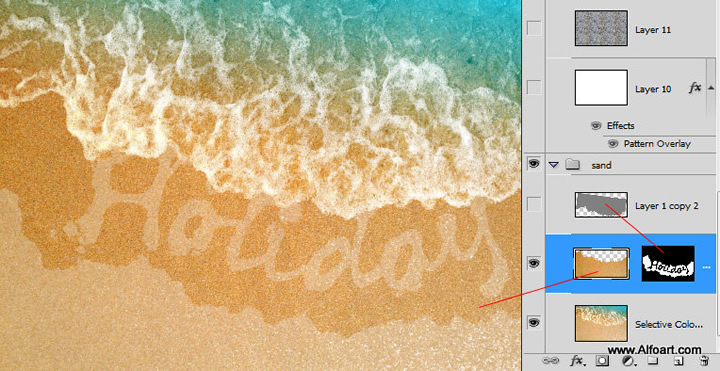
- In order to create wet sand effect, select sand area just like on the screen shot below.
- In order to select top contour you may use wave shape file. Insert this file to the Photoshop document, align it above original wave. Ctrl + Click wave contour thumbnail. Then invert selection, go to Select > Invert.
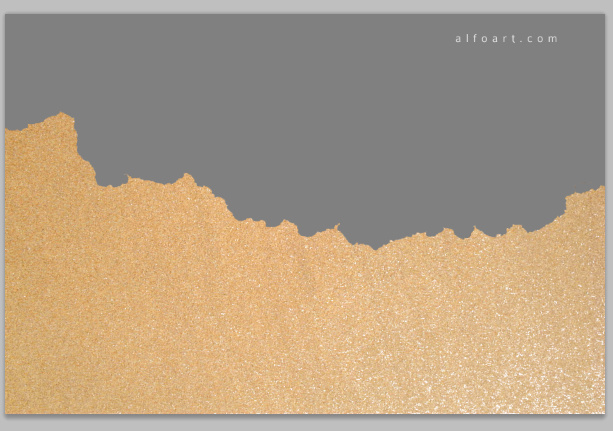
- Subtract bottom part of sand from selection. You may use Lasso Tool. Bottom contour of selected sand area shouldn't be very smooth.
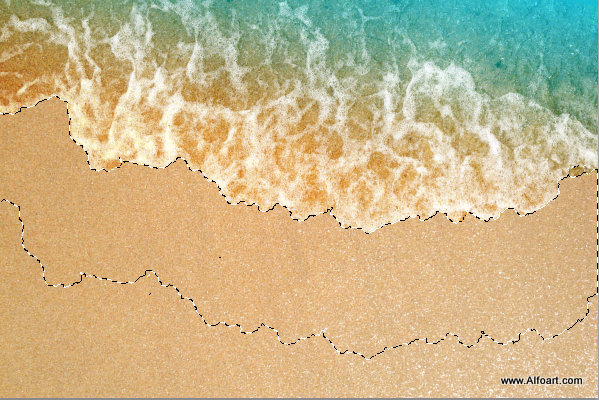
- Copy selected area of the sand.
- Paste it into a new layer above the original "sand and wave layer".
- Go to Image > Auto Contrast. Then load selection for foam text layer and remove selected text area from the wet sand layer.
- Make foam text layers visible again.
- Create a new layer above all created layers.
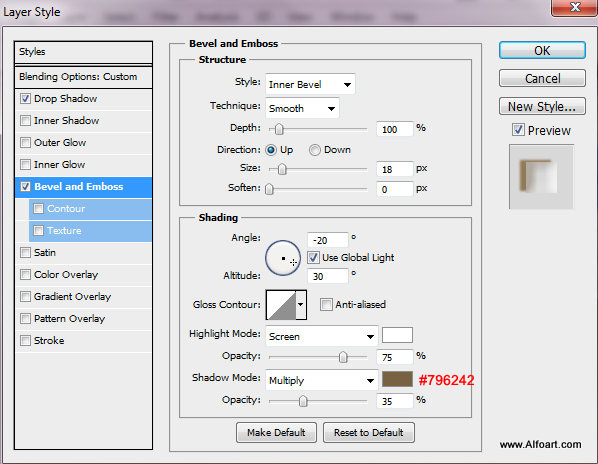
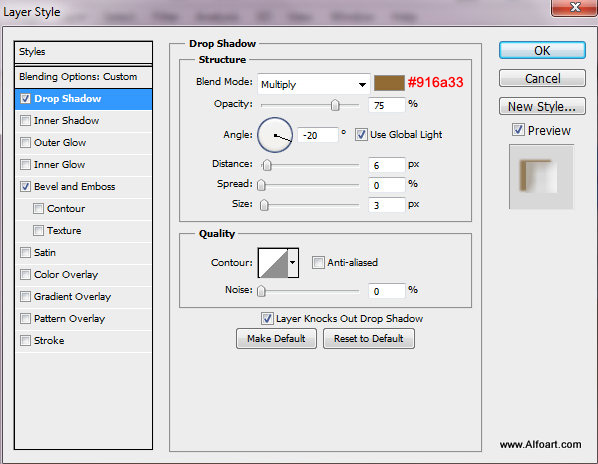
- Load selection for the wave contour and text, fill selection with any color in a new layer, adjust Fill = 0% and apply layer style effects.


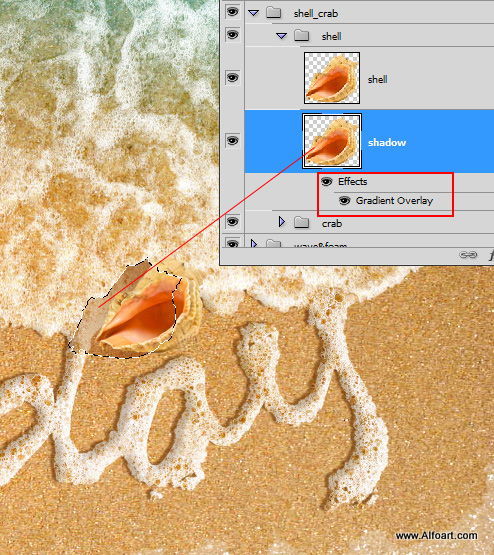
- Insert Shell image, erase white background.
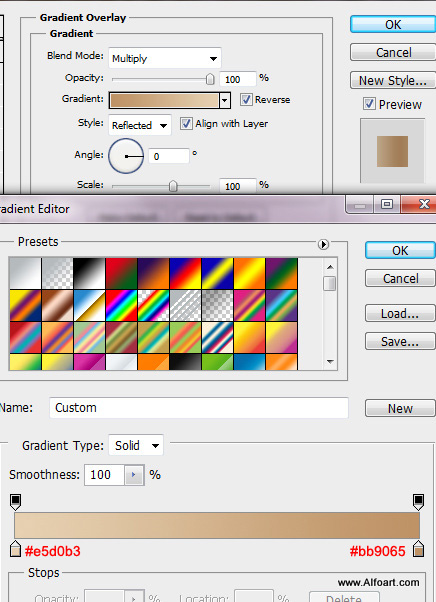
- Duplicate shell layer. Apply to the bottom shell layer Fill = 0% and Gradient Overlay effect. In order to create shadow effect, move this shape left and down a bit. Do the same actins for the crab image.
Here is the result!