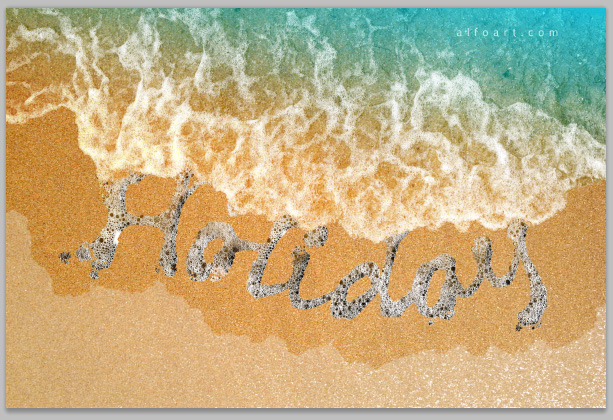
Learn how to create realistic sea foam text effect and how to apply sea/ocean foam pattern to the text shape on the beach sand. You may get .psd* file of "Sea Foam Text Effect" Photoshop tutorial by making a payment . Put the tutorial title in "Add special instructions to seller" line of PayPal and it will be sent to you shortly.
Click to see large image:
Used images:
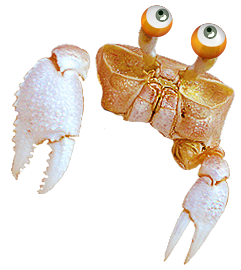
Help files:
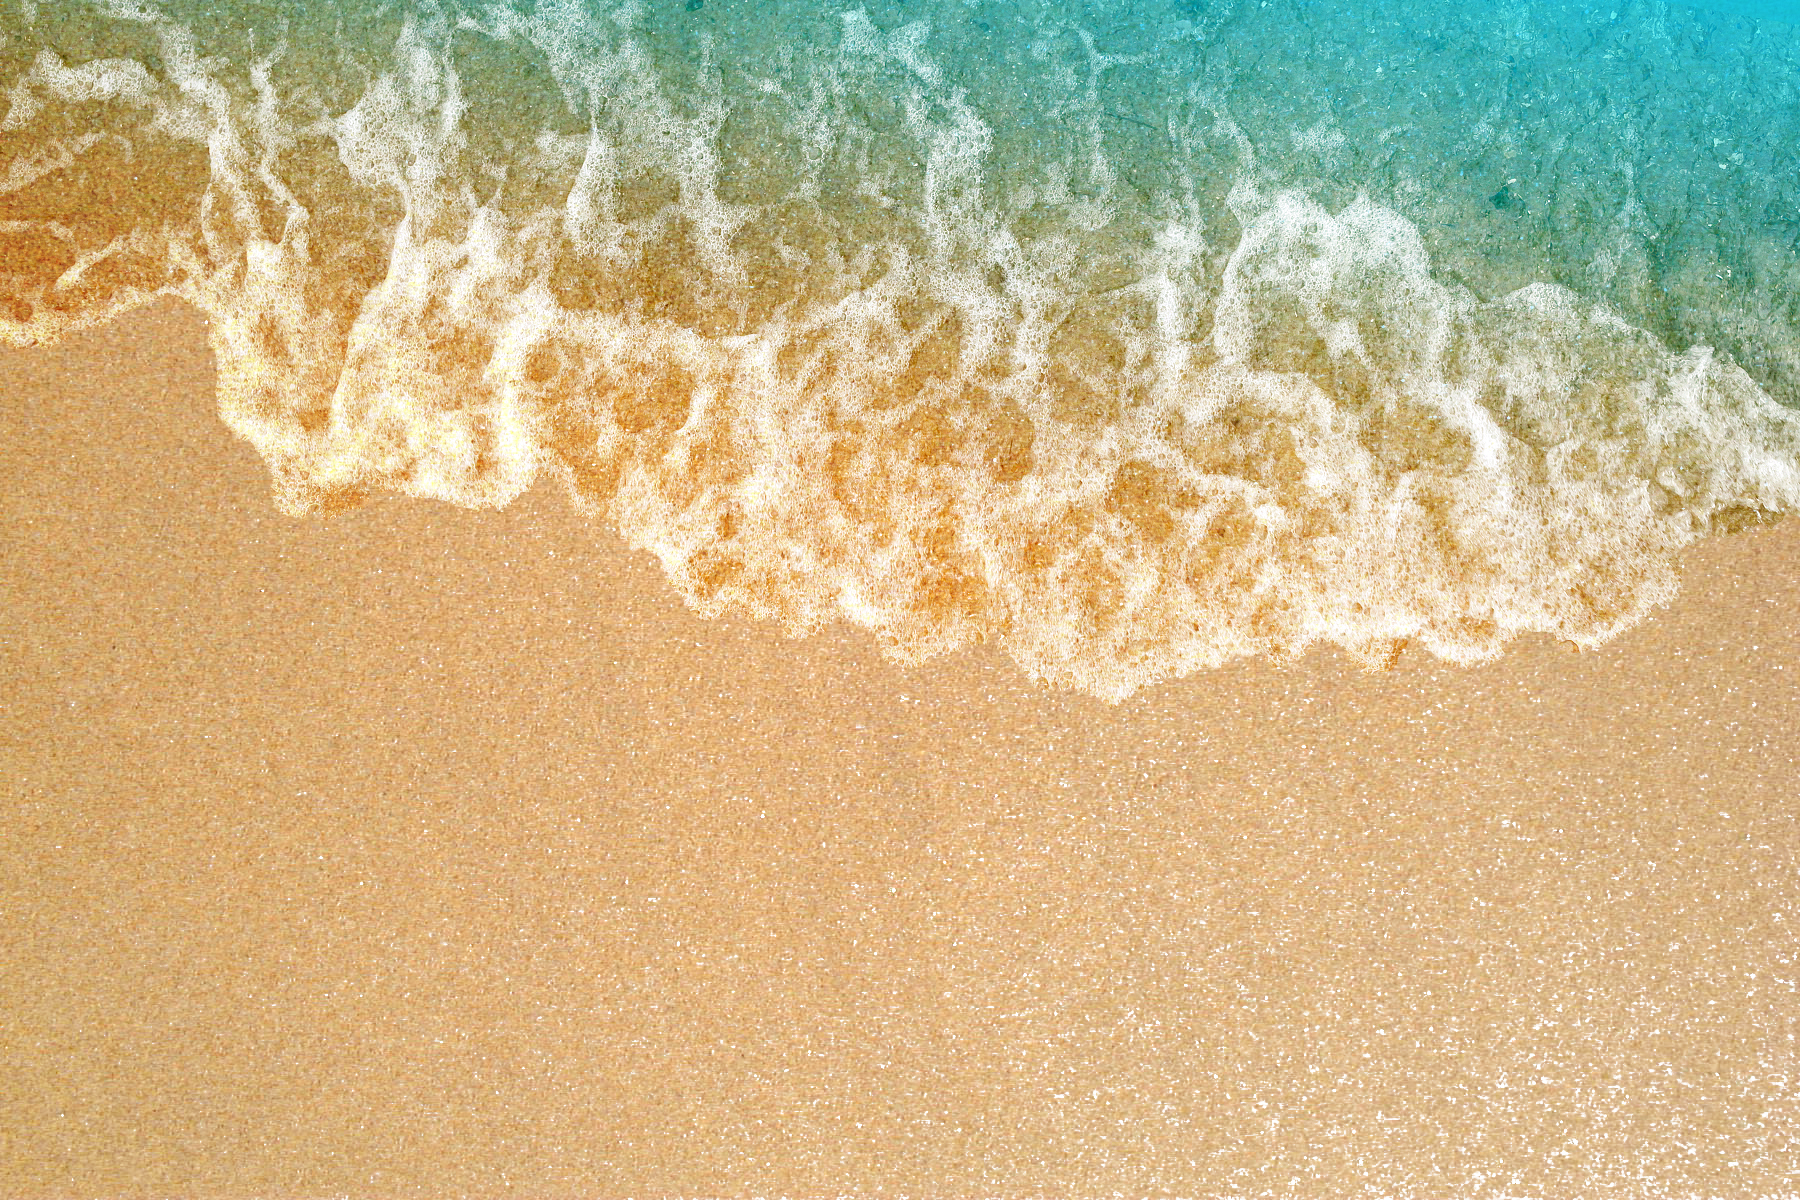
- Beach sand and wave background
- Wave contour shape
- Foam pattern or patterned image
- Foam contour brush
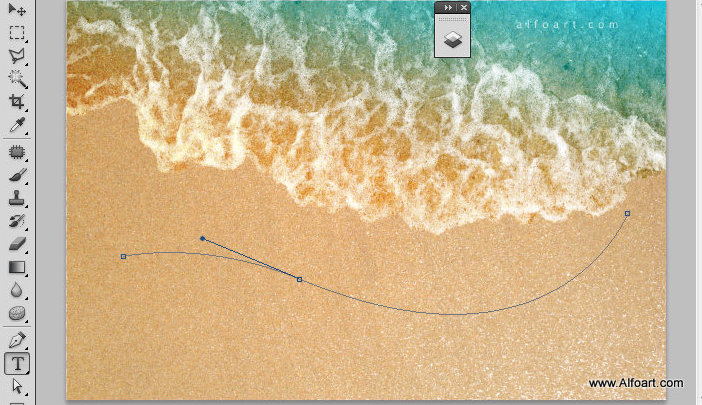
- Download and open "Beach" background image.
.jpg)
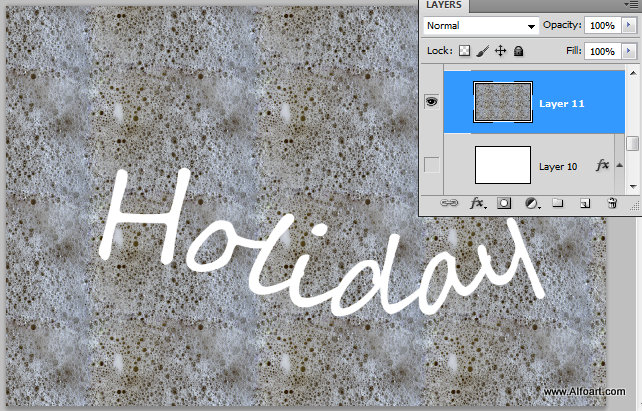
- Create wavy path with the Pen Tool and use Convert Point Tool to make smooth curve for the center Anchor Point.
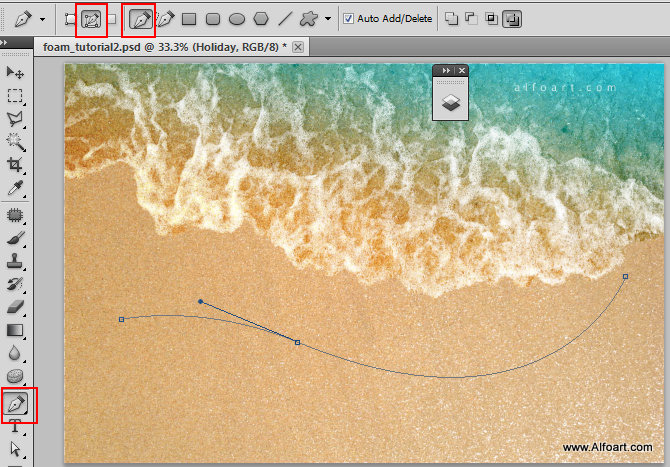
- Then choose Type Tool, click with the tool next to path area and type text with any smooth and simple handwriting style font, I used Segoe Script.
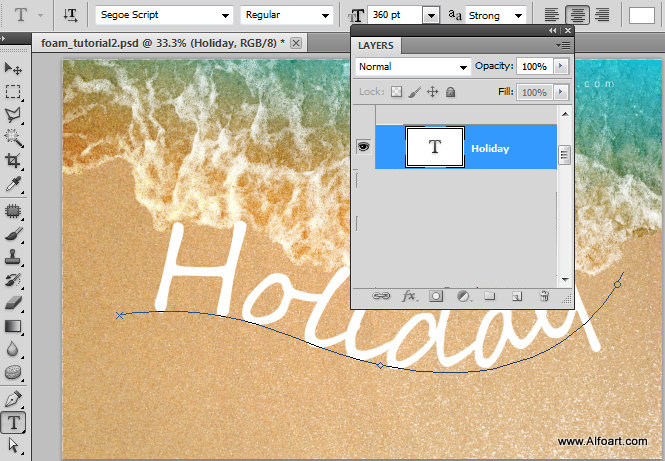
- Correct text arrangement on the path with the Path Selection Tool. Read more about path text effects here.
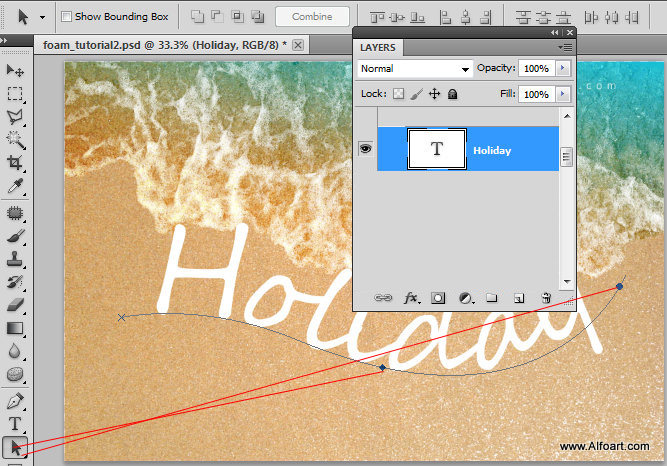
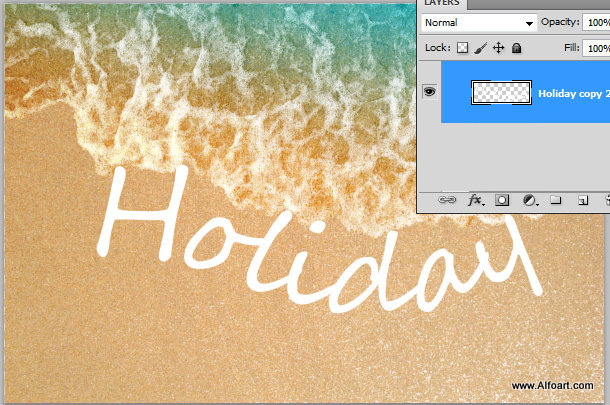
- You may rasterize the text layer. Right click layer in Layers Palette, choose "Rasterize Layer".
- Insert foam texture image.
- If you would like to create foam textured layer by yourself, apply pattern effect to the new layer, play with "Scale" parameter. For the beach background image size(1800 X 1200px) use "scale" - 25%.
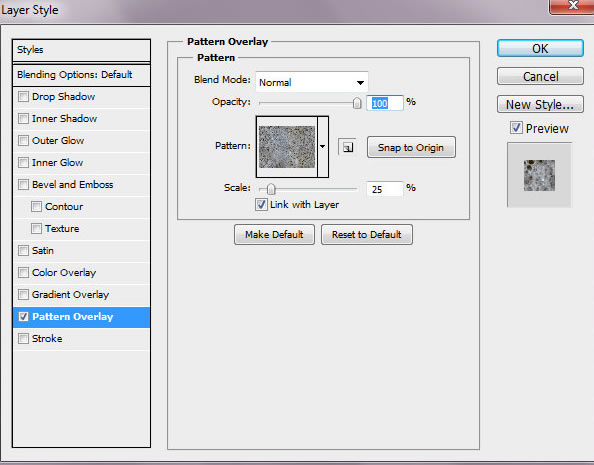
- Merge patterned layer with the new empty layer to realize pattern Overlay layer style effect.
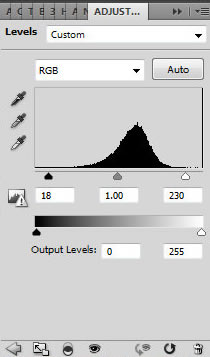
- Apply Image > Adjustments > Auto Contrast adjustment to the foam layer.
- Adjust Levels to make white bubbles brighter and shades darker. Image > Adjustments > Levels(move white and black markers to center a bit.
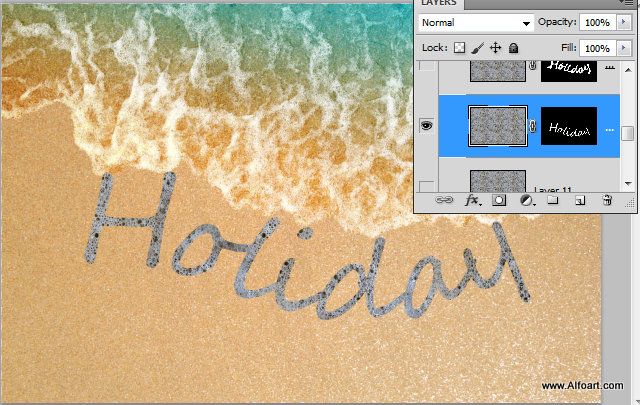
- Load selection for the text shape layer.
- Keep selection, then add Layer Mask to the foam layer. Now you can make white text layer invisible or delete it. You should get foam textured text layer.
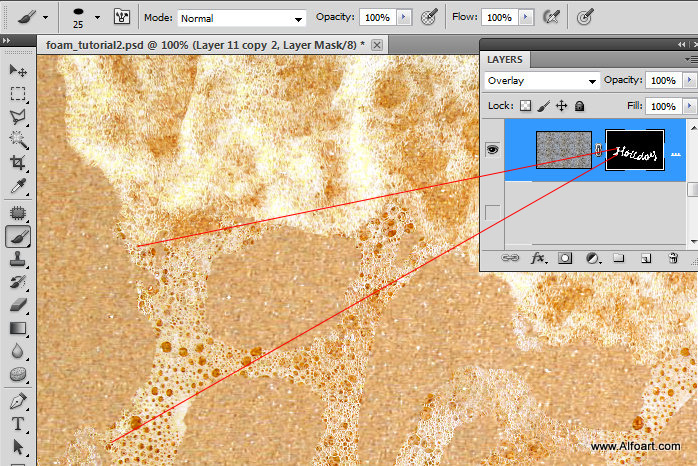
- Download "foam edge" brush, play with brush size settings and create ragged shape contour around the foam letters in the Layer Mask.

- Apply Overlay Blending Mode to the foam text layer.
- Here is the closer view of result after applying ragged contour white brush to the foam text layer in the Mask thumbnail. You can make letters thicker and change the shape to make them more irregular.
- Here is masked foam text layer with the corrected shape.
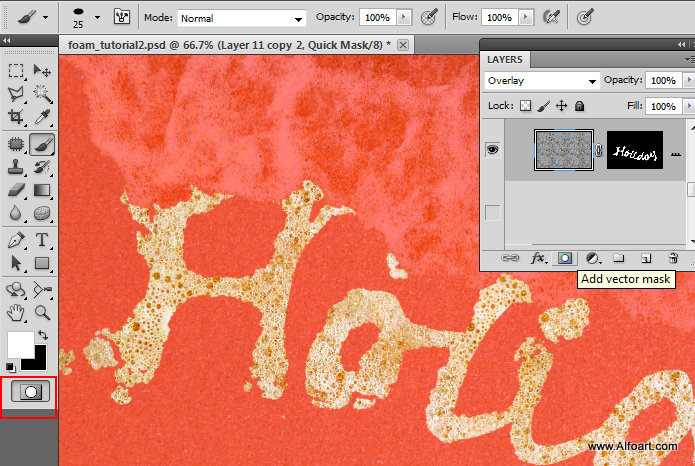
- In order to make foam brighter and sharp, load selection for the new text shape - Ctrl + click foam text Layer Mask thumbnail.
- Copy selected area and paste it into a new layer above previous foam text layer.
- Go to Image > Adjustments > Black and White(High Contrast Blue Filter), then Image > Auto Contrast.
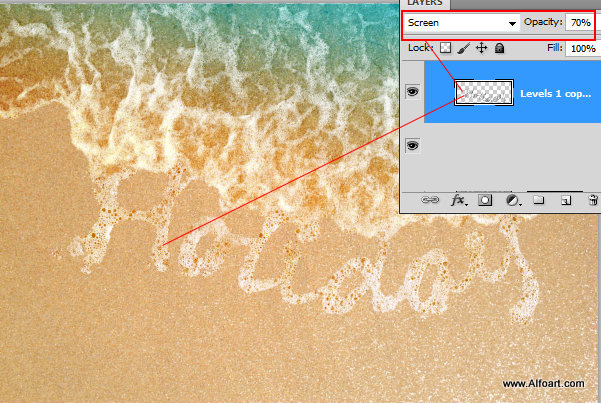
- Adjust Levels: Image > Adjustments > Levels(move white and black markers to center a bit).
- Apply Screen Blending Mode to the black and white foam layer, play with Opacity settings.