| You may get .psd* file of "Liminous car" Photoshop tutorial by making a payment. Put the tutorial title in "Add special instructions to seller" line of PayPal and it will be sent to you shortly. |
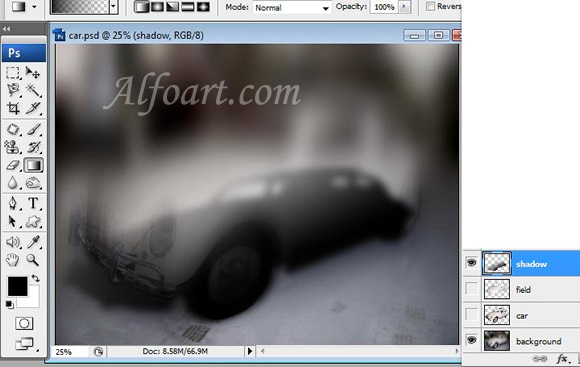
- Create a new layer (choose Multiply Blending Mode for this layer), fill selection with linear gradient (black/transparent).
- Transform the shadow using Free Transform and Distort transform. (Edit > Free Transform or Transform > Distort).
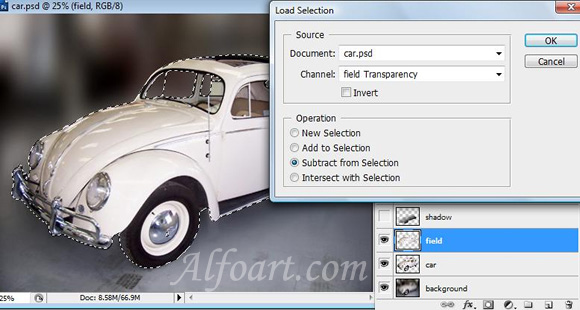
- Return to Car layer, choose Select > Load Selection.
- Go to field layer, choose Select > Load Selection > Subtract from Selection > Click Ok.
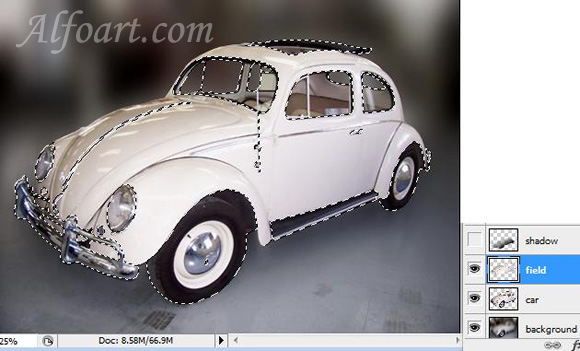
- Create a new layer.
- Fill the wheel's and interior area with bubble's texture using Pattern Stamp Tool.
- Save image with bubbles. Open it in Photoshop, choose Edit > Define Pattern > Click Ok.

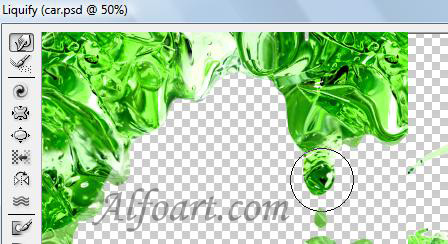
- Correct the bubbles using Liquify Filter.
- Bloat tool
 Moves pixels away from the center of the brush area as you hold down the mouse button or drag.
 - Pucker tool
 Moves pixels toward the center of the brush area as you hold down the mouse button or drag.
 - Choose Lighten Blending Mode for this layer.
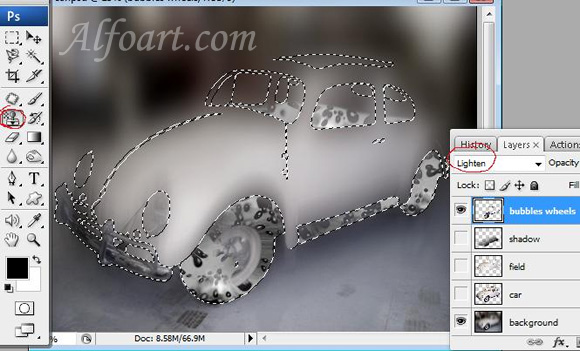
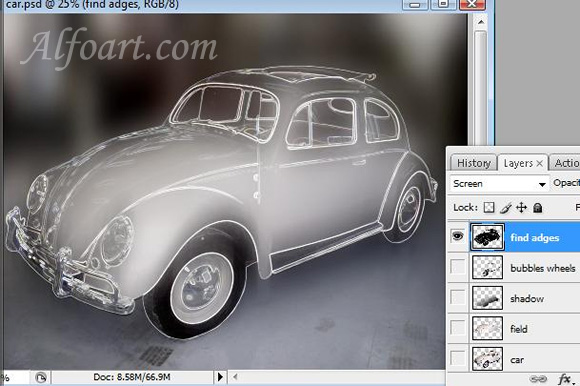
- Load selection for the car layer again.
- Copy and paste it into a new layer.
- Choose Filter > Stylize > Find Edges
- Click Ctrl + I.
- Choose Screen Blending Mode for this layer.
- Now load selection for the field layer.
- Create a new layer, fill it with Green texture, using Pattern Stamp Tool.

- Choose Overlay Blending Mode for this layer.
- Correct this layer in Liquify filter using Forward Warp Tool
 .
.