


| You may get .psd* file of "Cold Beer Glass Illustration" Photoshop tutorial by making a payment. Put the tutorial title in "Add special instructions to seller" line of PayPal and it will be sent to you shortly. |
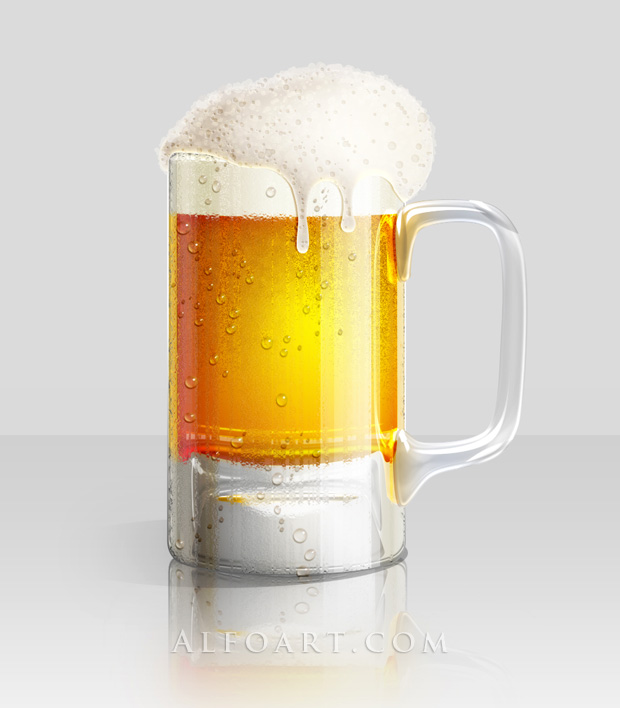
Create realistic glossy Cold Beer Glass
- Download free icons set:
- Cold Beer Glass icons with transparent background. (Please, feel free to use them for private or commercial projects, but do not sell or distribute these icons by itself).
- Download glass shapes set and pattern:
- Glass shapes.
- Pattern.
- Create a new Photoshop document, the size around 1200*1200px, resolution 72px/inch.
- Apply Gradient effect to the background layer.
.jpg)
- Download glass shapes Glass shapes. In order to install shapes, just drag downloaded file from the folder to open Photoshop window. Choose Custom Shape Tool
 from tools palette, open custom shape picker and find glass shapes. The largest glass body(#1 on the screen shot below) shape should be 350*624 px. Open Geometry options and choose fixed size, insert 350px and 624px for the glass body shape.
 - The sizes for other details:
- #2 - 326 * 472px
- #3 - 196 * 455px
- #4 - 286 * 116px
- #5 - 216 * 16px
- #6 - 285 * 111px
- #7 - 405 * 272px
- Create each new shape in a new layer. All adjustments and layer style effect will work correctly for the shapes with sizes above.
.jpg)
- Make all layers except first one invisible temporary.
- Apply following layer style effects to it. The gradient has many color steps, you may download it here: glass body gradient.
.jpg)
.jpg)
.jpg)
.jpg)
- Make visible "liquid inside the glass" shape. Cut out top selected part and paste it into a new layer.(we will use this shape later to create beer foam).
- Apply Gradient Overlay layer style effect to this layer.
.jpg)
.jpg)
- Duplicate this shape first time and apply following adjustments:
.jpg)
.jpg)