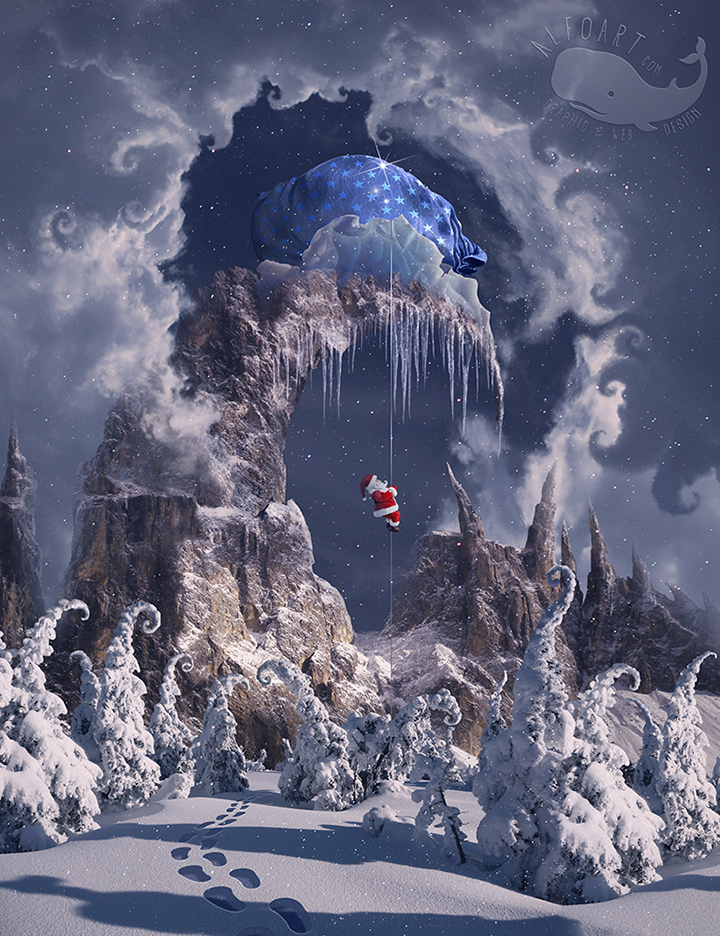
Learn how to create magic photo manipulation with big curly mountain top using Content-Aware fill tool and digital painting techniques. You may get large (2000 x 2600 px, 72px/in) editable .psd* file of "Christmas Gifts Mountain." Photoshop tutorial by making a payment. Put the tutorial title in "Add special instructions to seller" line of PayPal and it will be sent to you shortly.
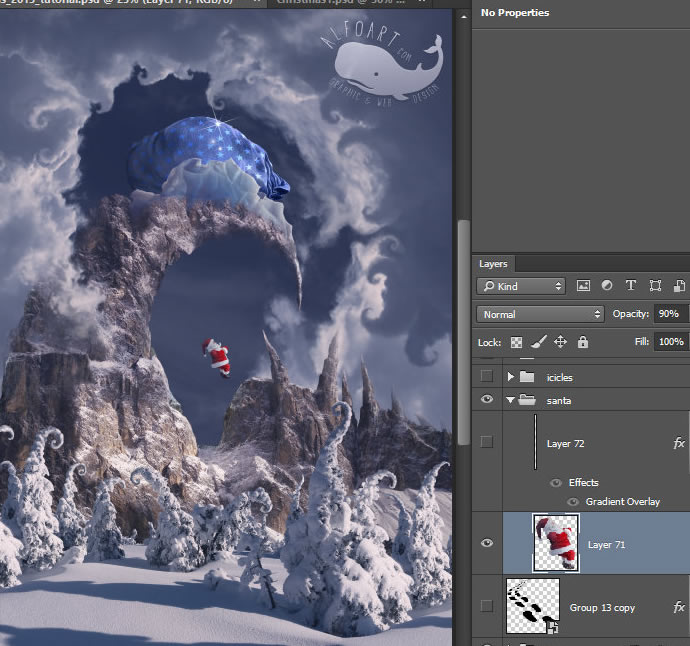
- Insert Santa image, apply Opacity ~ 90% to it.
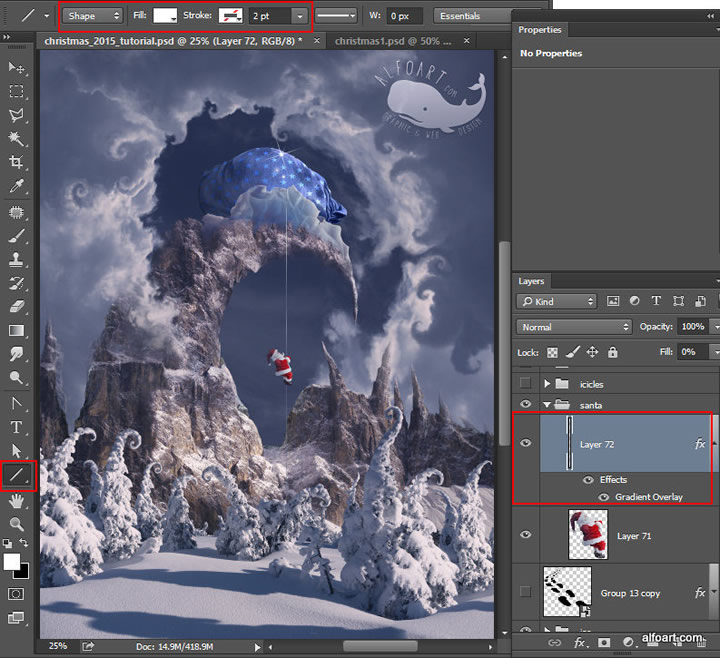
- Draw the rope with the Line Tool. Apply Gradient layer style to it. Erase the rope part above the Santa silhouette.
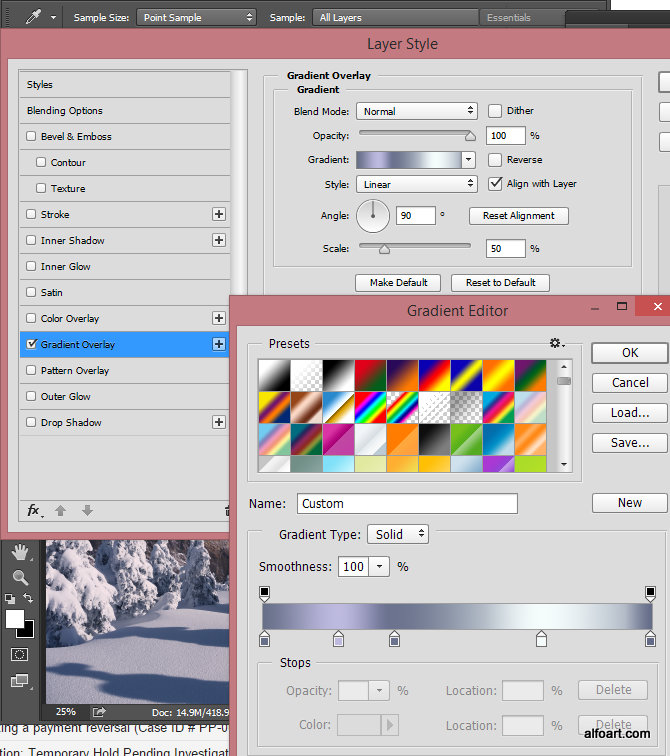
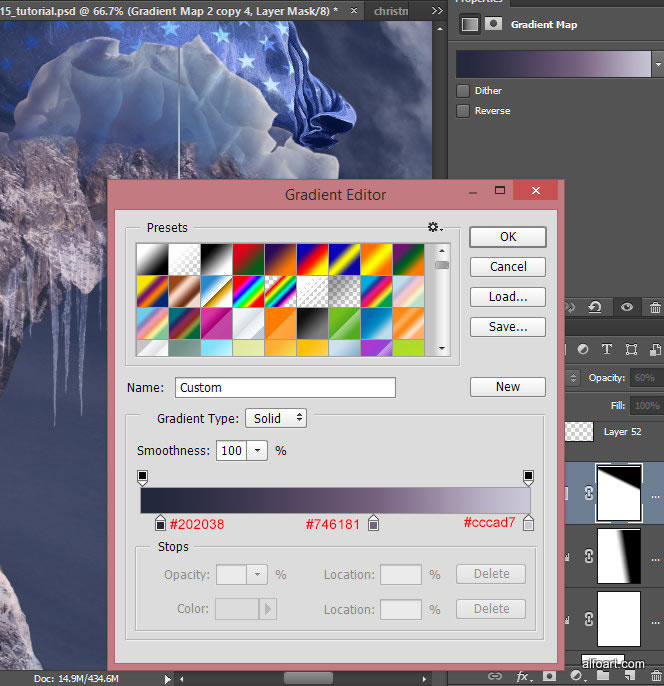
- Use some light and dark shades from the artwork for gradient.
- Insert Icicles image.
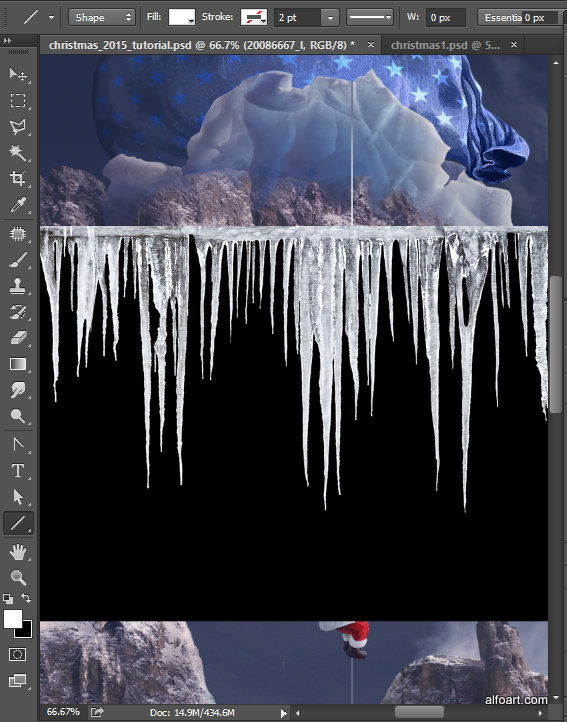
- Select and remove black background.
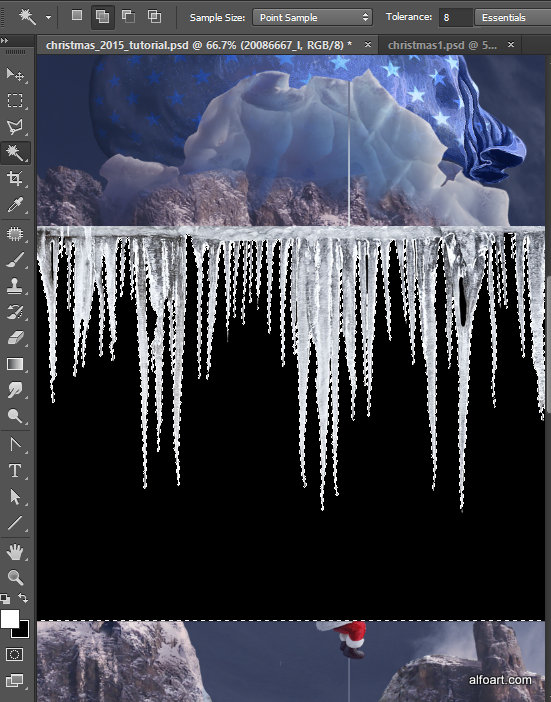
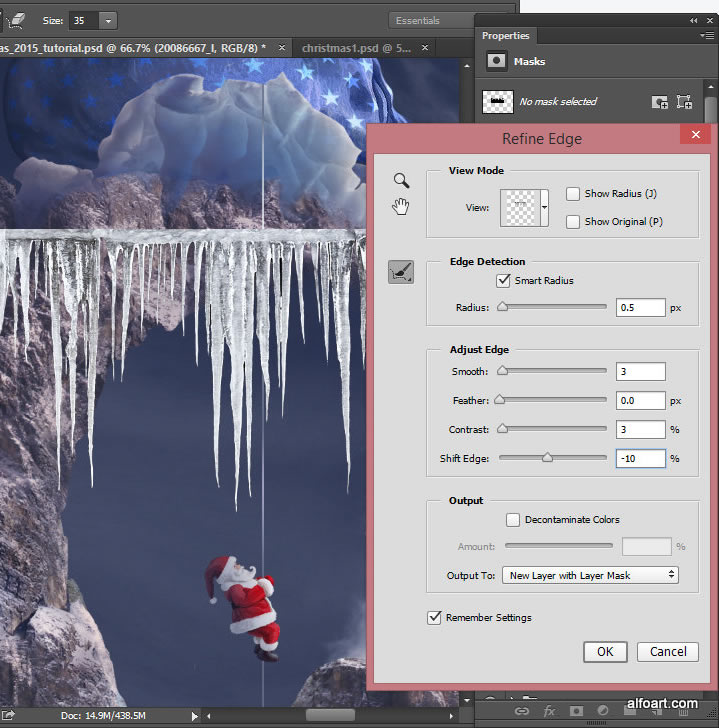
- Load selection for the icicles and apply Refine Edge to make their contour smoother. Go to Select > Refine Edge.
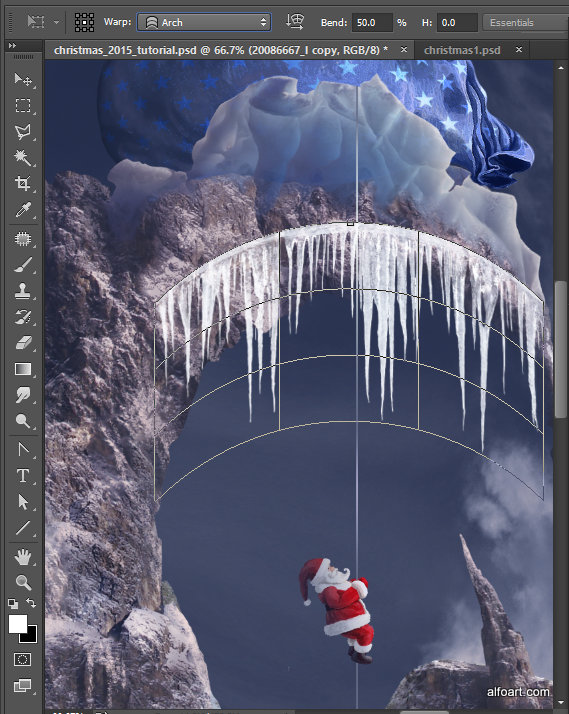
- Transform icicles layer to make it smaller and fit into mountain arch. Also go to Edit > Transform > Wrap > Arch transformation preset.
- Apply "Screen" Blending Mode to the icicles layer.
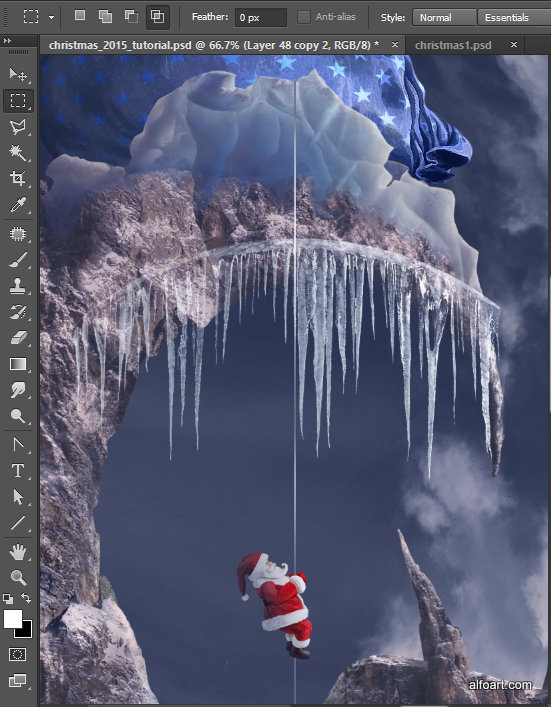
- Erase top edge of icicles, try to make smooth transition between stone and ice.
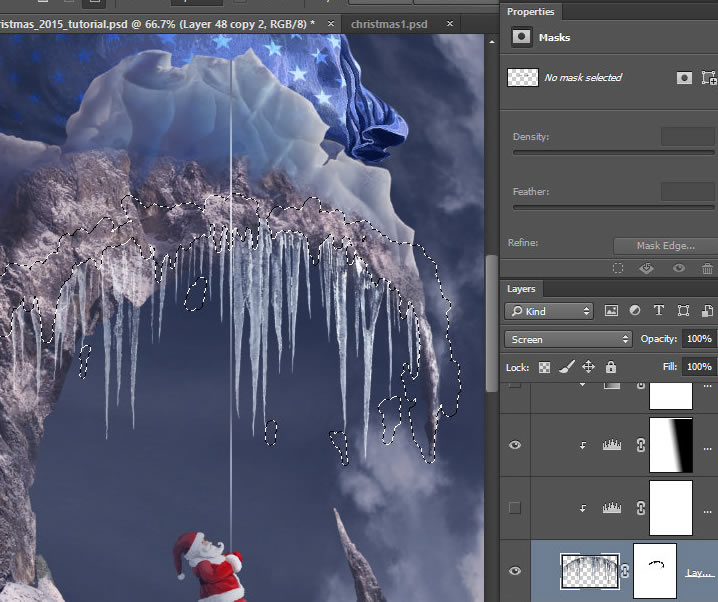
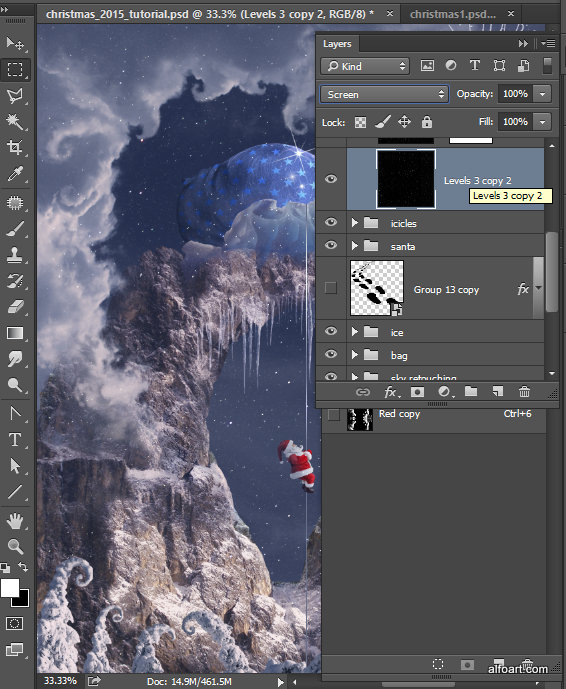
- Correct levels for the icicles layer to make them more translucent. Apply Levels adjustments layer and apply settings from the screen shot below.
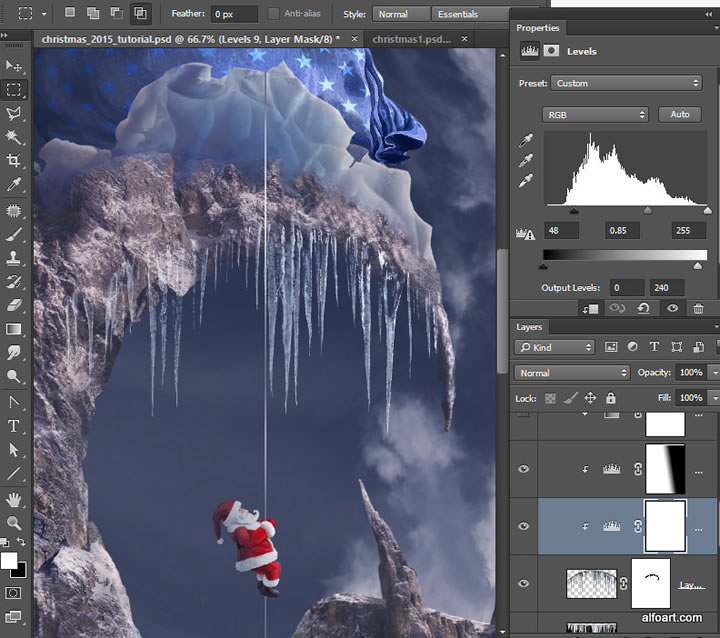
- Add one more Levels adjustment layer to make the left part of the icicles darker and less shiny . Add linear black and white gradient to Layer mask to make this effect visible only for the left side of the image.
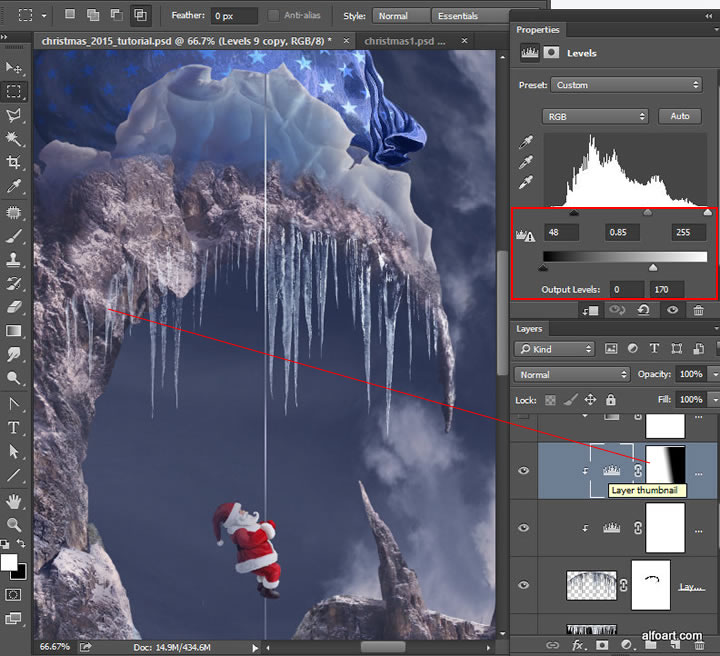
- Add Gradient Map Adjustment layer above all icicles adjustment layers.
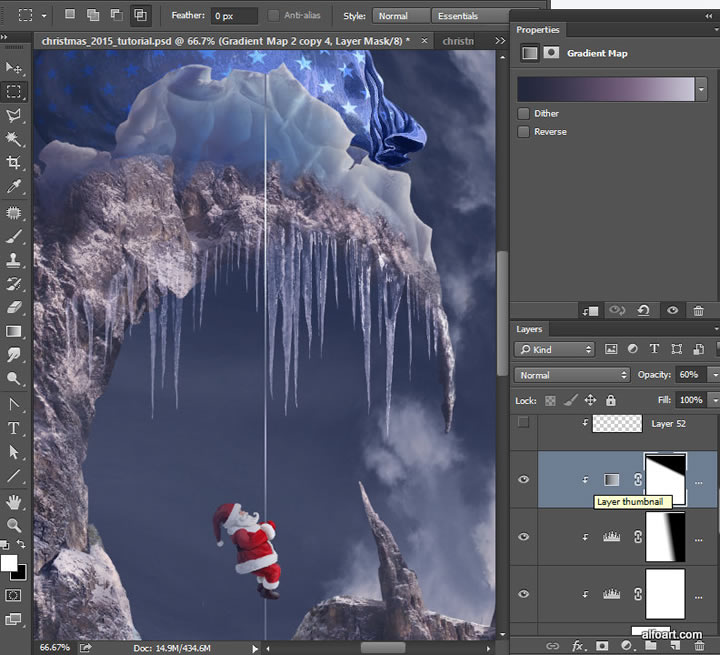
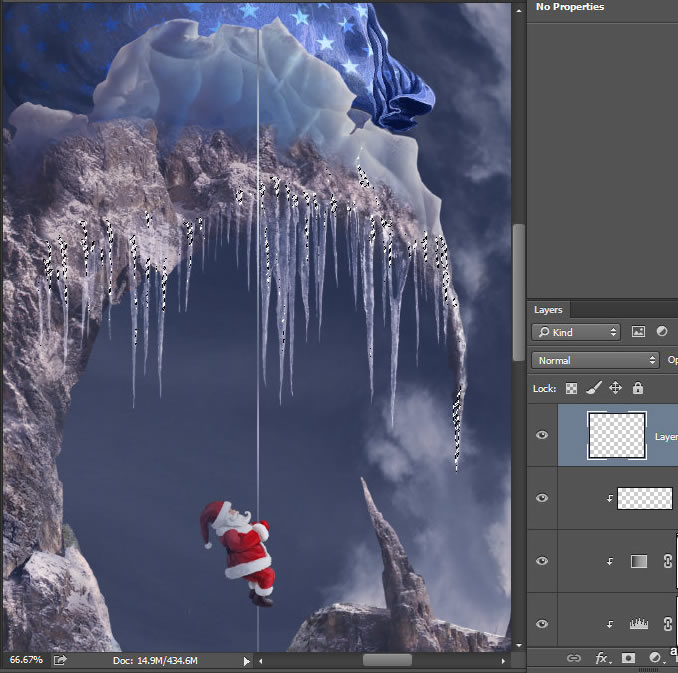
- Choose the same brush we used to create snow effect on the mountain and add some snow to the connection between icicles and stones.
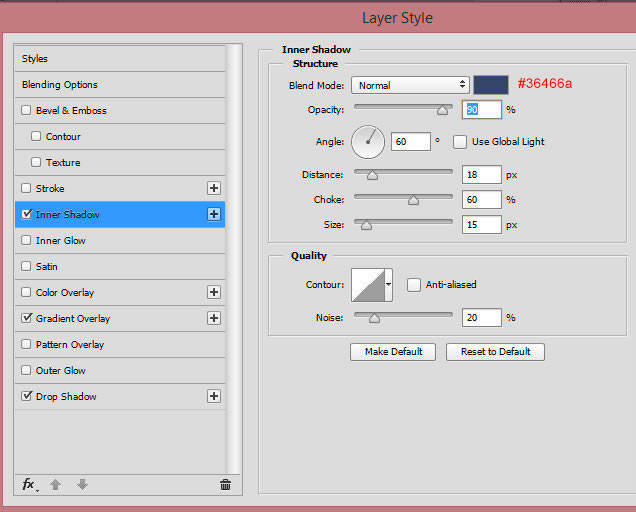
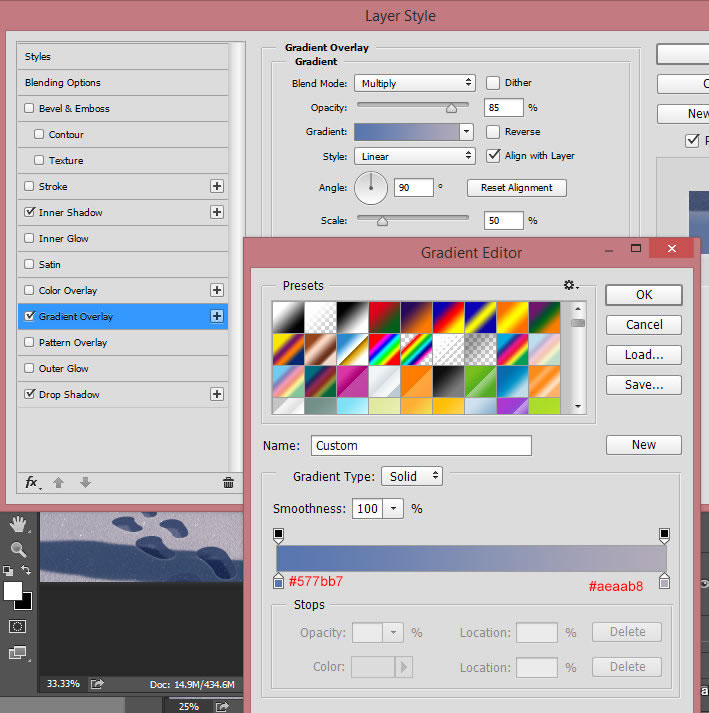
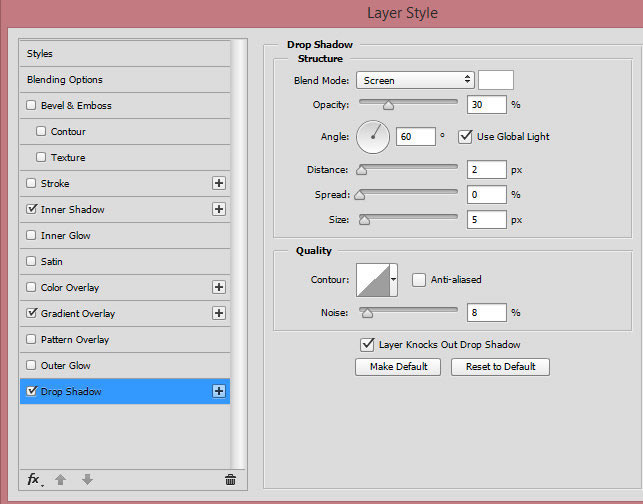
- Insert foot prints image and apply layer style effects to this layer.
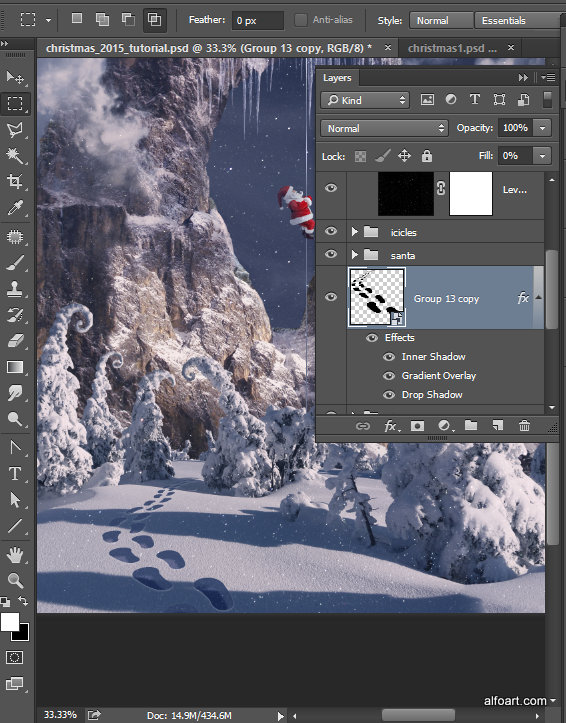
- Inner Shadow:
- Insert Stars image above all created layers.
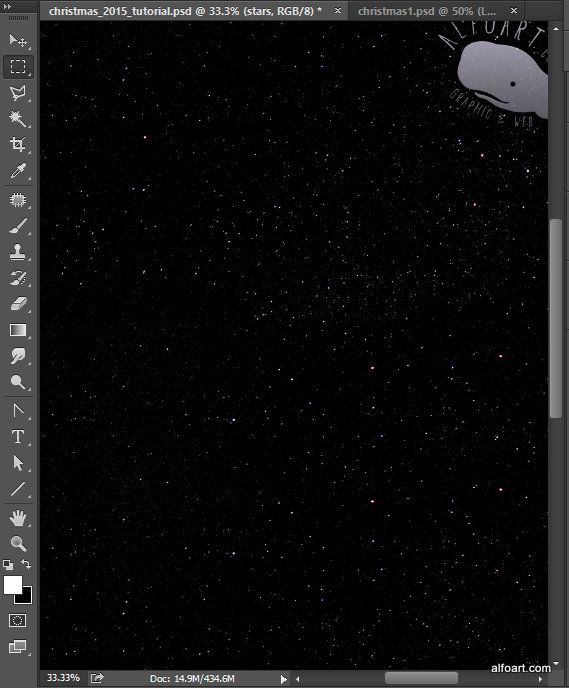
- Apply Screen Blending Mode to this layer.
And here is the result!


