| You may get .psd* file of "Porsche digital rendering photoshop tutorial" Photoshop tutorial by making a payment. Put the tutorial title in "Add special instructions to seller" line of PayPal and it will be sent to you shortly.
|
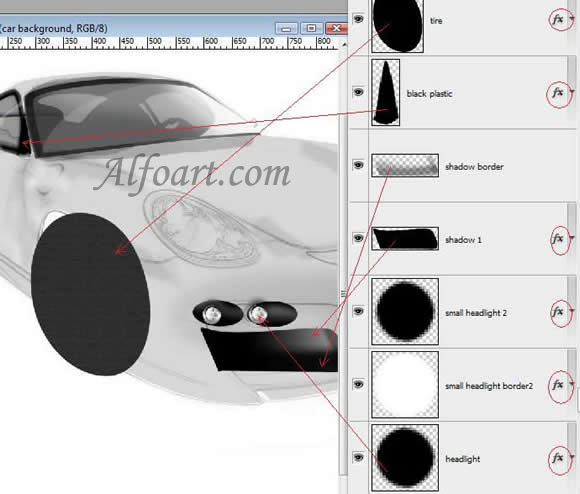
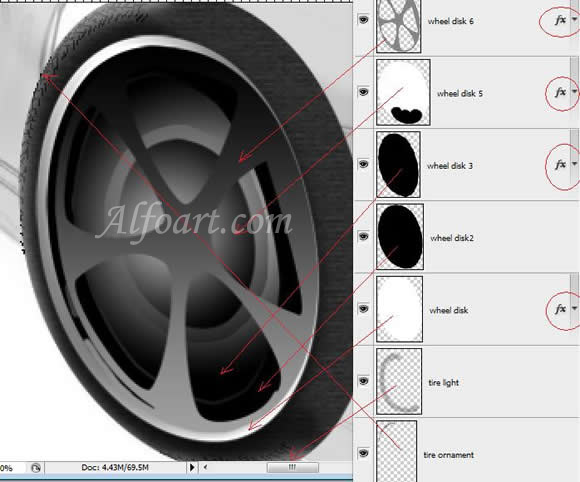
- I almost didn't use a brush in Porsche lesson . All details including patches of light are created using Pen Tool, geometric shapes and layer style effects.
- Experiment with transparency of layers to receive desirable effect.
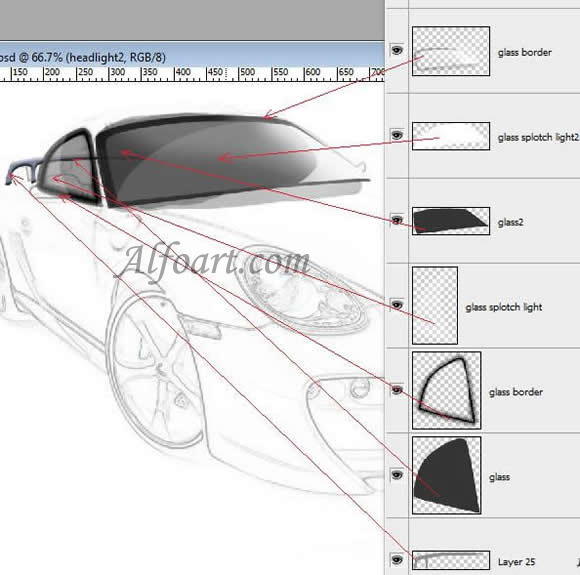
- Draw a circle or an oval, apply layer style effects to it (right click on the layer, choose Blending Options) to create volumetric form.
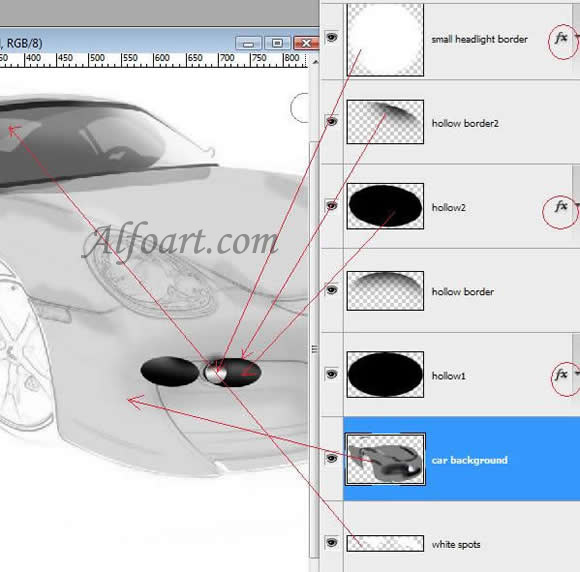
- Try to apply different adjustments of style to the layer.
- Fill selections with any colors. Later change their view using layer style effects (Blending Options).
- Drop Shadow. Adds a shadow that falls behind the contents on the layer.
- Inner Shadow. Adds a shadow that falls just inside the edges of the layer’s content, giving the layer a recessed appearance.
- Outer Glow and Inner Glow. Add glows that emanate from the outside or inside edges of the layer’s content.
- Bevel and Emboss.Add various combinations of highlights and shadows to a layer.
- Satin Applies interior shading that creates a satiny finish.
- Color, Gradient, and Pattern Overlay. Fills the layer’s content with a color, gradient, or pattern.
- Stroke.Outlines the object on the current layer using color, a gradient, or a pattern. It is particularly useful on hard-edged shapes such as type.