


Learn how to create surreal street scene with the 3D models, water reflections, underwater textures, also learn how to create water line effect from scratch. You may get .psd* file of "Surreal Comic Scene with Reptiles". Photoshop tutorial by making a payment. Put the tutorial title in "Add special instructions to seller" line of PayPal and it will be sent to you shortly.
- Add Gradient Map Adjustment layer and Levels Adjustment Layer.
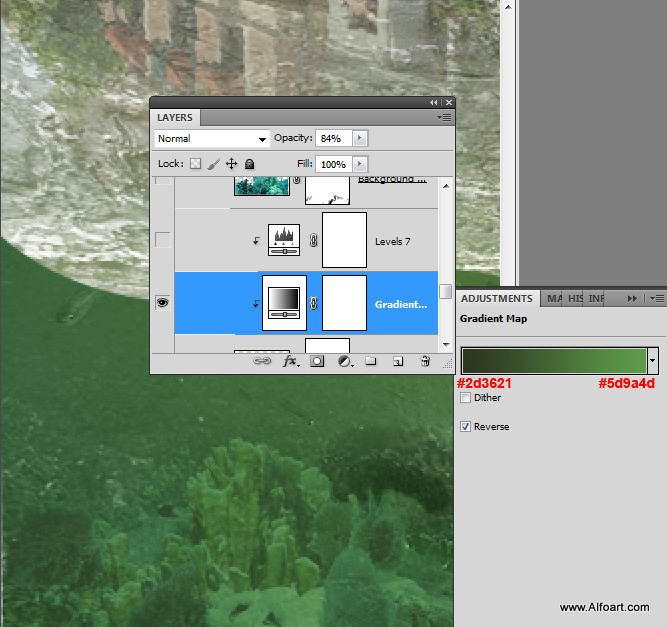
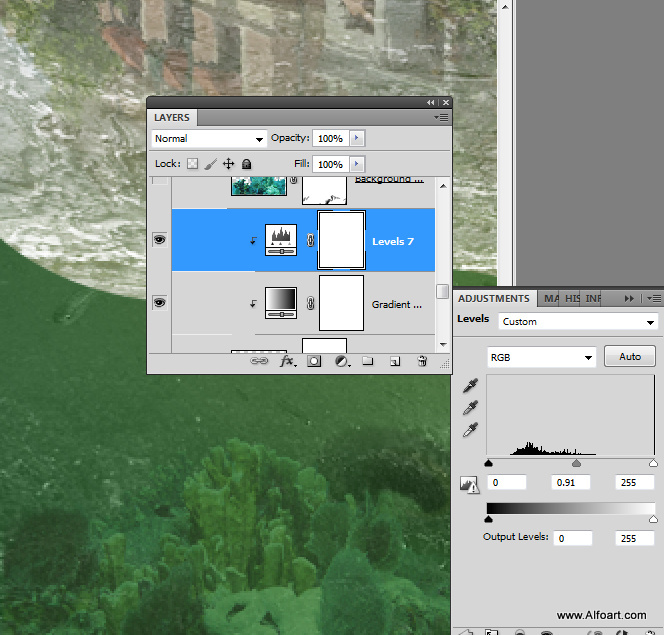
- Use the same corrections for the second plant:
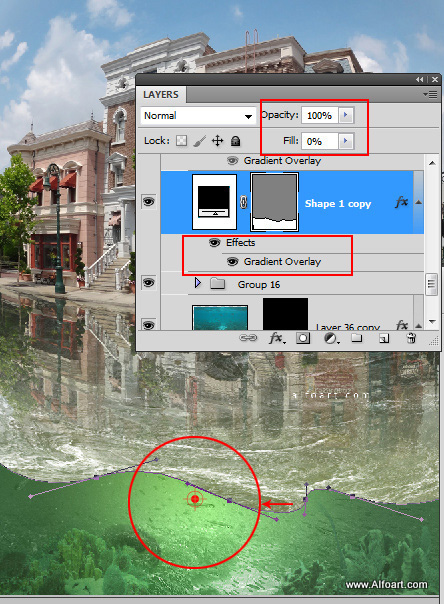
- Return to the water line path. Load the selection for this shape again ad fill it with any color in a new layer.
- Apply Fill 0%.
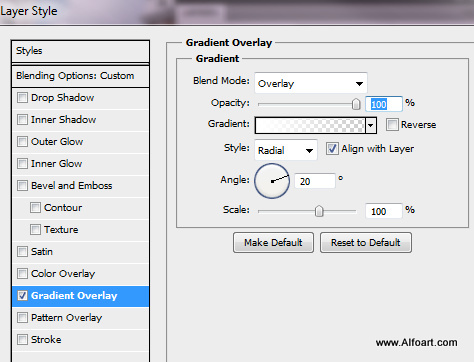
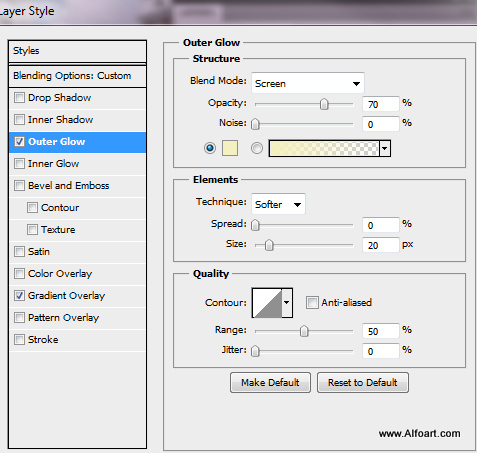
- Add Gradient Overlay layer style effect to this layer. Move the center of gradient(the lightest part) to the left a bit.
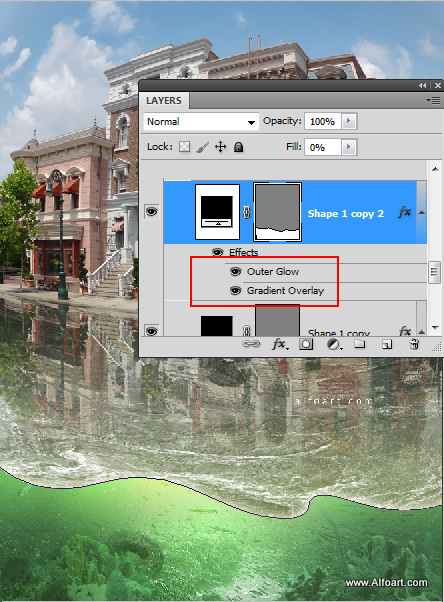
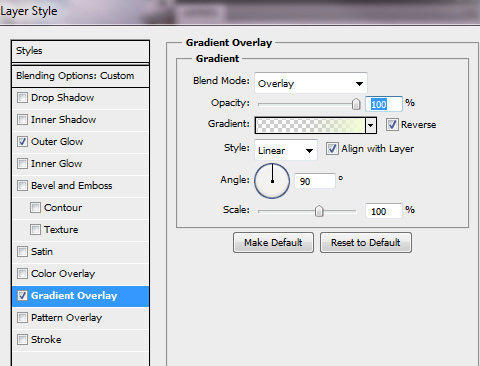
- Duplicate the previous layer, but change the layer styles to settings from the screen shot below.
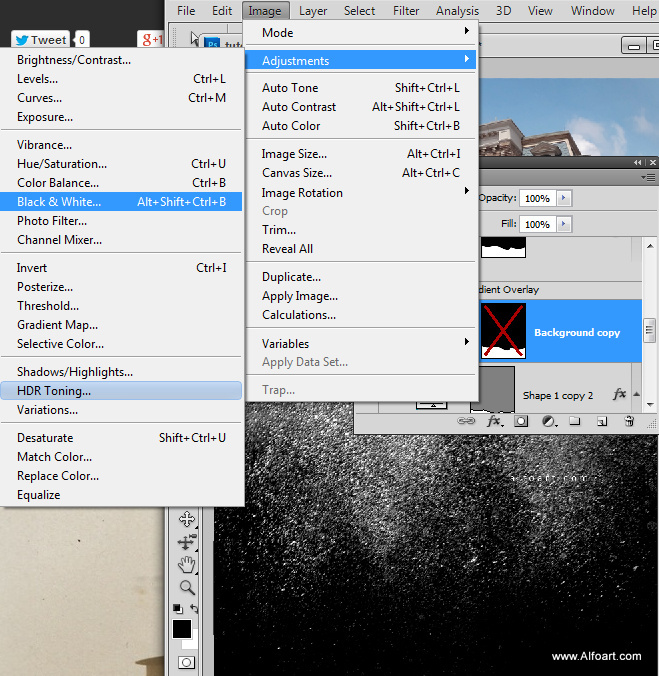
- Insert bubbles layer, go to Image > Adjustments > Black and white, choose most contrast preset - High Contrast Blue filter.
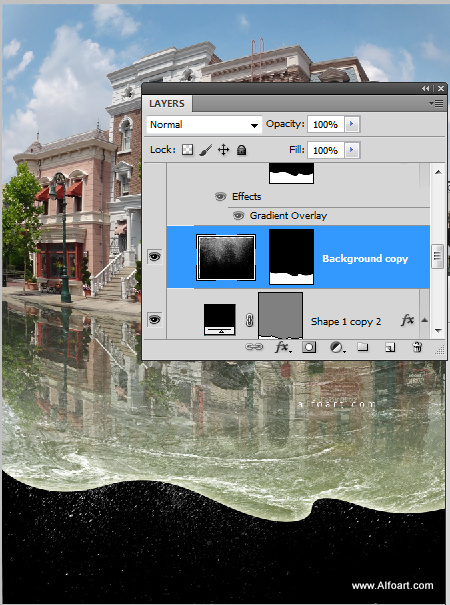
- Add layer Mask to the bubbles layer and fill area above the water line with the black color.
- Apply Screen Blending Mode to this layer.
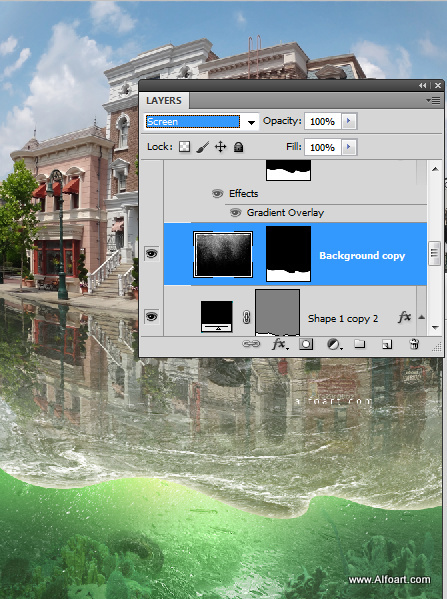
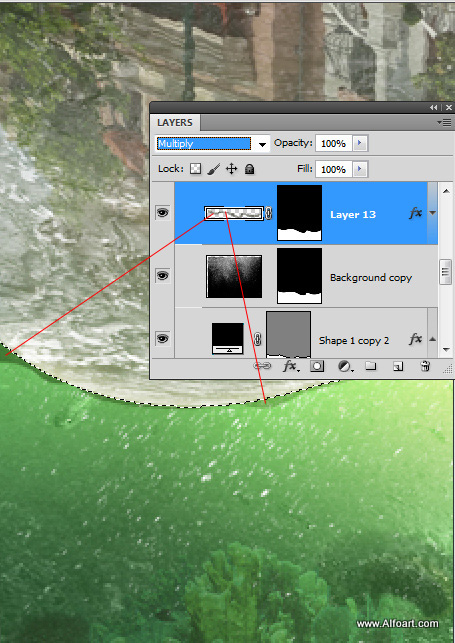
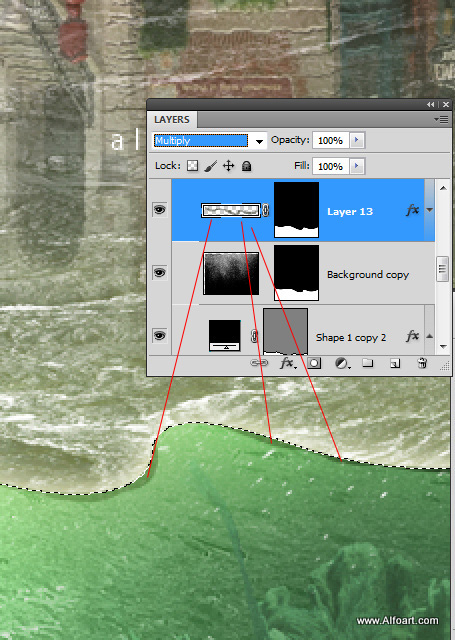
- Create a new layer, apply Multiply Blending Mode to it. Load selection for the water lane shape once again. Choose dark green translucent brush(opacity ~ 80%).
- Touch top edge of the selected area with the dark green brush like on the screen shots below:
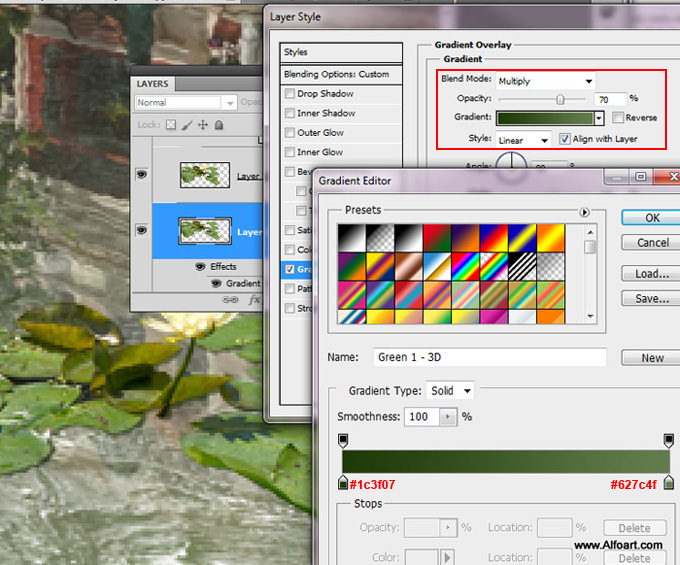
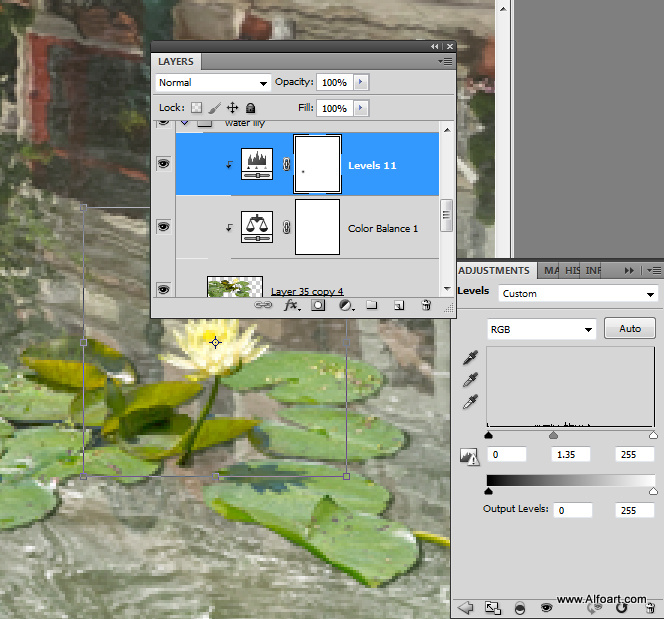
- Insert water lilies image. Duplicate it.
- Use bottom duplicate to create shadow effect. Adjust Fill = 0% for this layer and apply Gradient Overlay layer style effect with following settings:
- Apply Color Balance adjustment layer:
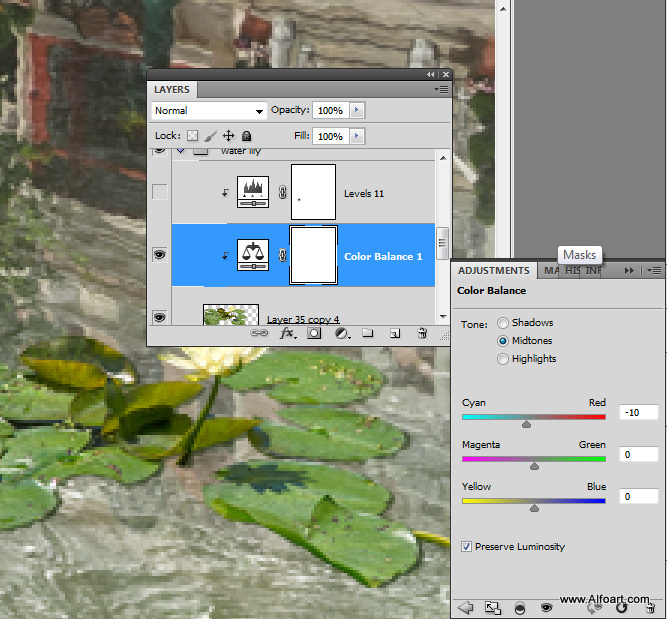
- Correct levels as well, make lilies little bit lighter:
- Insert Gentleman photo.
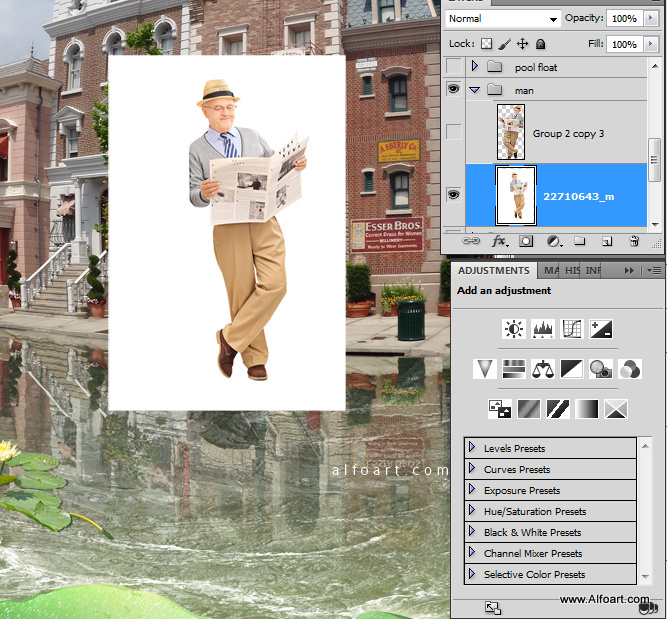
- Go to Edit > Transform > Flip Horizontal.
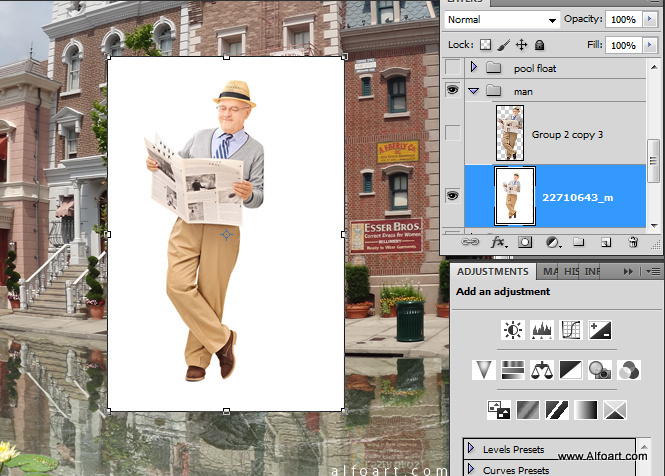
- Load selection for the white background and remove it. You may use Magic Wand Tool (tolerance ~ 12, Add to/Subtract from selection modes). Transform figure to make it smaller.
- Duplicate man layer.
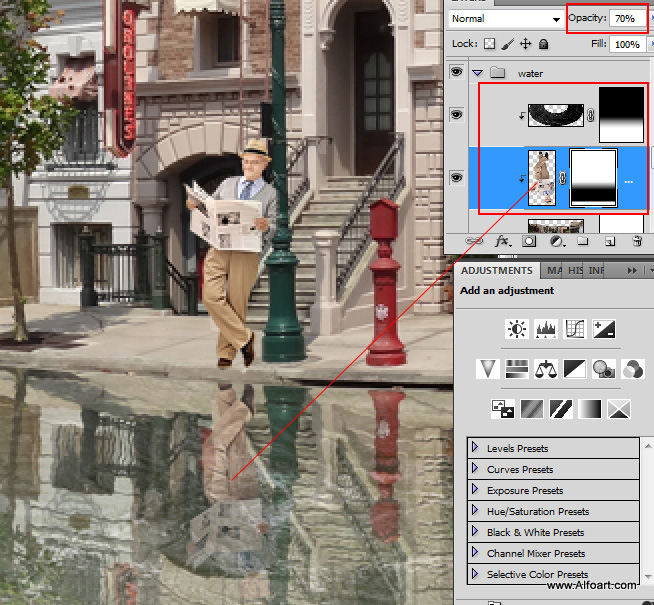
- Choose bottom man layer copy, Go to Edit >Flip Vertical to create reflection layer. Place this layer below the black&white water surface clipping Mask. Create Clipping Mask from the man reflection layer as well.
- Add layer mask to reflection layer, fill layer mask with the black and white gradient to create fade effect.
- Adjust Opacity 70%.
- Select all. Go to Select > Select all
- Then go to Edit > Select Merged.
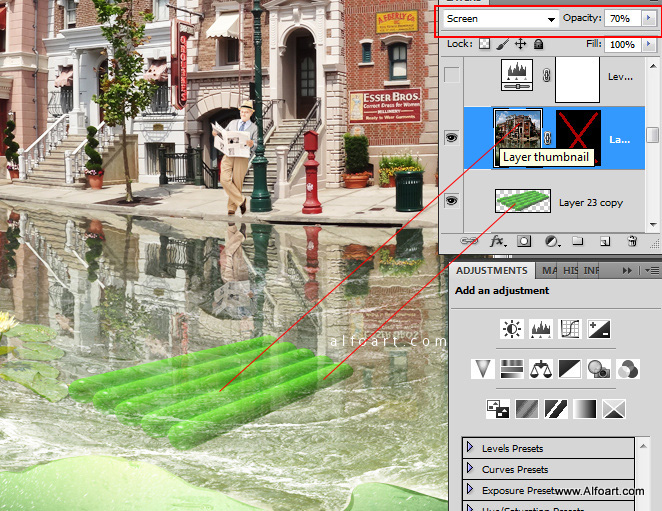
- Paste merged whole scene image into a new layer, Apply Screen Blending Mode and Opacity 70%.
- Insert pool float image, place it below merged scene.
- Add layer mask to the merged scene layer, fill it with the black color.
- In order to create dipping effect, create selection just like on the screen shot below, use Polygonal Lasso Tool. Fill selection with the white color in the Layer Mask.
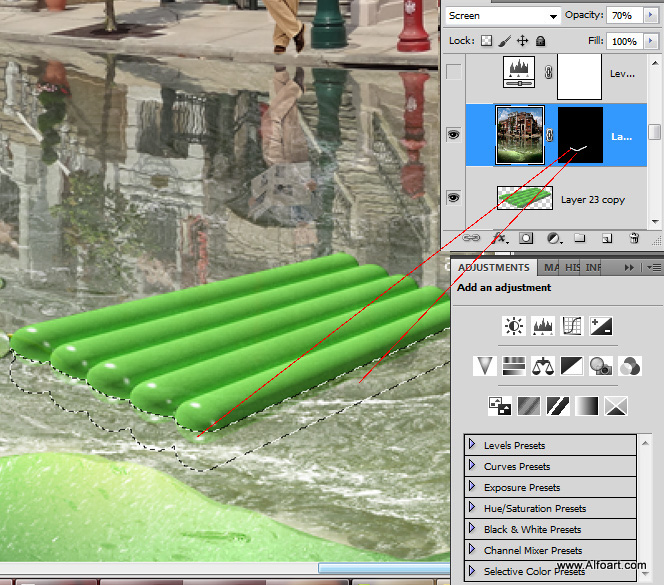
- I've changed the color shade and corrected levels for this shape by using following Adjustment layers and settings:

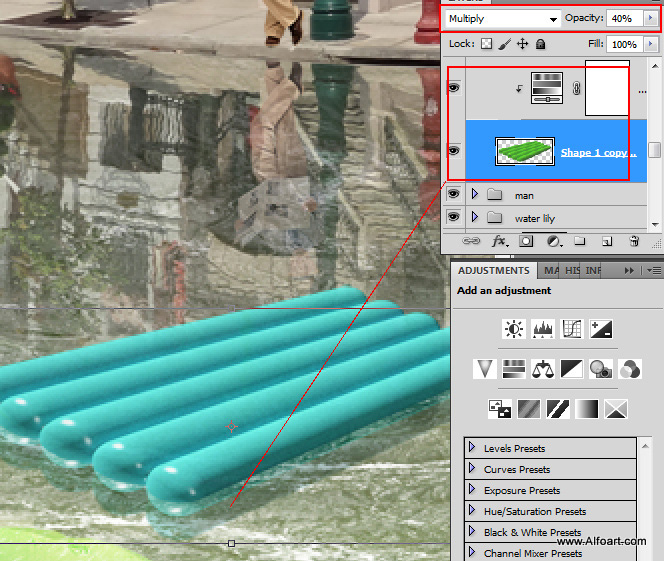
- Duplicate pool float layer. Use it to create reflection effect. For the bottom duplicate apply Multiply Blending Mode and Opacity 40%.
- Go to Filter > Blur > Gaussian Blur(~2px).
- Insert Crocodile Image(photo on the screen shot has dark spot on the neck because of collar shadow, you may add it with the Burn Tool.
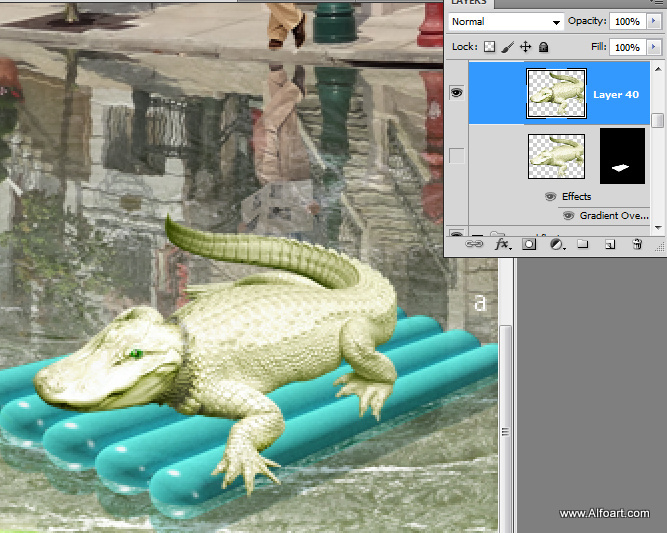
- Create drop shadow effect. Duplicate crocodile layer, fill the bottom layer with the dark blue color. Apply Multiply Blending Mode to it and Opacity 50%. Move this layer couple pixels down and right, erase area around the pool float.