You may get .psd* file of "Winter Scene Photo Manipulation". Photoshop tutorial by making a payment(attn.(!)- the layers with the original stock pictures are watermarked). Put the tutorial title in "Add special instructions to seller" line of PayPal and it will be sent to you shortly.
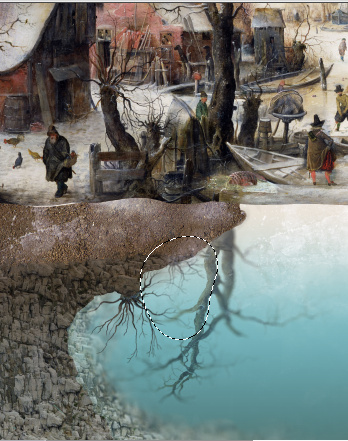
- Create a new layer and fill trees silhouette with any color.
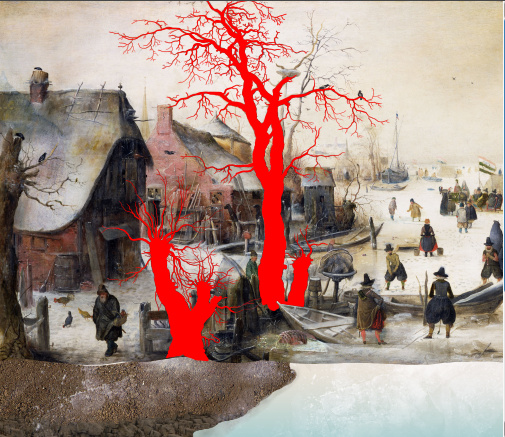
- Ctrl + click to the silhouette layer thumbnail to load selection. You may make colored shapes layer invisible. We need it just to create selection.
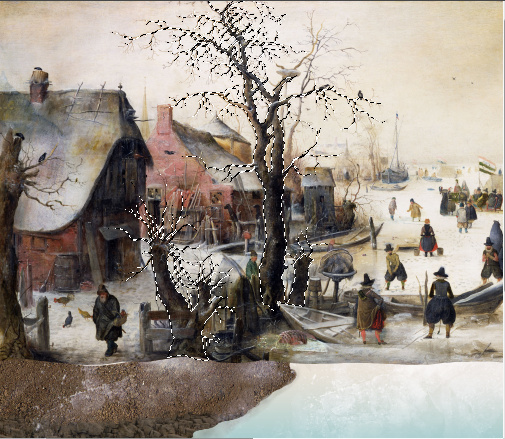
- Copy selected trees and paste them into a new layer.
- Apply Flip Vertical Transformation. Go to Edit > Transform > Flip Vertical. Move trees down.
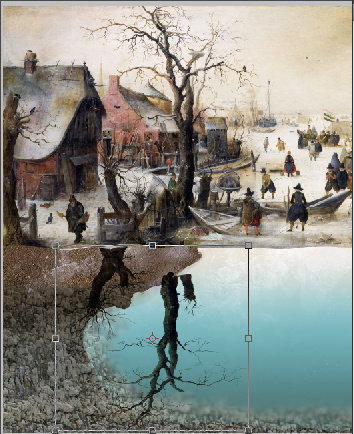
- Separate tress to different layers (Choose Polygonal Lasso Tool
 , select one of the trees, cut it out and paste it into a new layer.
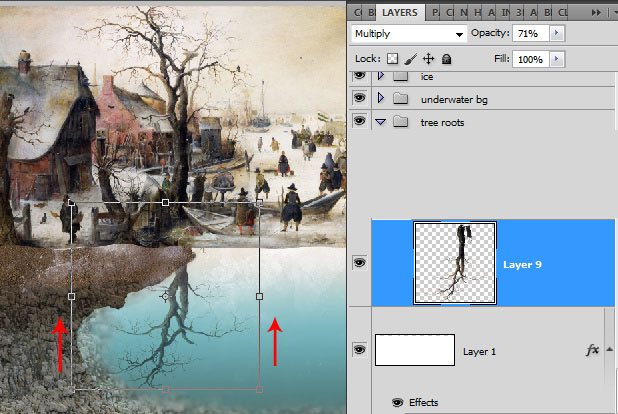
 - Apply Multiply Blending Mode to the large tree, Opacity around 70% and place this layer below Ice and above very bottom - Gradient Layer.
- Go To Edit > Free Transformation > Shrink tree shape a bit by vertical.
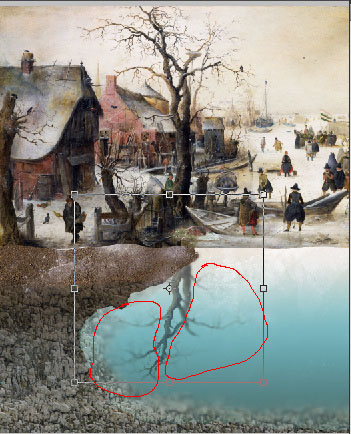
- Select branches using Quick Mask Mode and large soft Brush. Apply Lens Blur filter to the tree layer, use "Radius" parameter around 8-10.
- Place the second smaller tree above and move it top part under the stones and soil, Leave visible only branches.
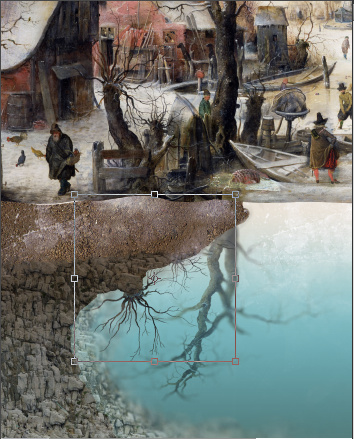
- Load selection for the left branches and apply Lens Blur filter just like in the previous example, but with "Radius" 4-5.
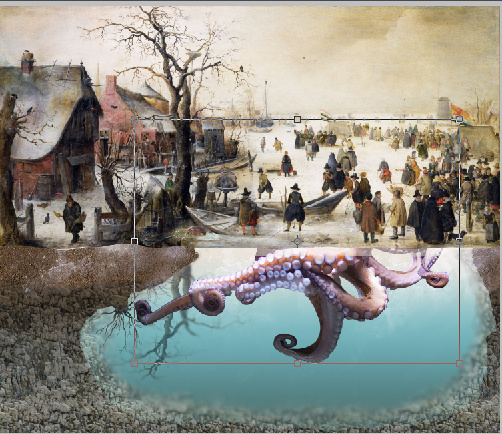
- Insert Octopus image. Place it above all underground layers and below Painting layer.
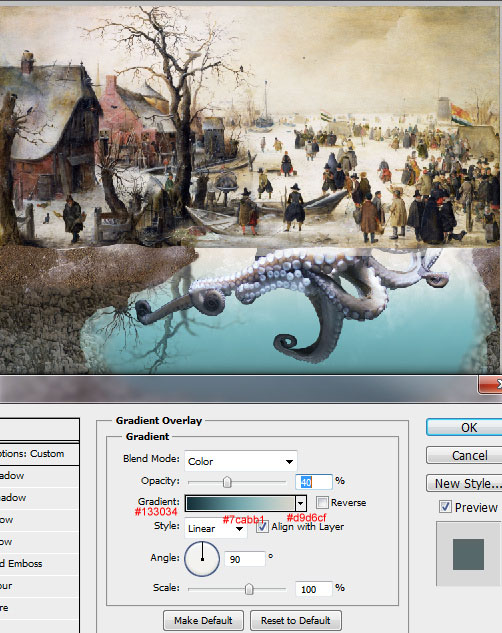
- Apply Gradient Overlay effect to the "Octopus" layer.
- Apply Opacity 92% to Octopus.
- Add Layer Mask to "Octopus" layer, fill bottom part of Layer Mask with the black and white Liner Gradient to make underwater smooth effect for Octopus leg.
- You may process layer mask with the translucent black brush top part of octopus next to ice surface.
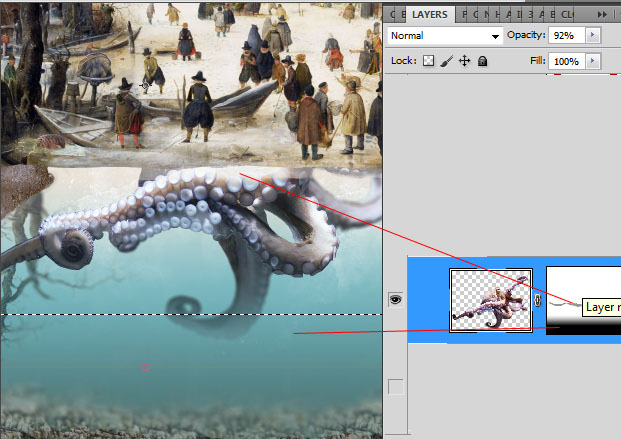
- Make active octopus thumbnail, go to Image > Adjustments > Levels. Correct octopus levels just like on the screen shot below.
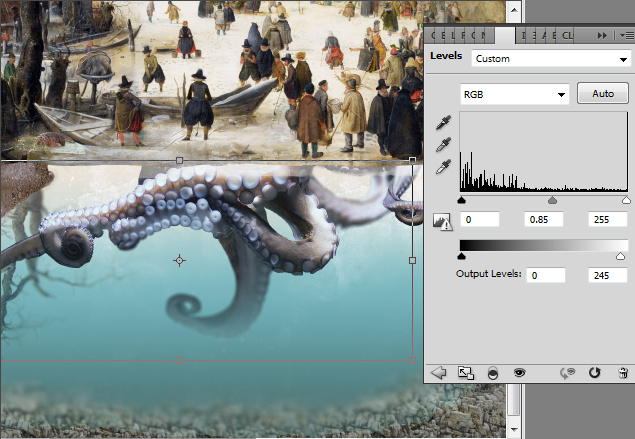
- You may see darker water space on the screen shot below.
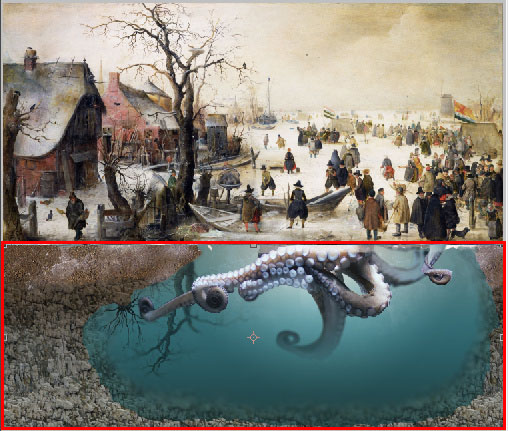
- Add new large rectangular shape above Octopus and below Painting layer.
- Erase area marked red on the screen shot below.
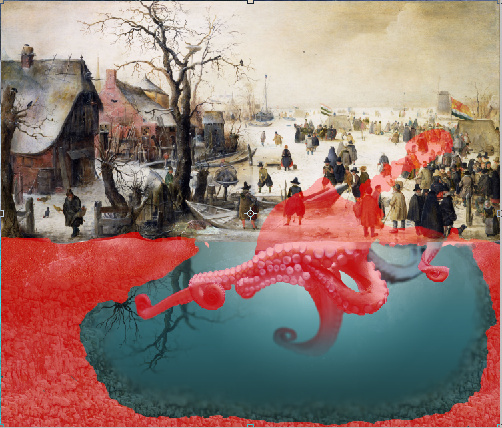
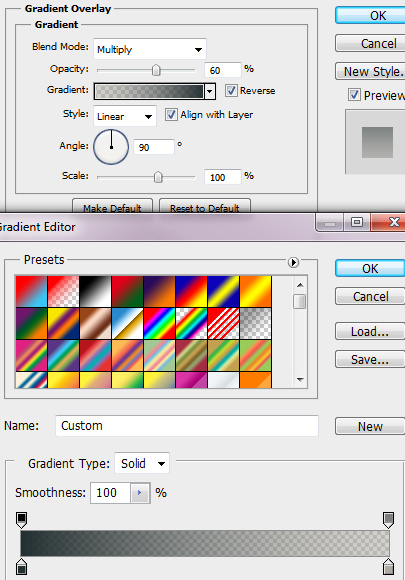
- Add Gradient Overlay effect to this layer and Fill parameter - 0%.
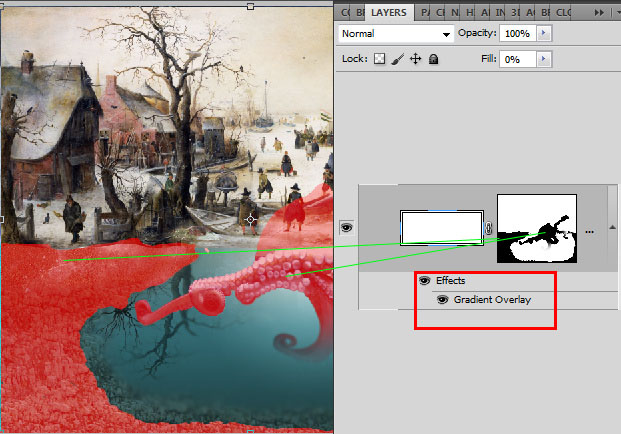
- Use these Gradient Overlay settings:
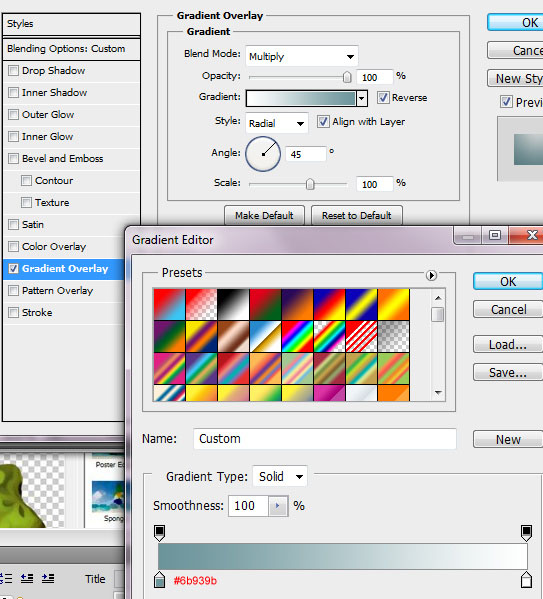
- Insert water bubbles layer. Place it above previous layer and below painting layer.
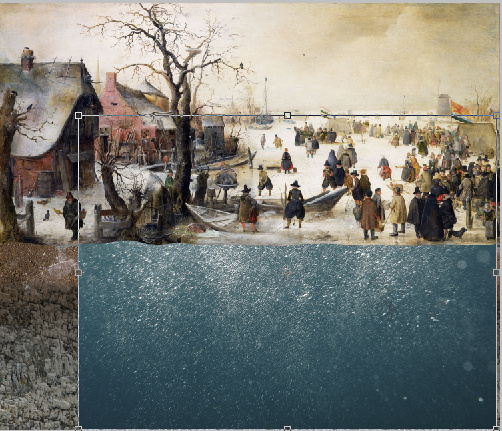
- Apply Soft Light Blending Mode and Opacity 50% to the bubbles layer. Add Layer Mask and erase the same areas as in previous layer.
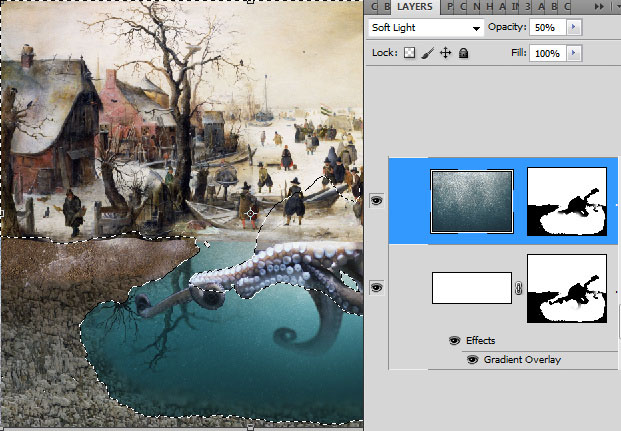
- Create a new layer and fill stones and soil area with the dark brown/translucent Gradient from top to down (translucent part should be in the bottom).
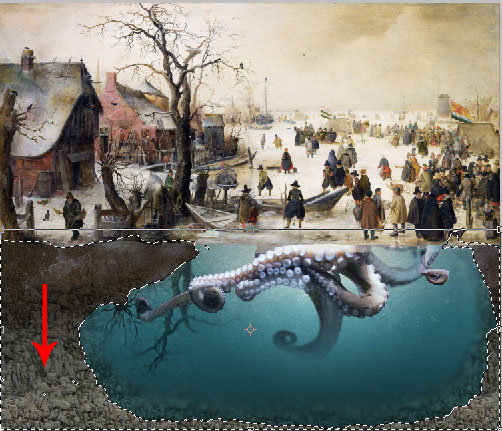
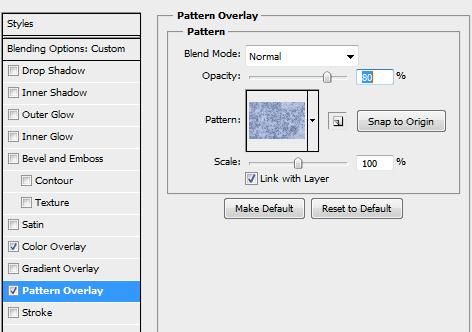
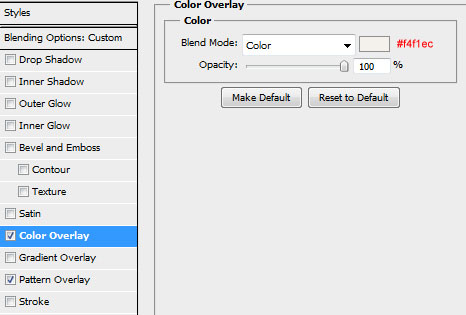
- Add a new layer below painting layer and apply ice pattern to it and Color Overlay layer style effects.
- Erase everything except top ice thickness part.
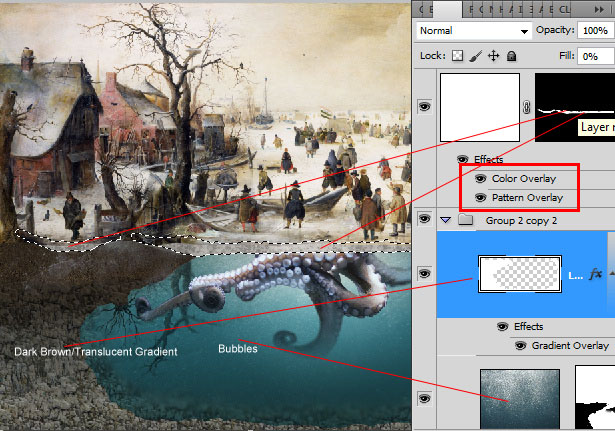
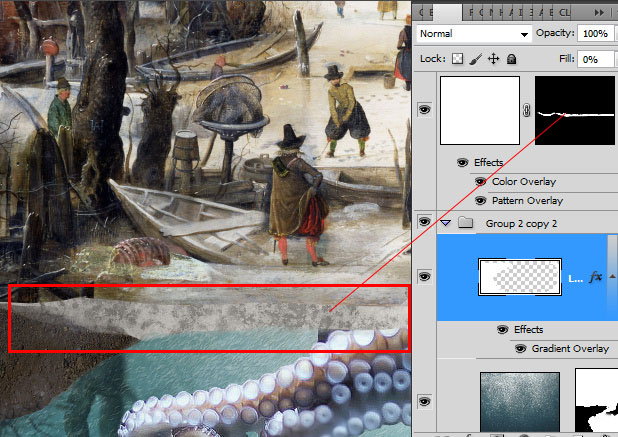
- Use following settings for the top ice layer:
