


| You may get .psd* file of "Roses bouquet splash effect" Photoshop tutorial by making a payment. Put the tutorial title in "Add special instructions to seller" line of PayPal and it will be sent to you shortly.
|
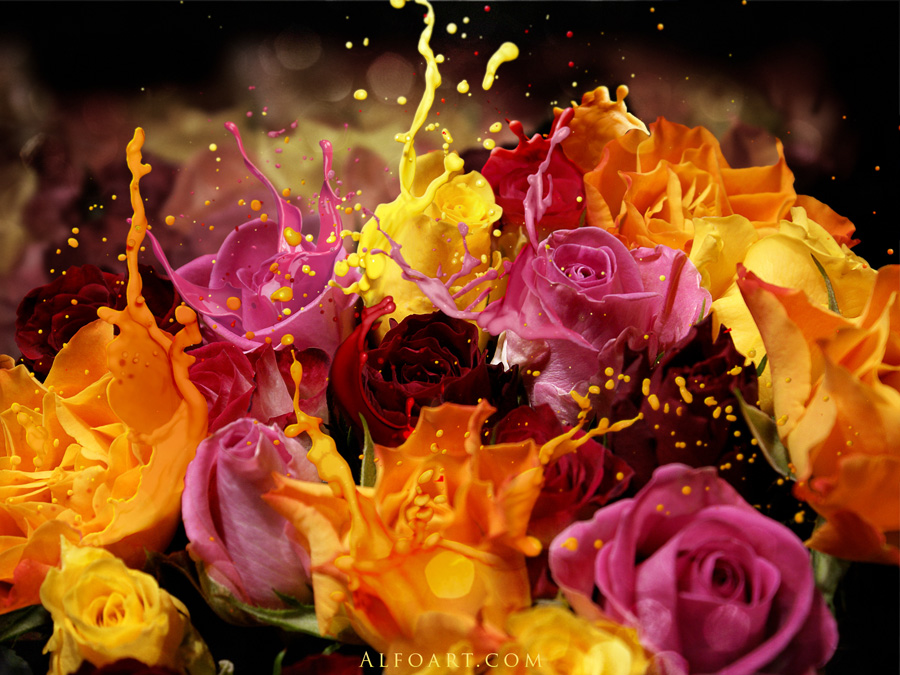
This is step by step Photoshop tutorial that teaches you how to create blurred, bokeh effect background and beautiful splash effect for Roses bouquet. You will use milk splashes, filters and layer style effects.
Picture before changes:

After(click image to enlarge):
 |
- Used Images:
- Create a new Photoshop document little bit higher than original roses picture.
- Fill the first layer with black color.
- Insert roses photo into the second layer. File > Place.
.jpg)
- Duplicate "roses" layer and apply Gaussian blur filter(around 30%) for the bottom layer.
- Duplicate the blurred layer and merge both of blurred layers. Move created layer a little above.
.jpg)
- Make active original roses layer.
- Add Layer Mask to the original layer and process top edge of the layer with soft black brush in the Layer Mask.
.jpg)
- In order to separate background and foreground,Load selection for background flowers with Magnetic Lasso
 Tool.
Tool.
.jpg)
- Apply Gaussian Blur filter to selected area - 5%.
.jpg)
.jpg)