


| You may get .psd* file of "Platinum Luxury Palace" Photoshop tutorial by making a payment. Put the tutorial title in "Add special instructions to seller" line of PayPal and it will be sent to you shortly. |
- Go to Filter > Distort > Diffuse Glow
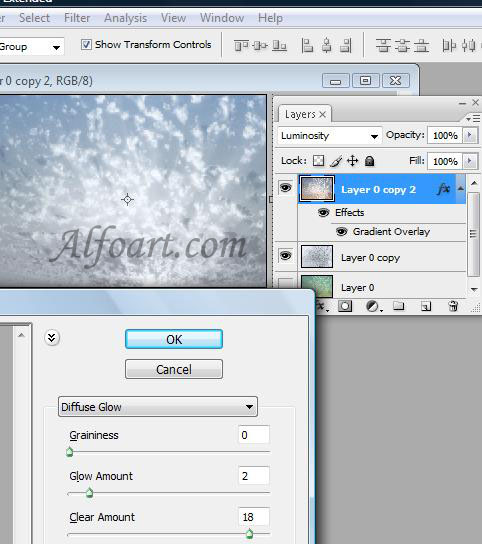
- Go to Image > Adjustment > Levels > Auto Levels
- Establish value of the central marker about 70.

- Delete background layer
- Merge layers
- Insert image of the sky into a new document or go to Image Canvas size and adjust the desirable sizes. I've made the document 1600 on 1600 px.
- Go to Image > Adjustments > Levels
- Move the central marker a little bit to the right.
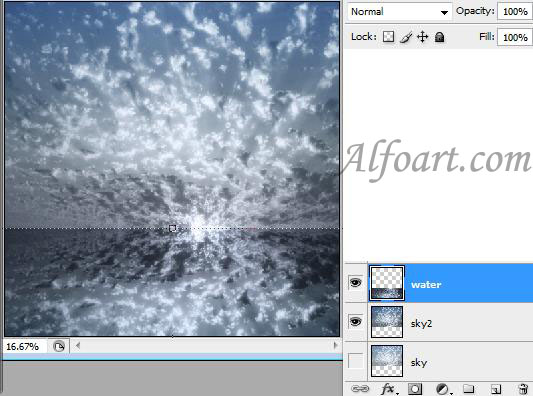
- Duplicate sky layer.
- Go to Edit > Transform > Flip vertical.
- Go to Image > Adjustments > Levels
- Move the central marker a little bit to the right again.
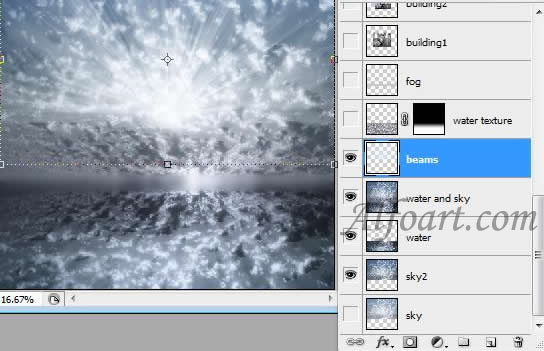
Creation sunbeams.
- Create a new layer.
- Click on "D".
- Filter > Render > Clouds.
.jpg)
- Filter > Stylize > Glowing Edges.
.jpg)
- Filter > Blur > Radial blur (100 Zoom, Best.) Choose Dodge Color Blending Mode.
- Erase the bottom part of beams using soft Eraser Tool or Vector Mask and white/black gradient.
- Merge layers of sky and water. Select central part of image. Go to Select > Modify > Feather (4 -6)
- Go to Filter > Blur > Gaussian Blur (15-20)