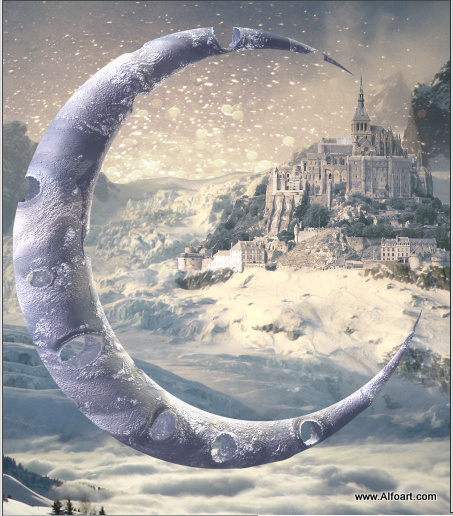
Learn how to create fairy winter photo manipulation with the crescent above the clouds, shiny icicles and glow effects. You may get .psd* file of "Magic Christmas". Photoshop tutorial by making a payment. Put the tutorial title in "Add special instructions to seller" line of PayPal and it will be sent to you shortly.
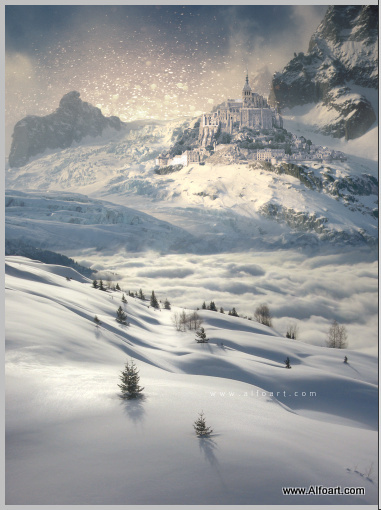
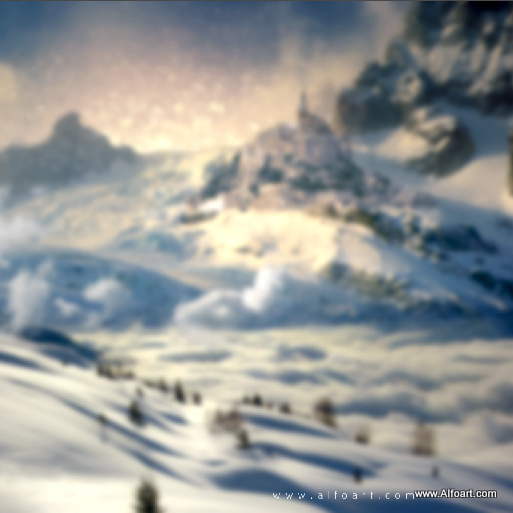
- Here is result of all previous actions:
- Now you may merge all created layer and duplicate merged layer.
- Make active duplicated layer, go to Image > Auto Contrast.
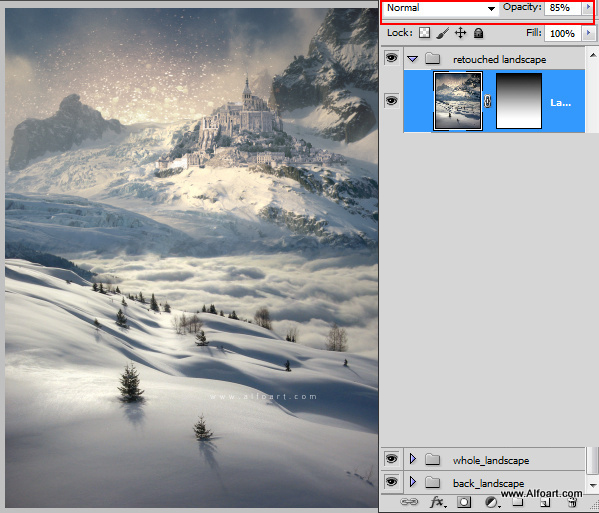
- Apply Opacity 85% to this layer.
- Add Layer Mask and fill it wit the black and white gradient(whit color in the bottom part).
- Insert Moon image.
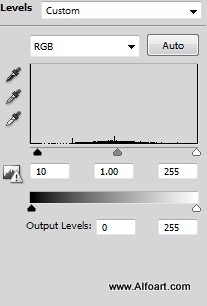
- Correct Levels and Color Balance for the Moon shape.

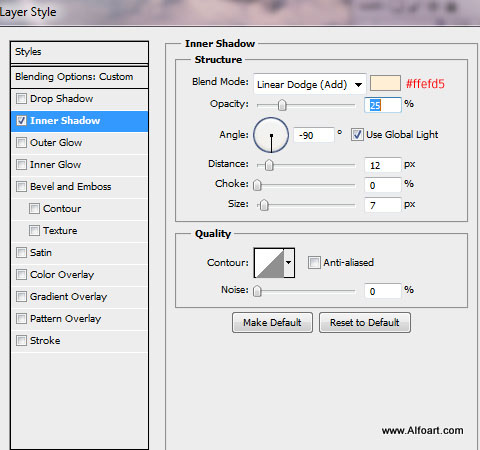
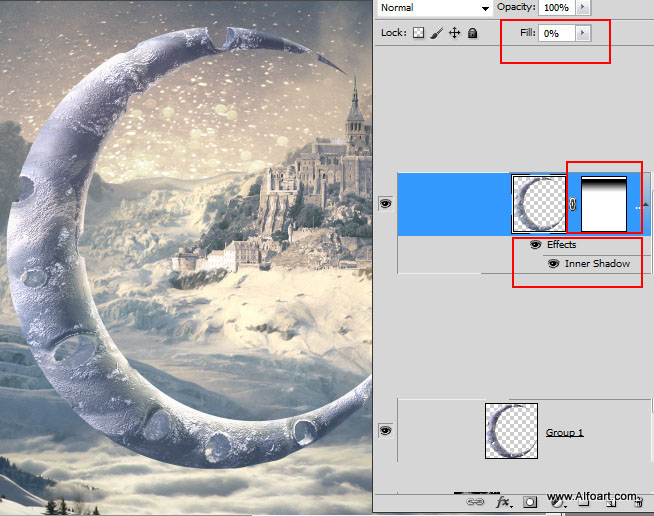
- Duplicate Moon Layer, apply Fill = 0% and apply inner shadow layer style effect.
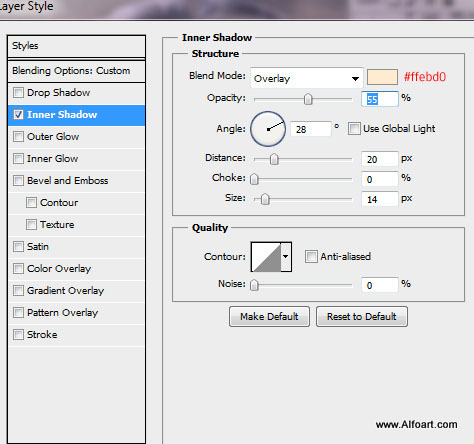
- Apply these setting for inner shadow effect:
- Make Moon layers invisible for a while.
- Go to Select > Select All.
- Go to Edit > Copy Merged.
- Create empty layer above the Moon layers and paste merged background.
- Go to Filter > Blur > Gaussian Blur 10-18px.
- Go to Image > Adjustments > Hue/Saturation, Increase Saturation a bit.
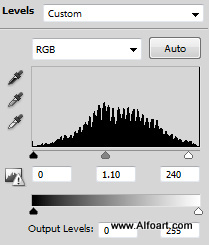
- Correct levels for this layer as well:
- Make Moon layers visible again. Load selection for the original Moon layer.
- Keep selection, then add Layer mask to the blurred layer.
- Apply Hard Light Blending Mode to the Blurred&Masked layer
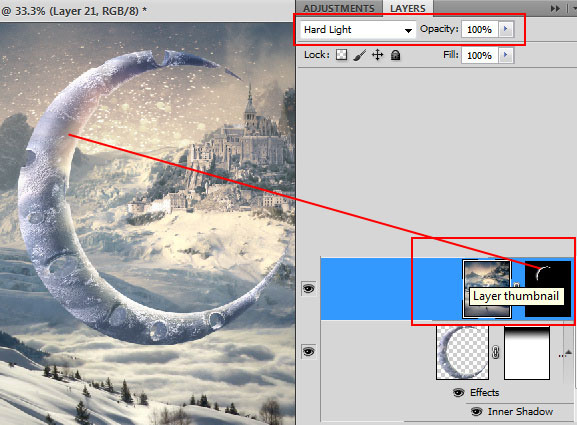
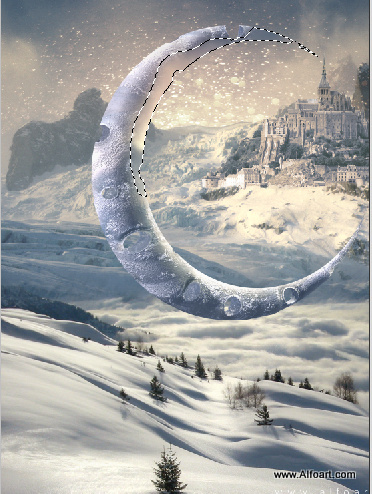
- Erase other ares of this layer with the soft brush except selected spot below:
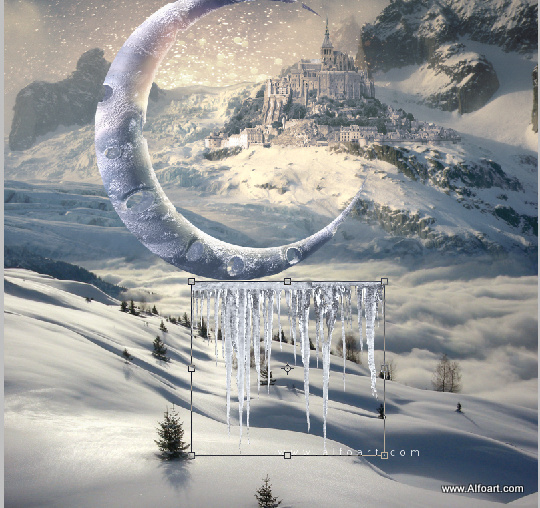
- Insert Icicles image.
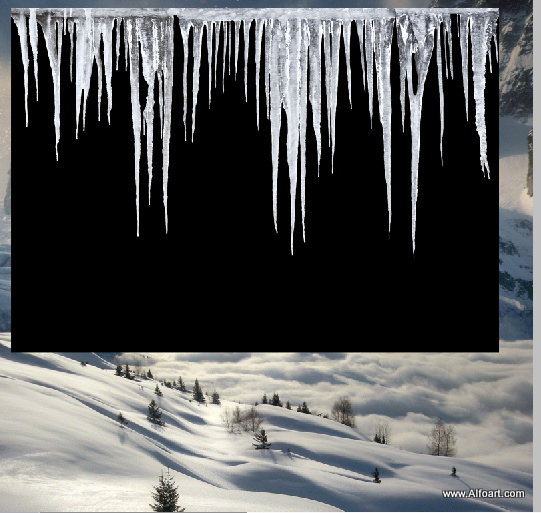
- In order to remove black background, go to Select > Color Range.
- Click black area with the eyedropper.

- Then go to Select > Invert Selection.
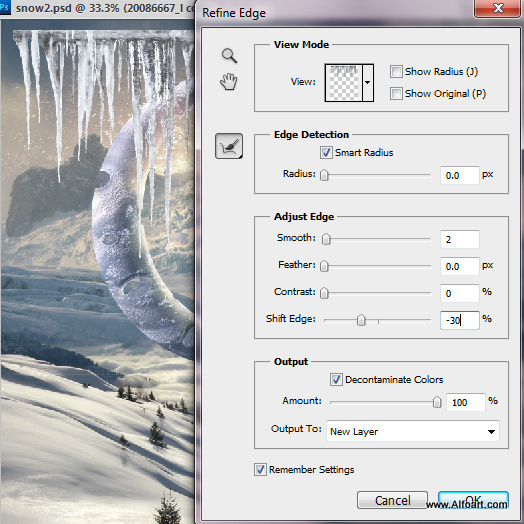
- Select Refine Edge:
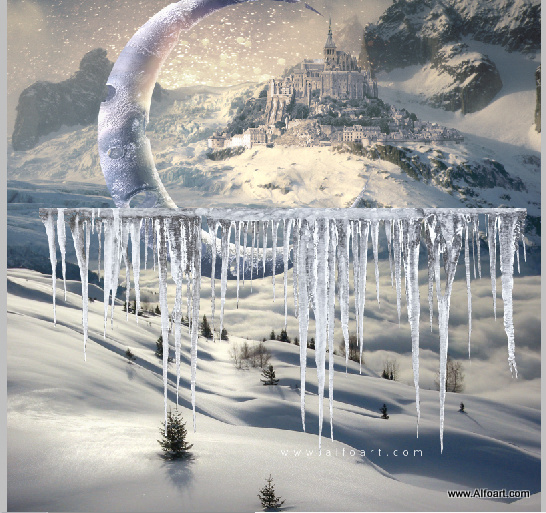
- Here is result of removing black background:
- Select the part of icicles and paste them into a new layer. Make the original layer with icicles invisible for a while.
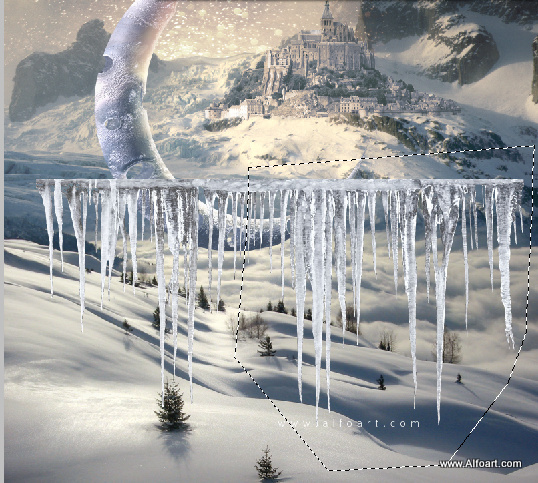
- Here is the part copied in previous steps.
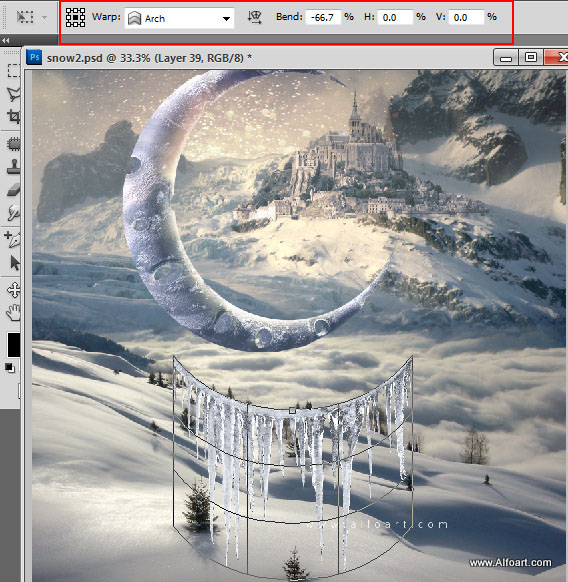
- in order to transform the shape of icicles, go to Edit > Transform > Warp Transformation > Arch. Do not finish the transformation on this point.
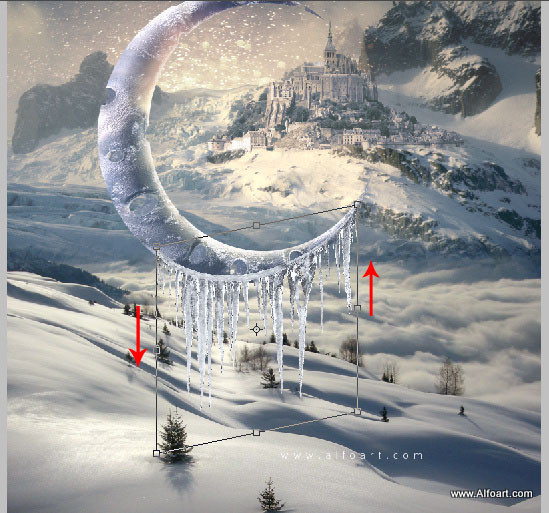
- Then move left and right edges by using Skew transformation.
- Erase marked areas to make icicles smaller and correct top edge.
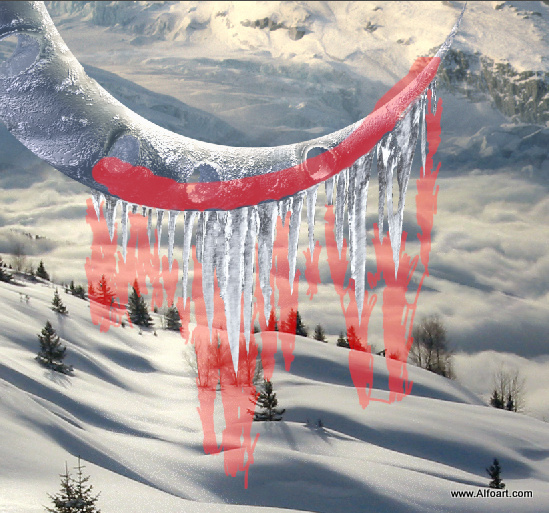
- Here is result of erasing:

- Duplicate icicles layer and apply Ocean Ripple Filter to the duplicate.
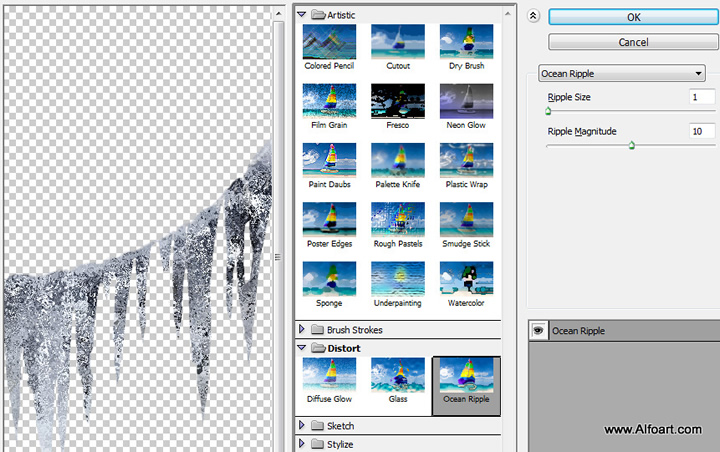
- Apply Auto contrast to this duplicated layer.
- Change Blending Mode to Lighten for this layer and Opacity 70%.
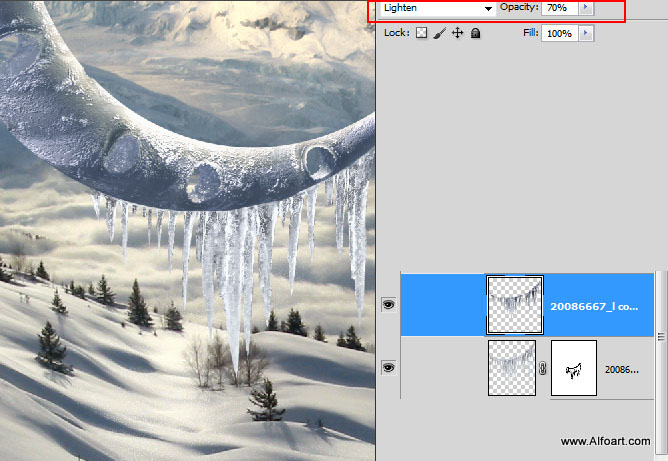
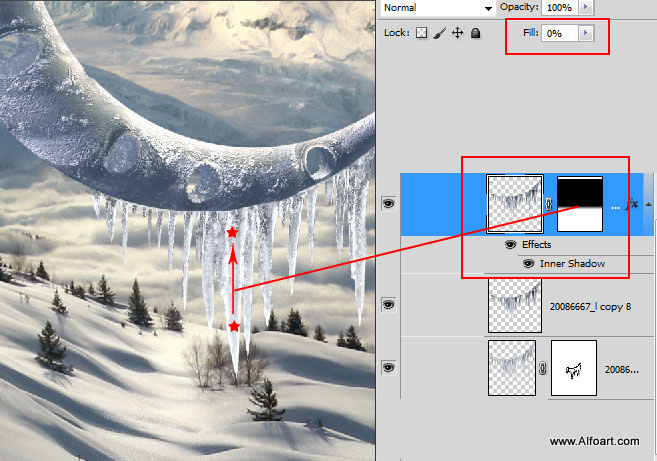
- Duplicate icicles layer once again, apply Fill = 0% and Inner Shadow. Add Layer Mask to this layer and fill it with black & white gradient from one mark to another like on the image below: