


| You may get .psd* file of "Luxury retro car poster with paint splashing effect. Talbot-Lago T-150 CSS" Photoshop tutorial by making a payment. Put the tutorial title in "Add special instructions to seller" line of PayPal and it will be sent to you shortly. |
Used images:
Clouds [link]
Road [link]
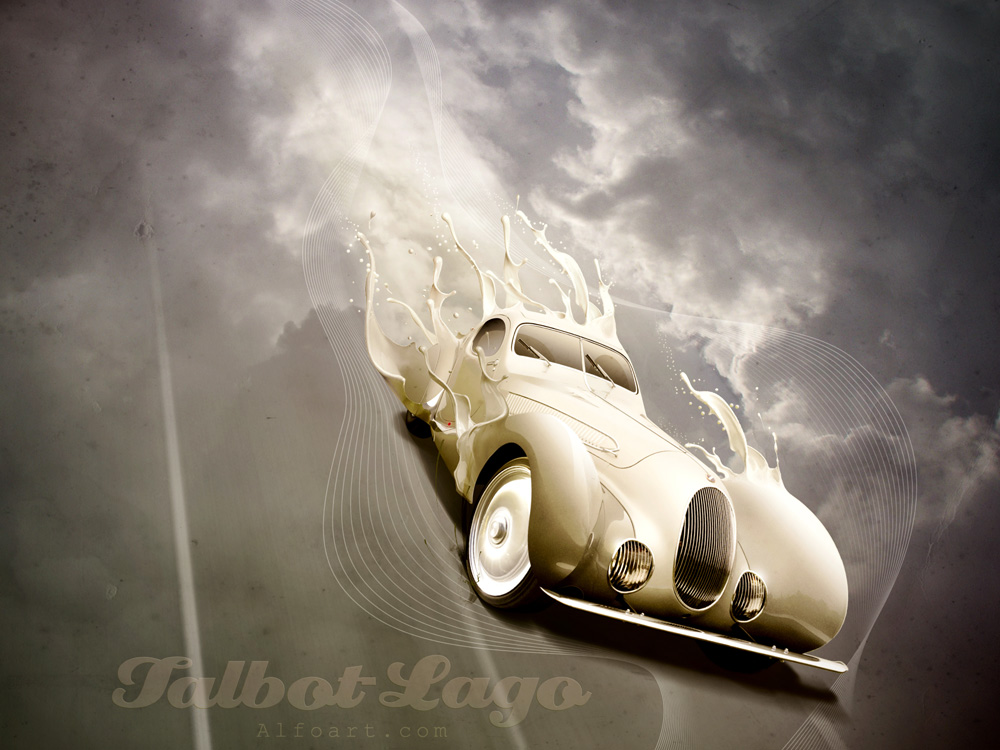
*Png Talbot-Lago car file [link]
Lines(Illustrator file)[link]
Font [link]
Paint splash [link]
Paint splatter [link]
![[link]](images/talbot-lago/talbotlago.png)
- Create a new document in Photoshop.
- Download Talbot-Lago car *Png file.
.jpg)
- Open road image.
- Increase Image Canvas size in 3 times.
- Duplicate road layer 3 tames and merge created layers to make road longer.
.jpg)
- Add Layer Mask and fill it with reflected black&white gradient just like on screen shot.
.jpg)
- Apply Motion Blur filter to the road (Filter > Blur > Motion Blur).
.jpg)
- Apply Distort transformation to blurred road just like on the image below.
.jpg)
- Add layer mask.
- Apply to right edge huge soft round black color brush in the Mask.
.jpg)
- Apply Luminosity Blending Mode to road layer.
- Fill bottom background layer with linear white/gray linear gradient.
.jpg)
- Apply Opacity 80% for road blurred layer and merge it with background layer.
- Insert Sky image. Apply Auto Contrast. Image > Adjustments > Auto Contrast.
- Go to Image > Adjustments > Levels (move black left and white right markers to center a little bit).
.jpg)
- Add Layer Mask and Erase bottom part of sky background using smooth Eraser tool
 .
.
.jpg)
- Insert Illustrator decorative lines.
.jpg)
- Insert car image. Duplicate it.
.jpg)