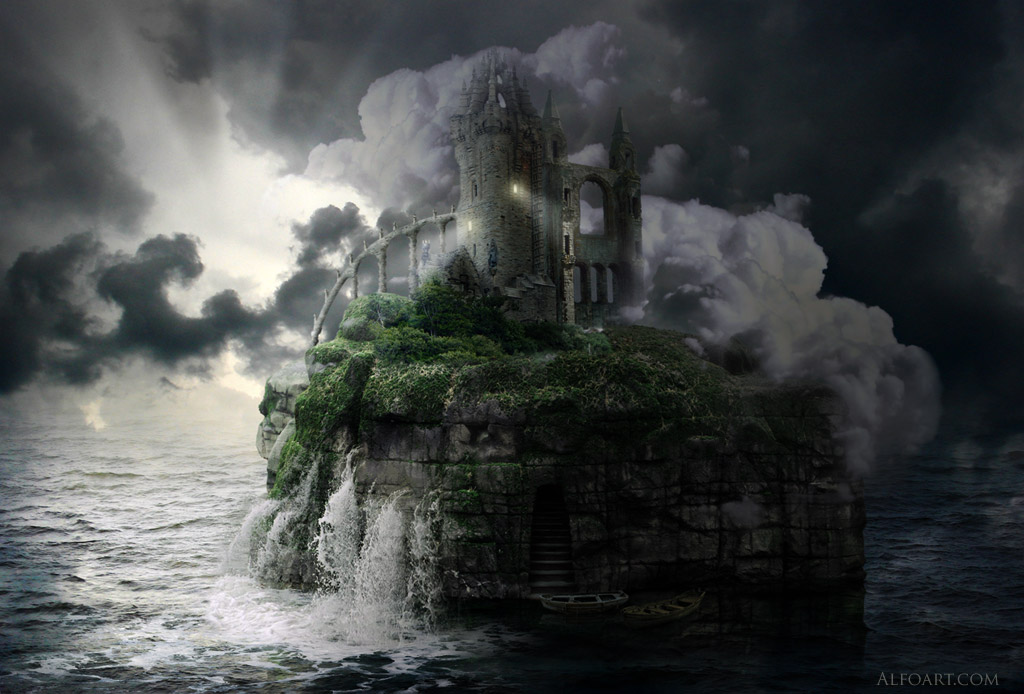
| You may get .psd* file of "Stone Island" Photoshop tutorial by making a payment. Put the tutorial title in "Add special instructions to seller" line of PayPal and it will be sent to you shortly. |
- Images sources:
- www.cgtextures.com
- www.2textured.com (clouds)

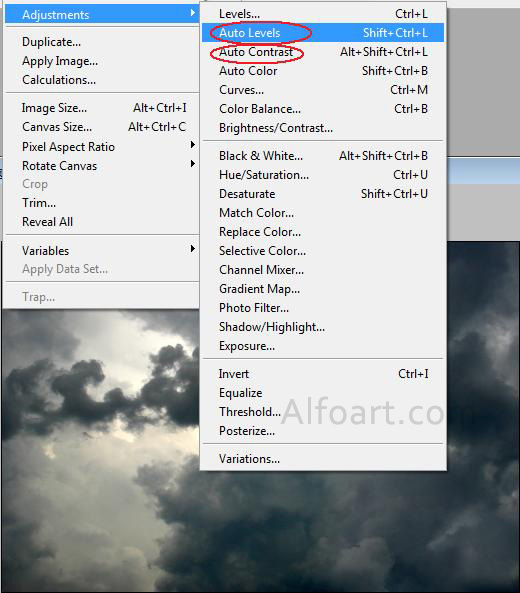
- Make the sky image more contrast and dark. Try Auto Levels and Contrast options or.
- Improve the result using other adjustments such as Levels, Brightness and Contrast, Color Balance.
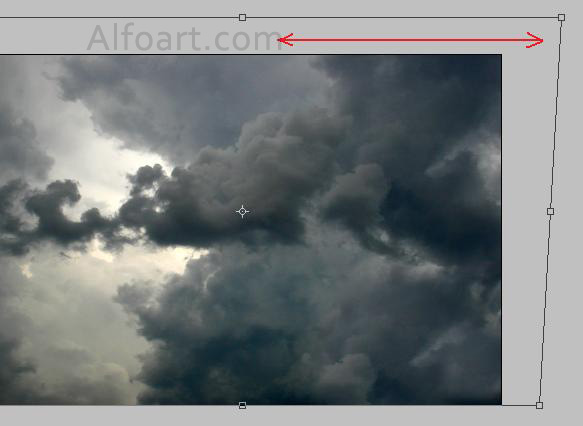
- Apply small Perspective Transformation to the top edge of the sky layer.
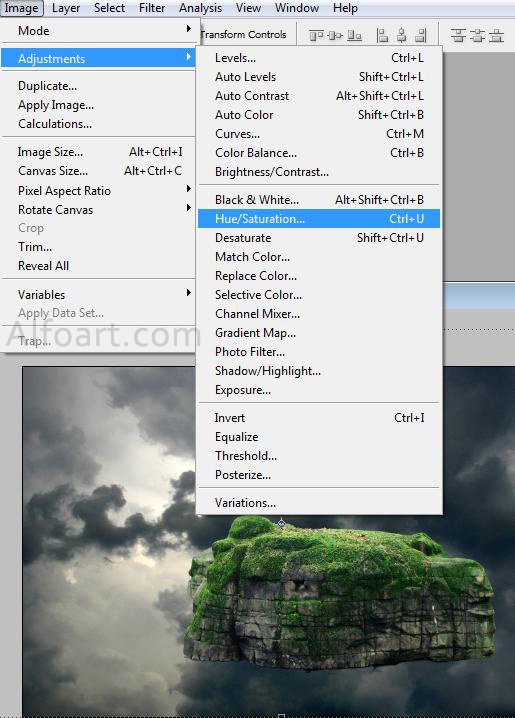
- Place an island picture.
- Reduce its brightness using Hue/ Saturation adjustments.
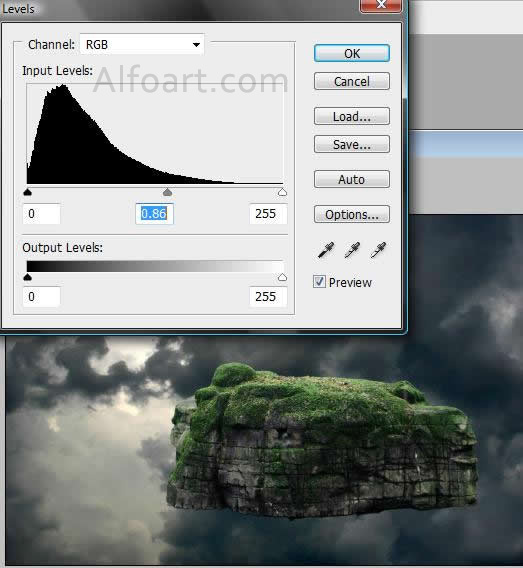
- Go to Levels and move the central marker a little bit right.
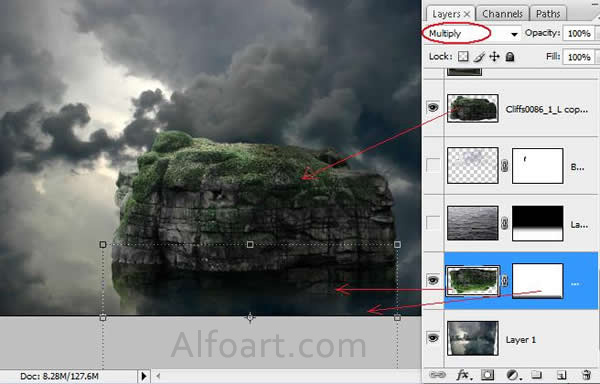
- Duplicate island layer.
- Go to Edit > Transform > Flip Vertical.
- Move it down a little bit.
- Apply Multiply Blending Mode to duplicated layer.
- Add Layer Mask, fill it with linear black and white gradient in the bottom part.