You may get .psd* file of "Glitter Pieces Text Effect". Photoshop tutorial by making a payment. Put the tutorial title in "Add special instructions to seller" line of PayPal and it will be sent to you shortly.
- In order to create reflection effect, make a new "Shiny" duplicate(second duplicated "shiny" sign layer) and place this layer below the gradient layer(first duplicate).
- Add Layer Mask to this layer and fill it with black and white gradient to make reflections visible only for the front plan and wash away the far area.
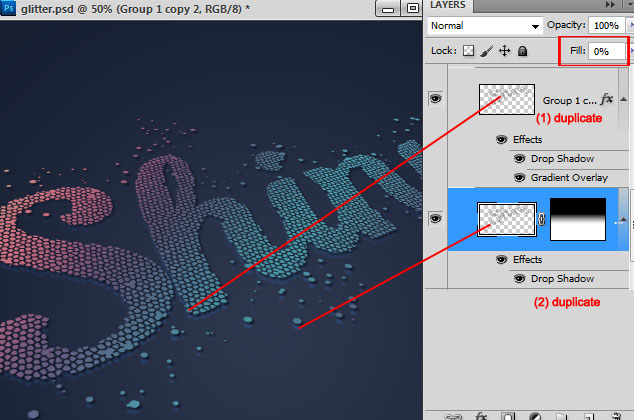
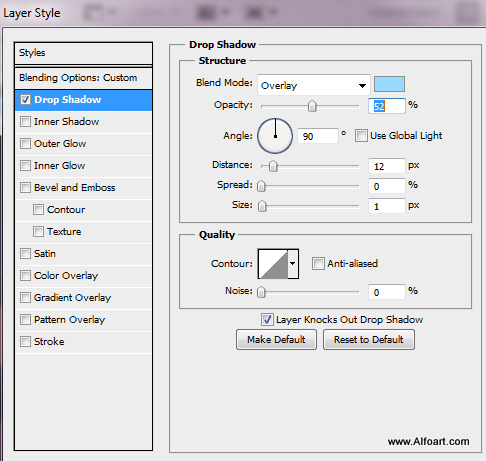
- Apply Fill = 0% and add drop shadow effect.
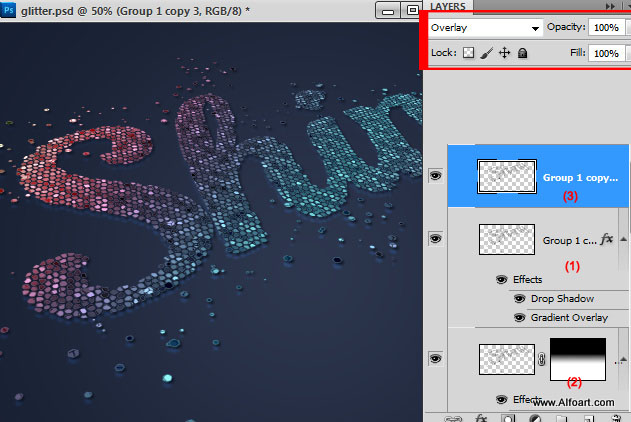
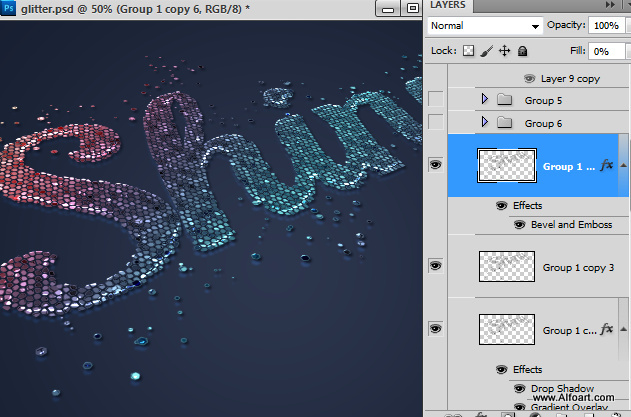
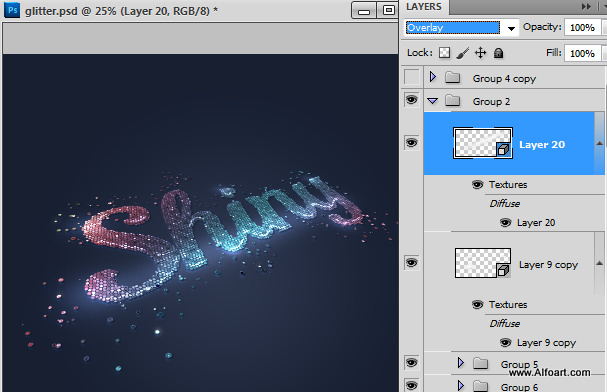
- Duplicate "Shiny" layer third time. Set Fill and Opacity 100%, apply Overlay Blending Mode to the layer. Place this layer above both previous duplicates.
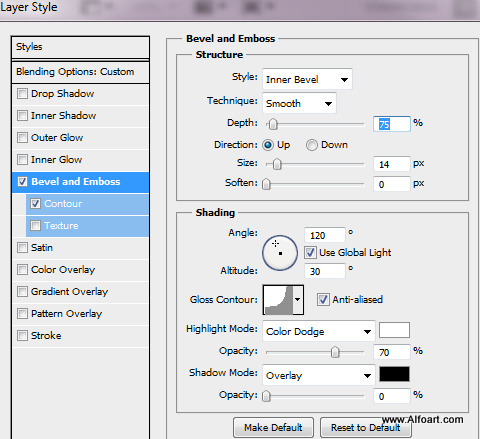
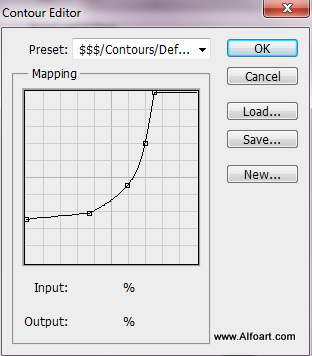
- Make one more duplicate(4-th time), Fill = 0%, apply Bevel and Emboss effect.
.jpg)
- Create 5-th duplicate of "Shiny" layer and apply Screen Blending Mode to this layer.
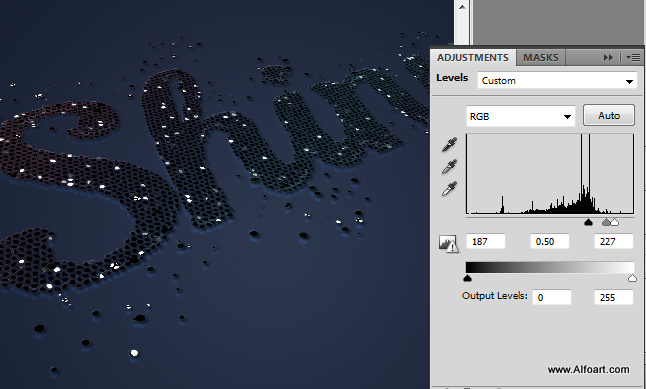
- Correct levels. You may create "Levels" adjustment layer, or go to Image > Adjustments > Levels.
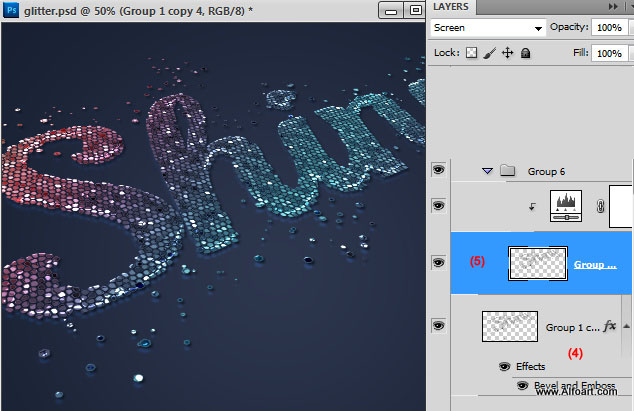
- Use similar Levels setting. If you change back Blending mode of the corrected layer to the"Normal", you should see just small amount of white cells and black all other of them.
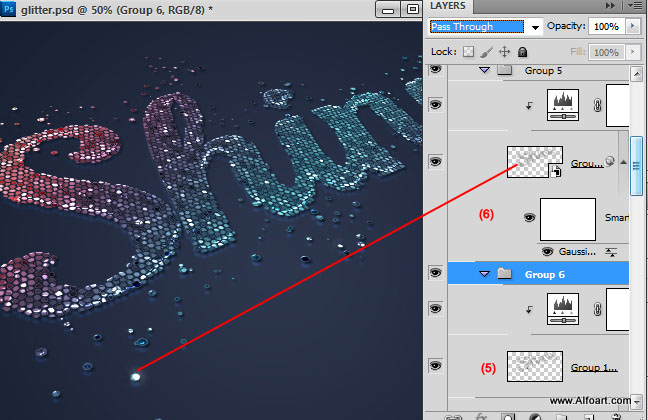
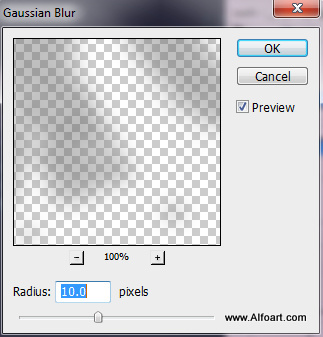
- In order to increase glow effect, duplicate previous levels corrected layer (6) and apply Gaussian Blur filter to it. Use Screen Blending Mode for this layer as well.
- Return to the layer ("Shiny" sign with the sparkles around, created in one of previous steps before converting to 3D). Make it visible for a while.
- Add a new empty layer and make several white spots above the sign using large soft brush.

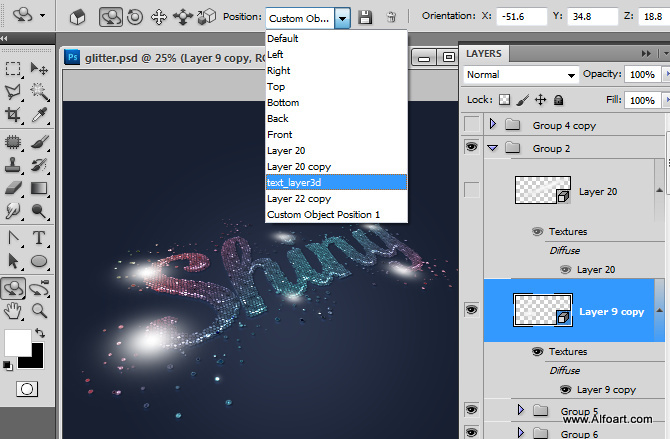
- Make plain "Shiny" layer invisible again and now convert white spots layers to the 3D post card. Use the same settings to set position exactly the same as "Shiny" 3D postcard. You may choose this position from the drop down menu below. If you keep unrasterized 3d layer in the list of the layers you should see the name of 3D layer in the drop down list.
- Apply Overlay Blending Mode to the spots layer.
- You may add another one large blur glow spot. Use the same way as in the previous steps. Create regular large blurred spot, then convert it to the 3D post card, set the same position as for previous 3D layers. Apply Overlay Blending Mode effect.

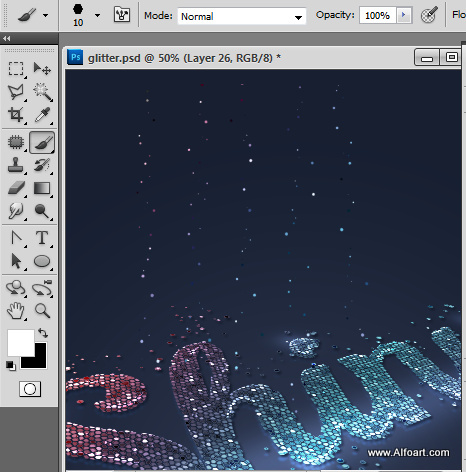
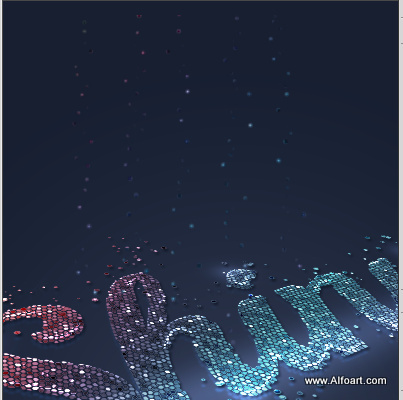
- Here is result after applying glow spots and one large spot from previous step:
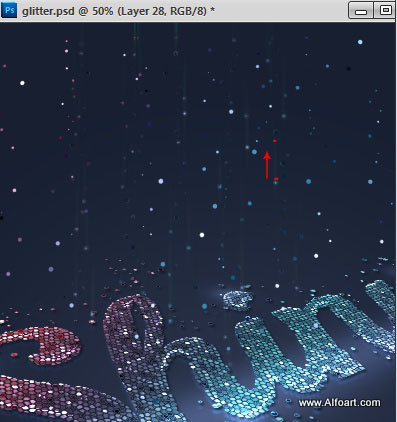
- Create a new empty layer and take glitter brush again, set the size 8-10px and draw some falling glitter pieces:
- Apply Gaussian blur filter to them ~1px.
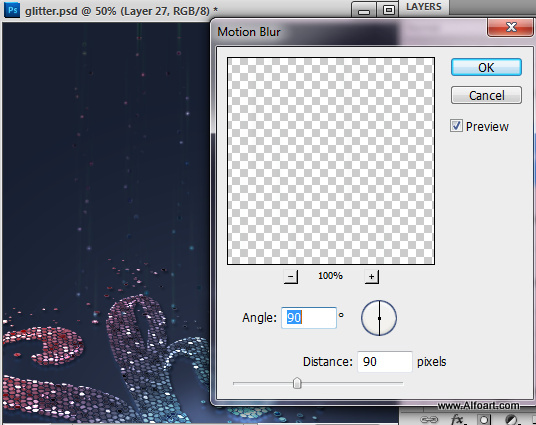
- Duplicate blurred glitter, go to Filter > Blur > Motion Blur

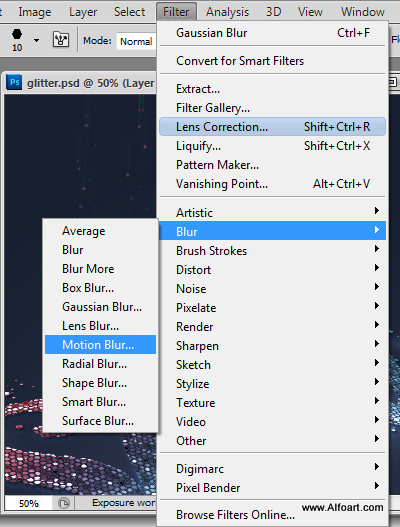
- Use settings from screen shot below, move this layer up a bit to combine the bottom tip of blurred strokes with the light dots from the previous layer.
- Draw new sharp glitter pieces in a new layer with the glitter brush but with the larger size 12-14px.