Learn how to create surreal street scene with the 3D models, water reflections, underwater textures, also learn how to create water line effect from scratch. You may get .psd* file of "Giraffe Neck Knot realistic transformation". Photoshop tutorial by making a payment. Put the tutorial title in "Add special instructions to seller" line of PayPal and it will be sent to you shortly.
- Insert skin texture image above the neck knot.
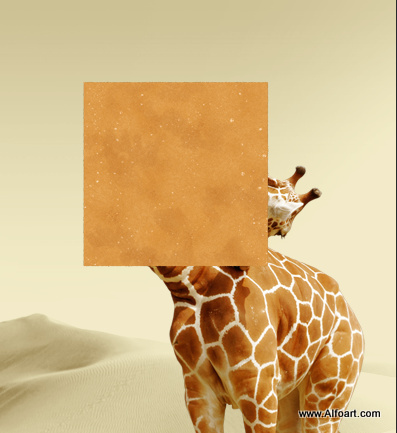
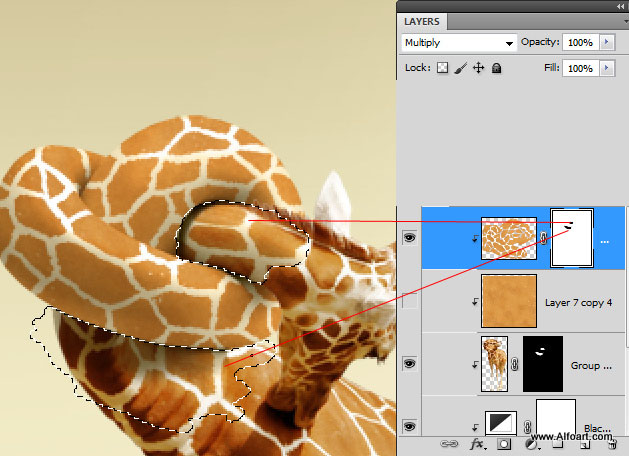
- Apply Multiply Blending Mode to this layer.
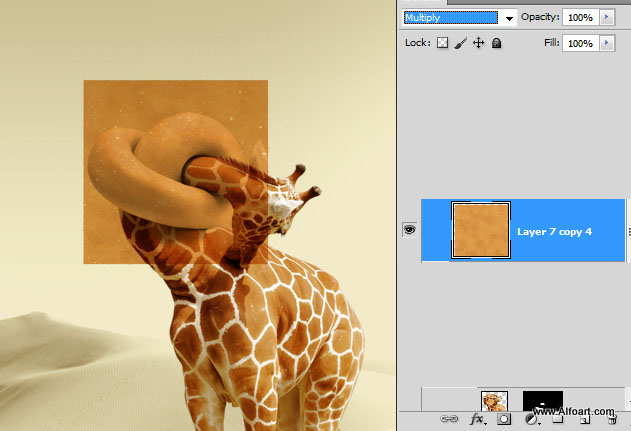
- Create Clipping Mask for "Knot" from this layer too.
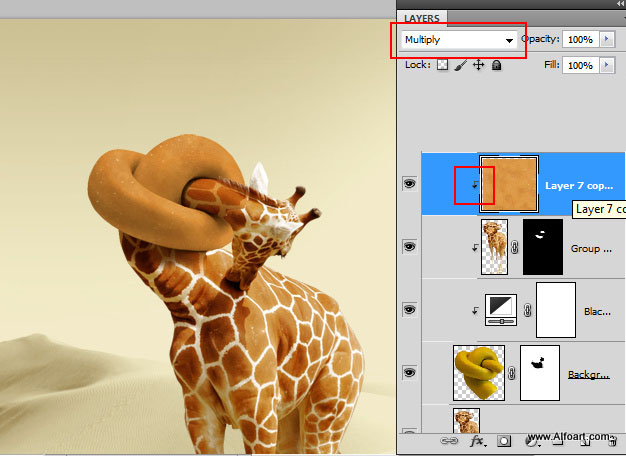
- Take Eraser Tool and choose ragged edge brush, and erase lines. You may do this with the Eraser Tool or with the black brush in Layer Mask.
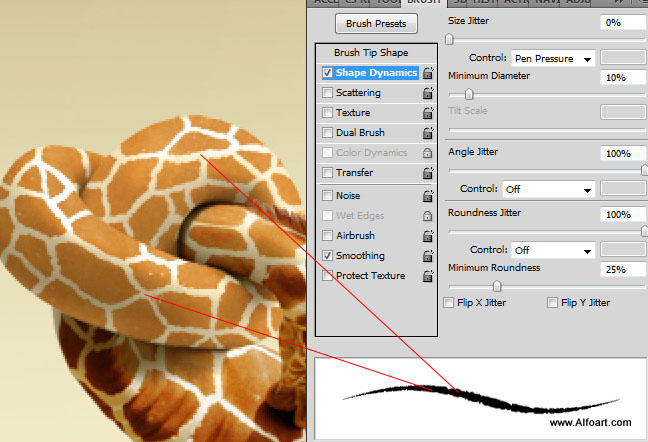
- Also Erase areas(selected on screen shot) those already have skin texture.
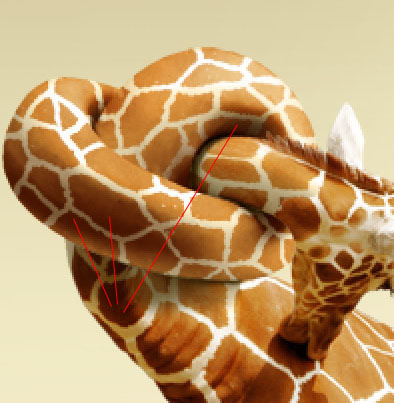
- Let's make neck knot shadows closer to original neck shadows.
- In order to increase shadows, duplicate knot layer(yellow sculpture clay image) and place it above all created layers.
- Go To Image > Adjustments > Black and White and apply setting fro the screen shot below.
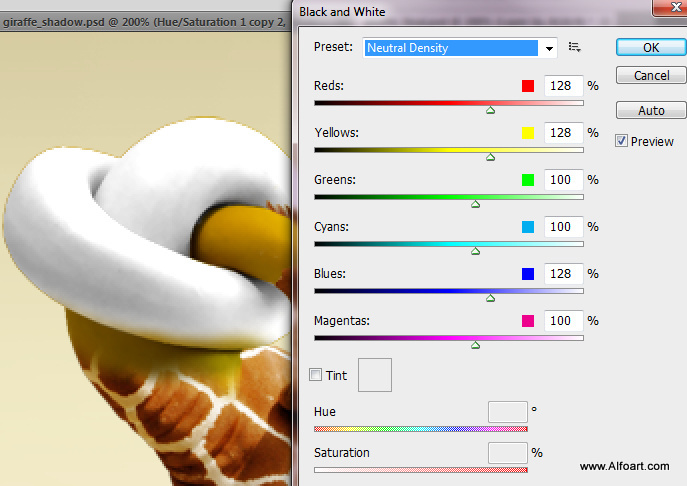
- Then correct levels for this layer.
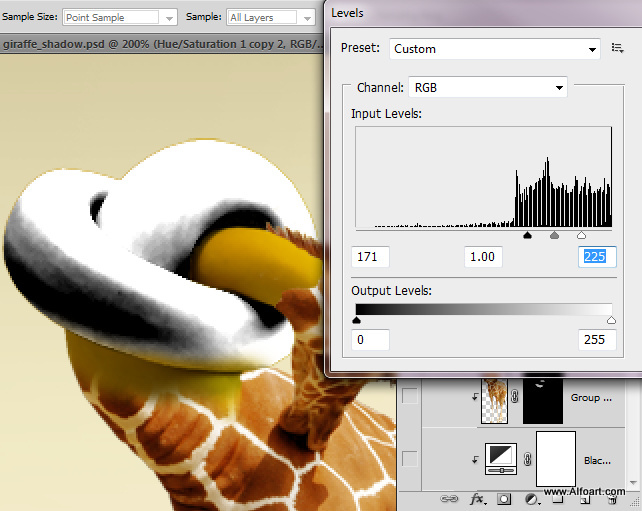
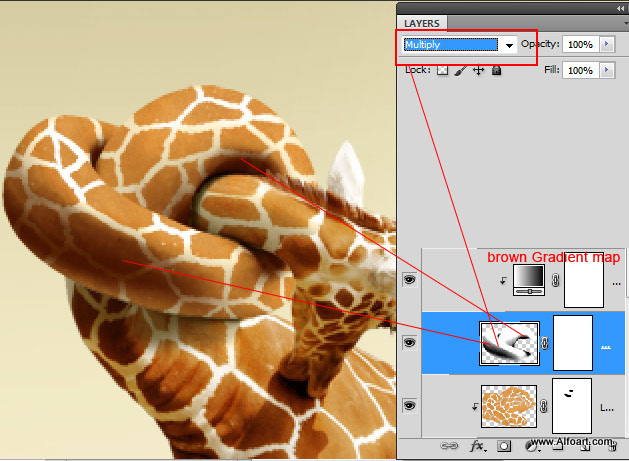
- Then go to Image > Adjustments > Gradient Map.
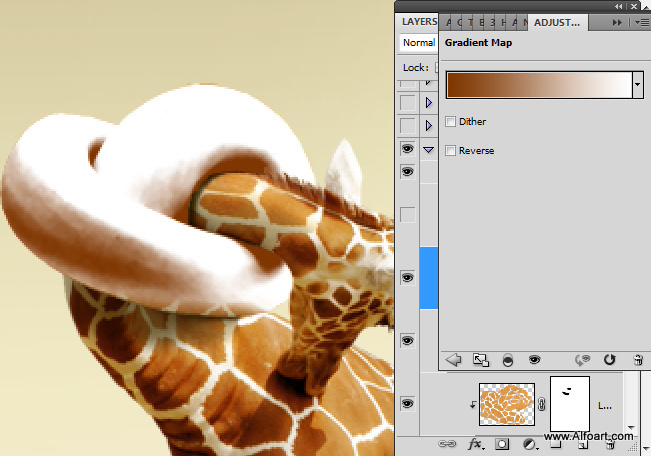
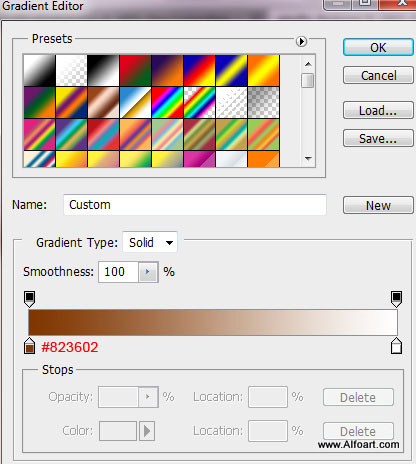
- Apply Multiply Blending Mode for this layer. You may see gradient map adjustment layer(from previous step) on the screen shot below, but you may apply gradient map by using Image Adjustments without creating adjustment layer and clipping mask.
