Learn how to create surreal street scene with the 3D models, water reflections, underwater textures, also learn how to create water line effect from scratch. You may get .psd* file of "Earth Day Clouds Text Effect.". Photoshop tutorial by making a payment. Put the tutorial title in "Add special instructions to seller" line of PayPal and it will be sent to you shortly.
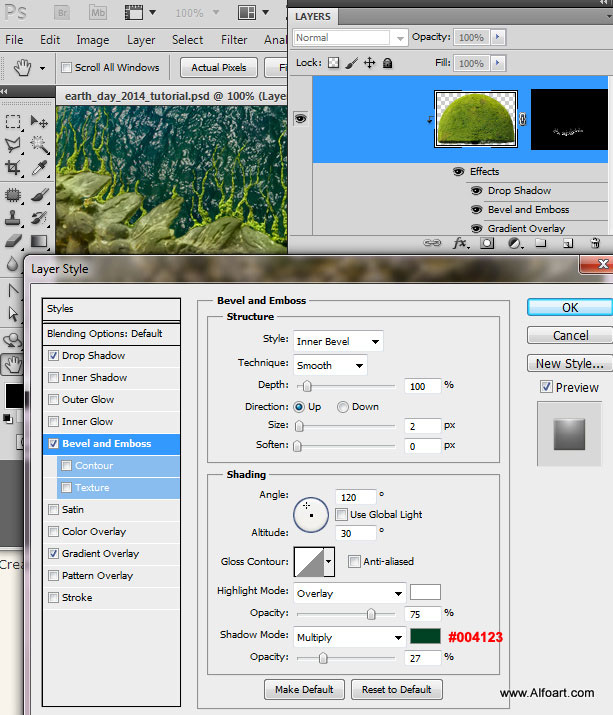
- Add shiny/bright effect to the blue "ocean sphere".
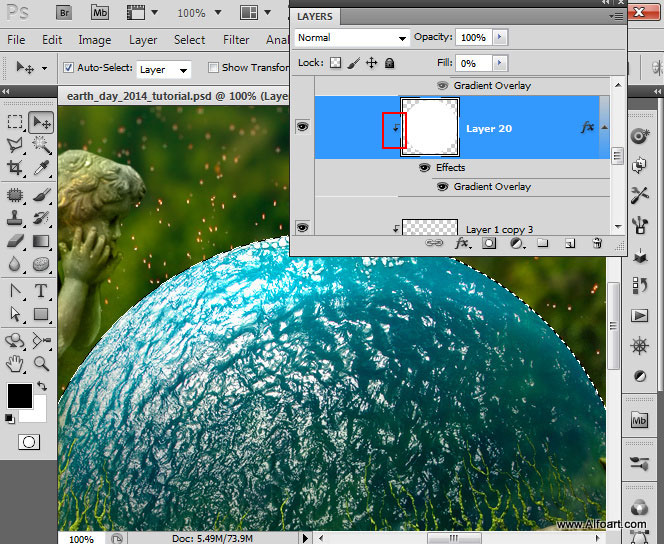
- Load selection for the blue sphere layer.
- Create a new layer above the "moss shapes" and fill it with any color. Apply fill = 0%.
- Create Clipping Mask as previously.
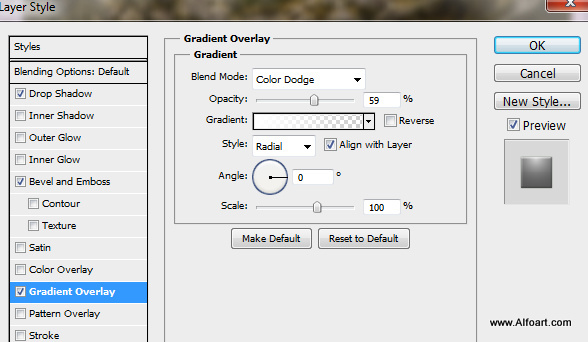
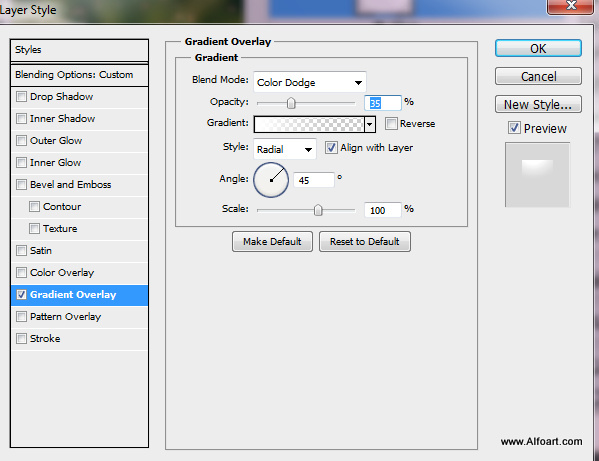
- Apply Gradient Overlay style to this layer.
- Insert Green texture shape once again, place it above all created layers.
- Place Black Map silhouette image above the green shape. We need this layer only to load selection for the map silhouette.
- Apply Clipping Mask again, also add Layer Mask to the green shape.
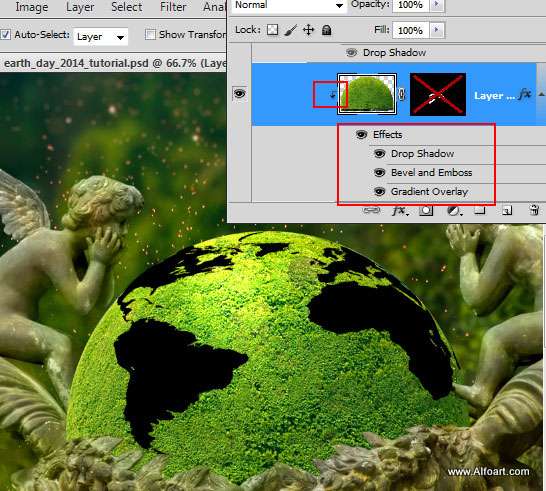
- Load selection for the map and remove this layer or make it invisible, go to Select > Inverse.
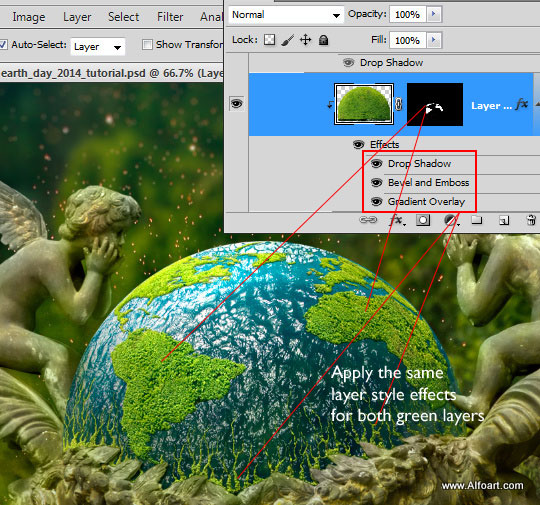
- Return to the "green shape" layer, make active Layer Mask and fill inverted selection with the black color.
- You should get the green map shape above the blue ocean sphere.
- Apply absolutely the same layer style effects as for moss shapes in the bottom part of sphere.
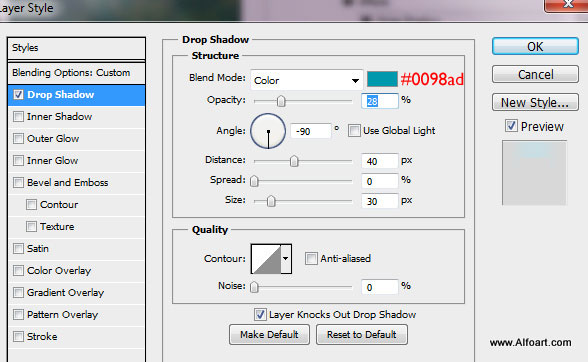
- Finally, in order to create a hint of ocean blue glow above the sphere, load selection for the blue sphere, create a new layer, fill it with any color, apply Fill = 0%.
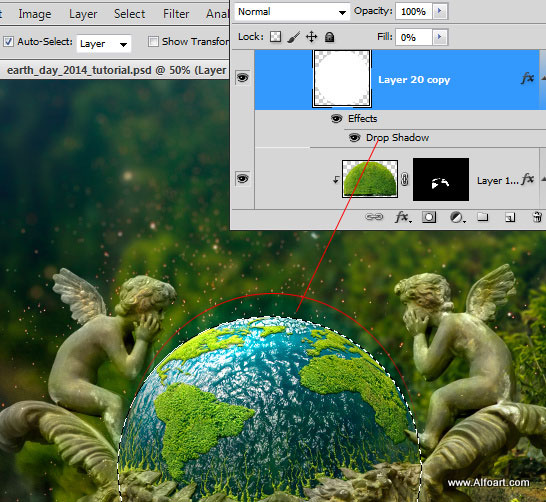
- Apply Drop Shadow to this layer:
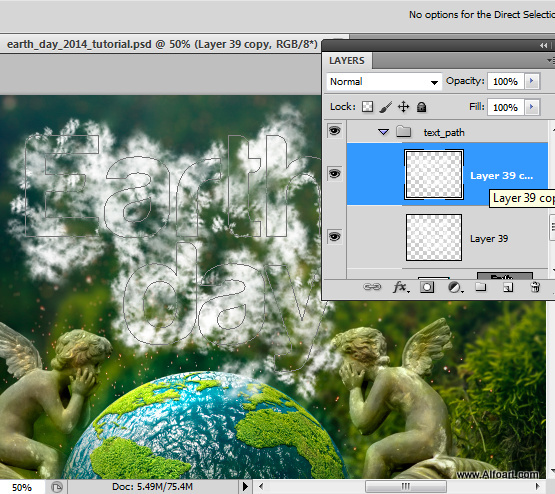
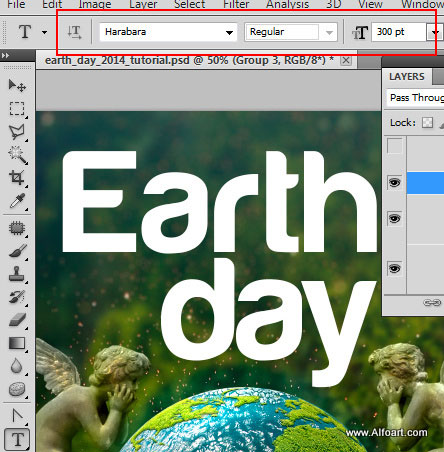
- To create clouds text effect, type the text with any smooth bold font.
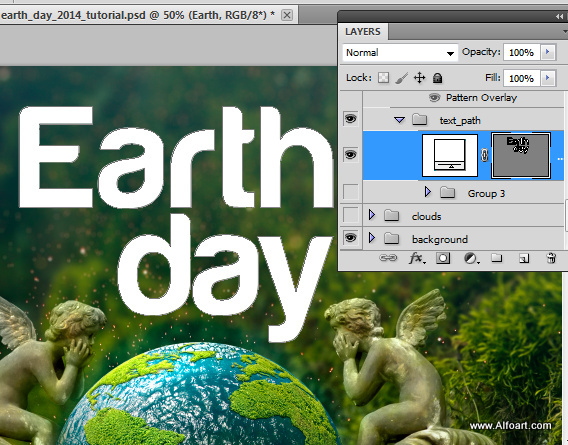
- Right click text layer and choose "Convert to Shape".
- Open "Paths" tab (Window > Paths)
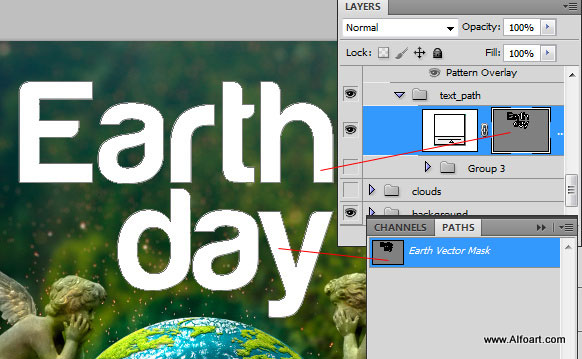
- Duplicate path, drag path thumbnail to the bottom small "new path icon"
 . We need second path to use it separately of the white text shape in future steps.
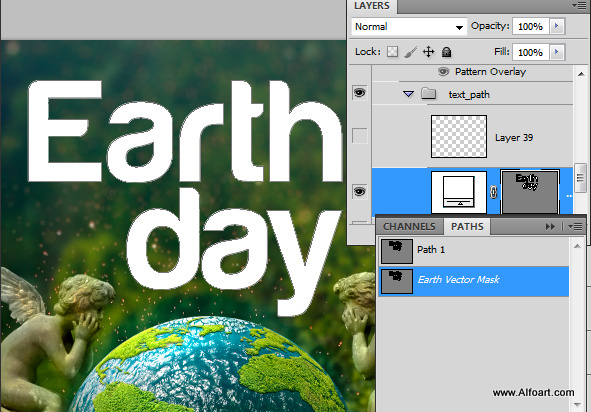
- Make text shape(white) layer invisible(do not delete it, we will use it later).
- Create a new empty layer.
- Go to the "Paths" tab and make path active.
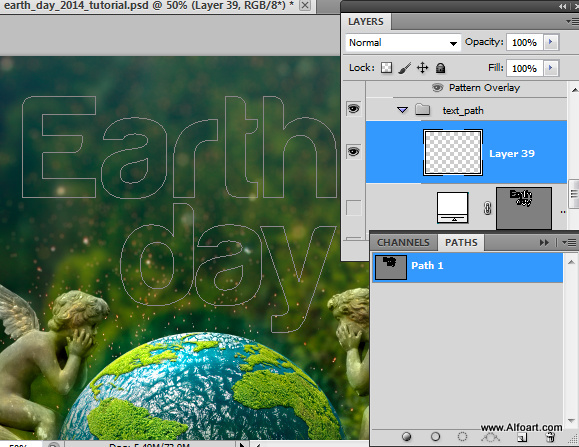
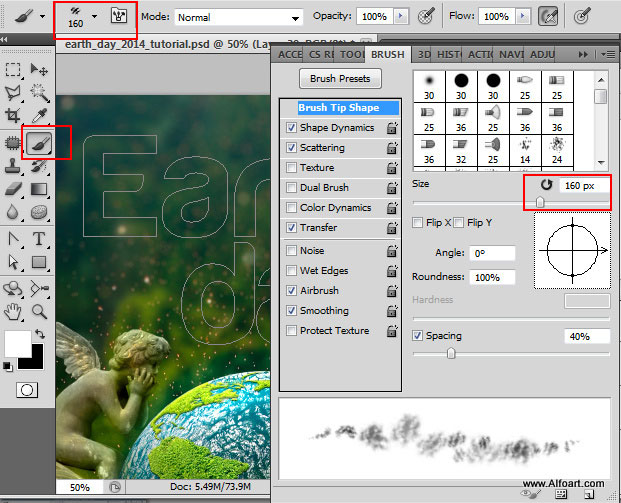
- Download brushes. Take Brush Tool, choose "Bottom Cloud" brush, 160px size.
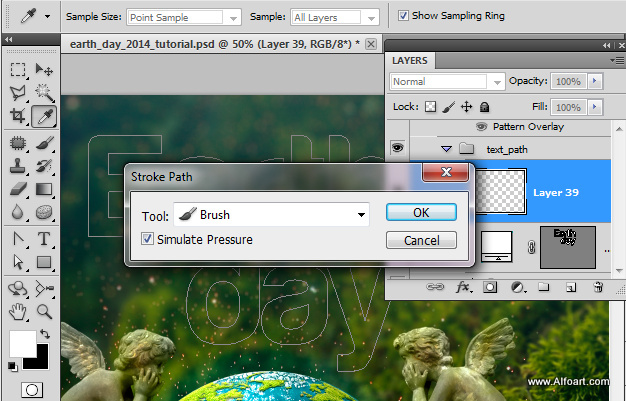
- Then choose Direct Selection Tool. Touch Path with the Direct Tool, right click and choose "Stroke Path".
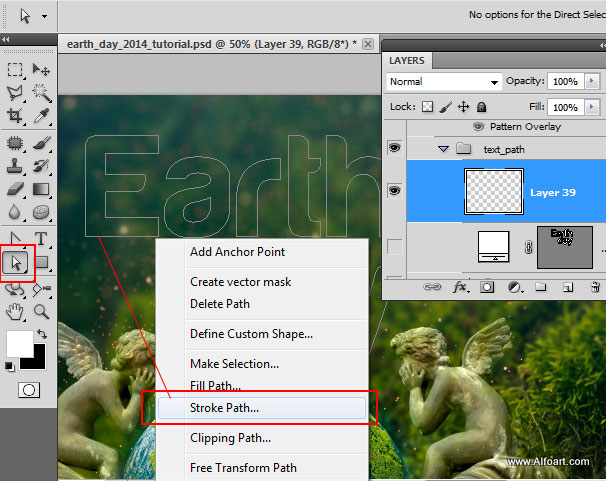
- Choose Stroke Path with Brush tool, check "Simulate Pressure", click "Ok".
- Here is the result of applying "cloud brush".
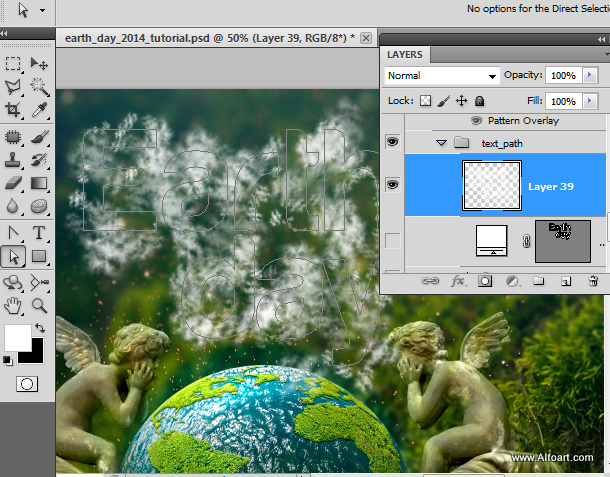
- Duplicate this clouds layer to make clouds more prominent and sharp, then merge both clouds layer to get one merged cloud layer.
