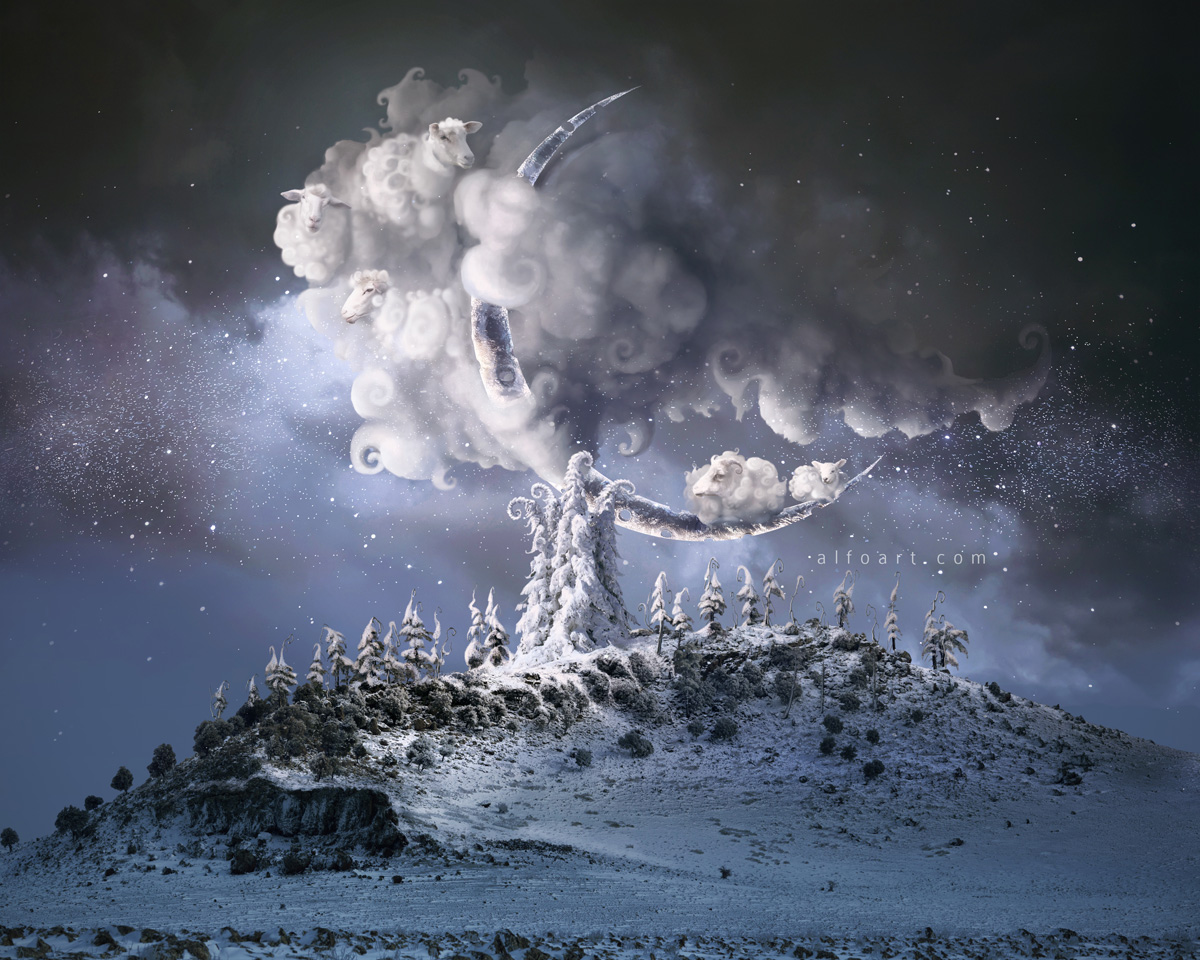
Learn how to create magic photo manipulation with big curly cloud, the crescent above the winter landscape and Christmas trees. You may get large (10 x 8 in, 300px/in) editable .psd* file of "Christmas Dream" Photoshop tutorial by making a payment. Put the tutorial title in "Add special instructions to seller" line of PayPal and it will be sent to you shortly.
- Select a small part of the large cloud with the Lasso Tool, in order to copy cloud area including all settings and adjustment layers go to Edit > Copy Merged. paste selected area into a new layer above the crescent. You may correct small cloud shape using Liquify filter.
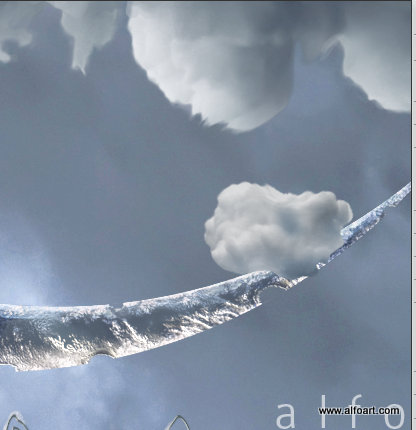
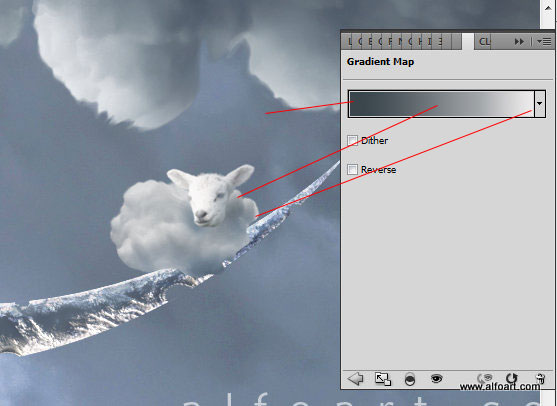
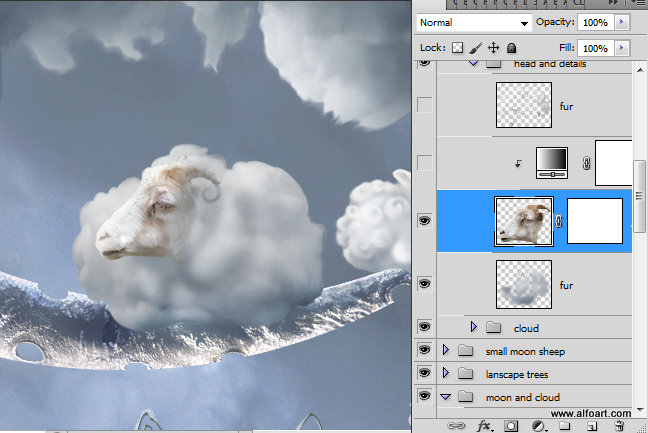
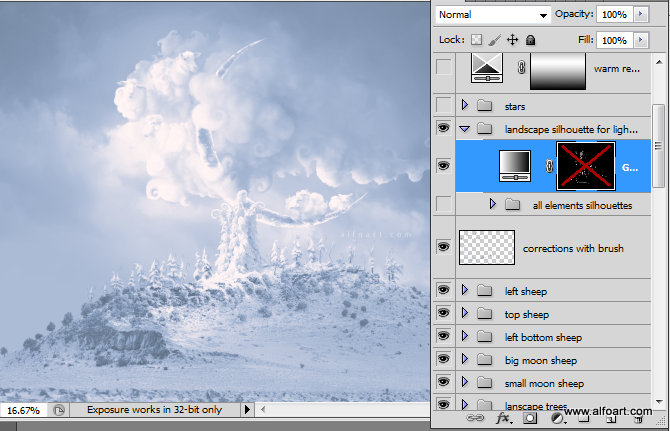
- Insert sheep head.
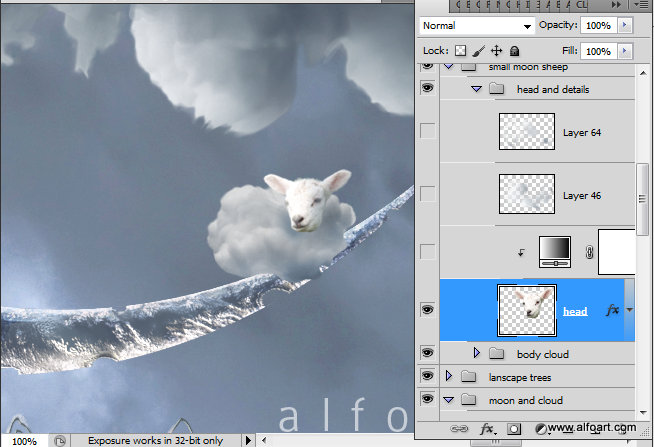
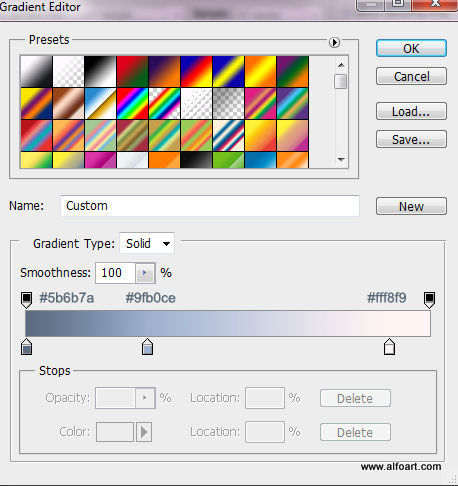
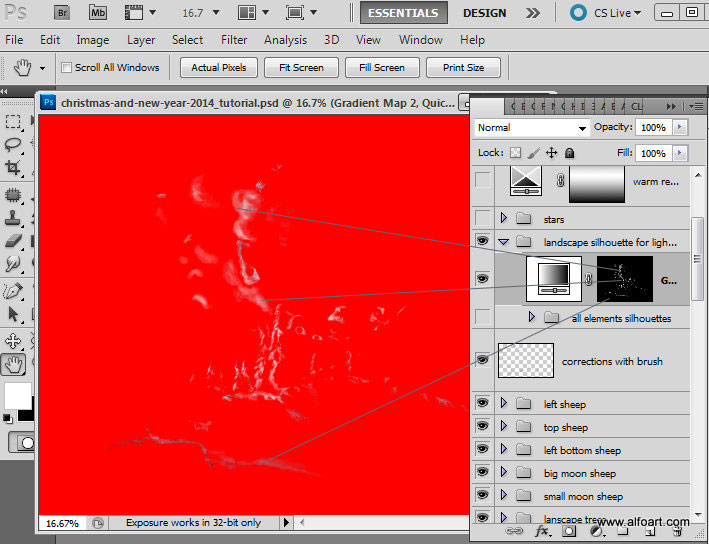
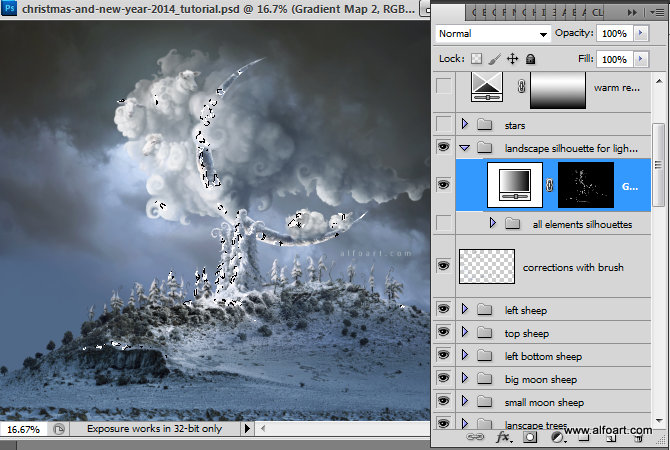
- Add Gradient Map Adjustment layer/clipping mask to the head layer.
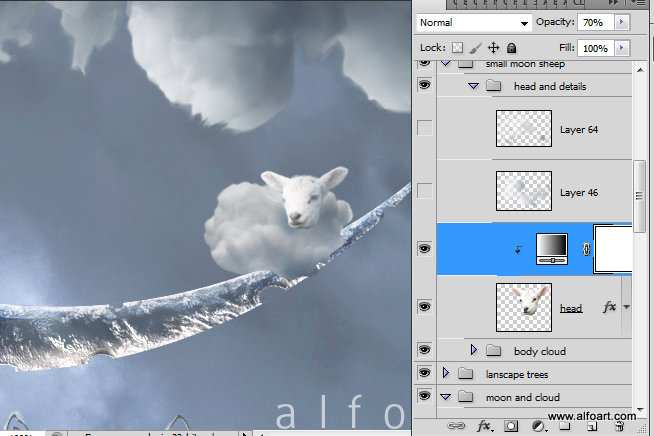
- For the gradient map use the colors similar to colors around the "cloud sheep".
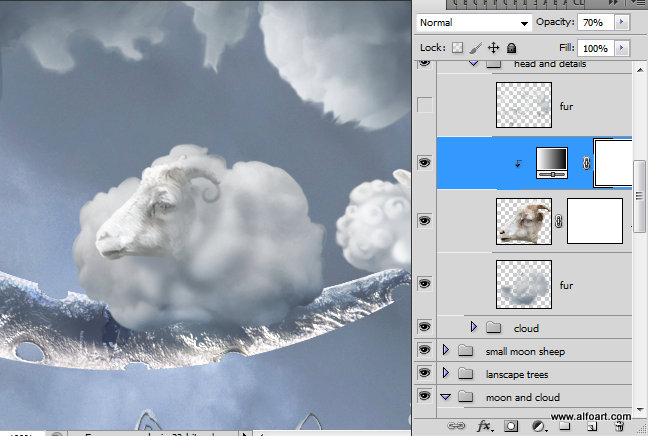
- Use soft translucent brush (opacity ~30%) to draw body shapes.
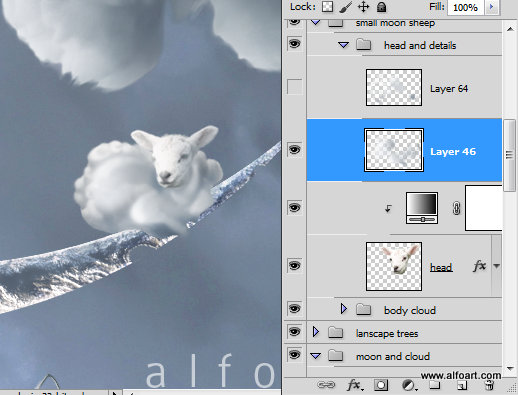
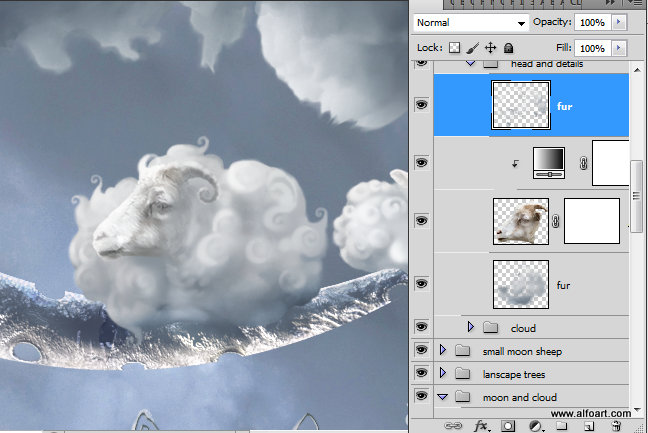
- Use clouds brushes to add some curls.
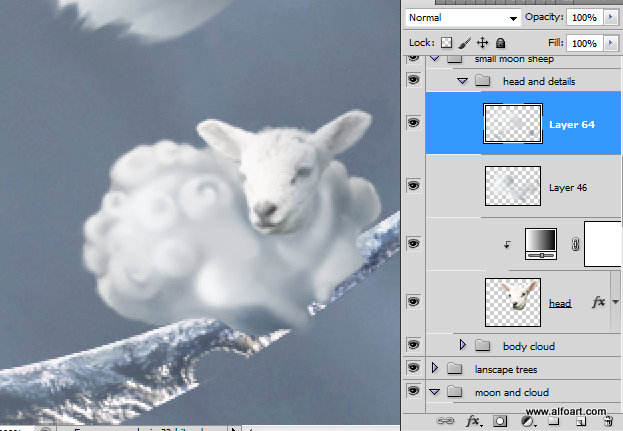
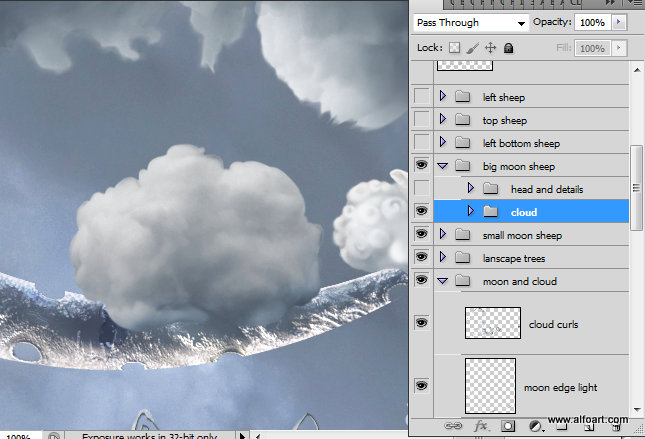
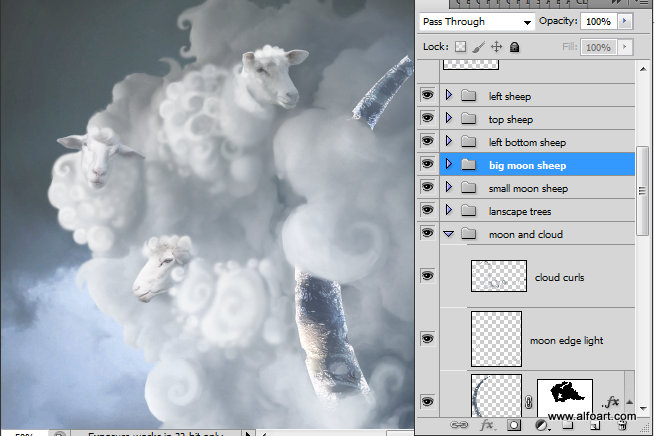
- Use the similar actions to create second and all other animals.
- Add Gradient Map Adjustment layer above all created layers
- Use very bright and light colors for the Gradient map:
- First, fill adjustment layer mask with the black color, then process with the small translucent brush to create bright reflections:
- Here is the selection of these areas:
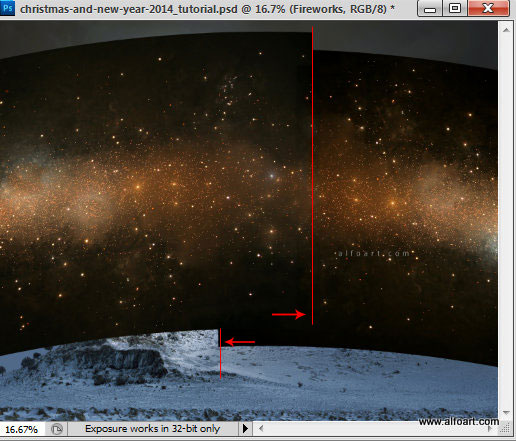
- Insert Fireworks image above. Actually I duplicated this layer and reflected it horizontally and vertically. Then I merged two layers in center part. One duplicate is covering another a little bit.
- In order to apply arc transformation, go to Edit > Transform > Warp > Arc.
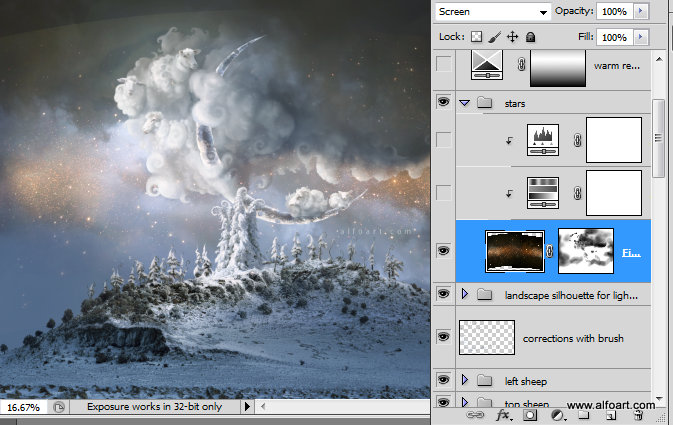
- Apply Screen Blending Mode to this layer:
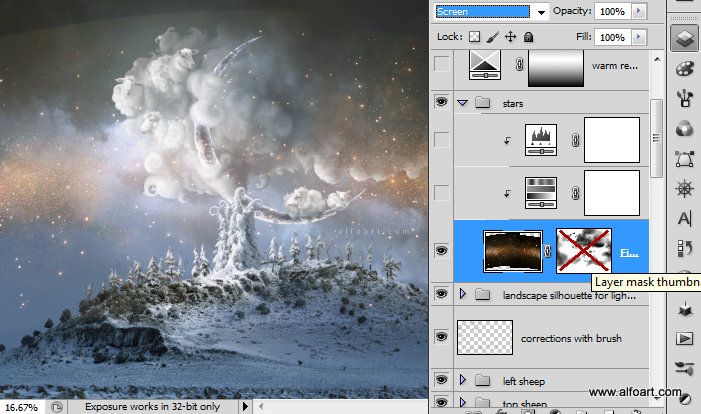
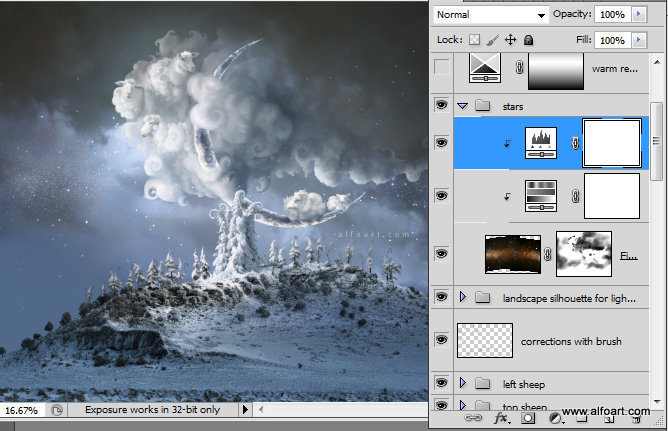
- Add layer mask to this layer and process some areas with the soft translucent brush to make some areas less shiny or erase stars from the clouds and animals.
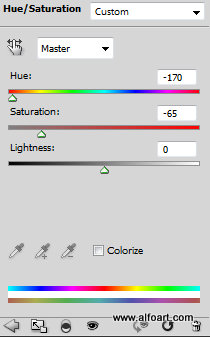
- Add Hue/Saturation adjustment layer/clipping mask to correct stars color.
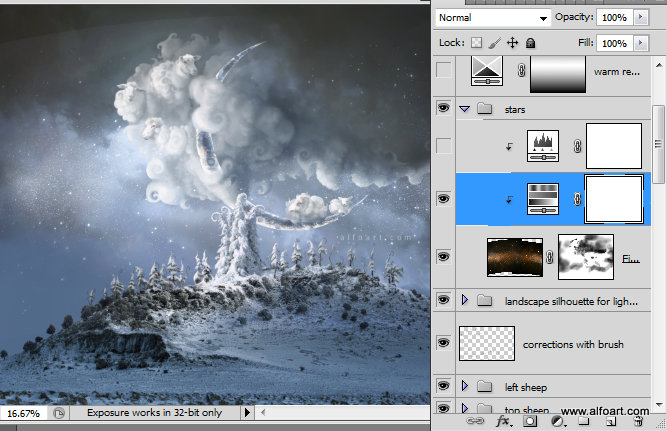
- Here are the settings for the adjustment layer:
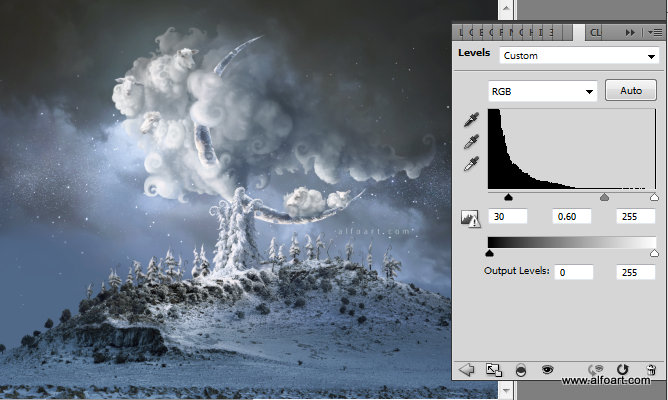
- In order to remove white light shade from stars background and make them more contrast apply levels adjustment layer:
- Here are the Levels adjustment layer:
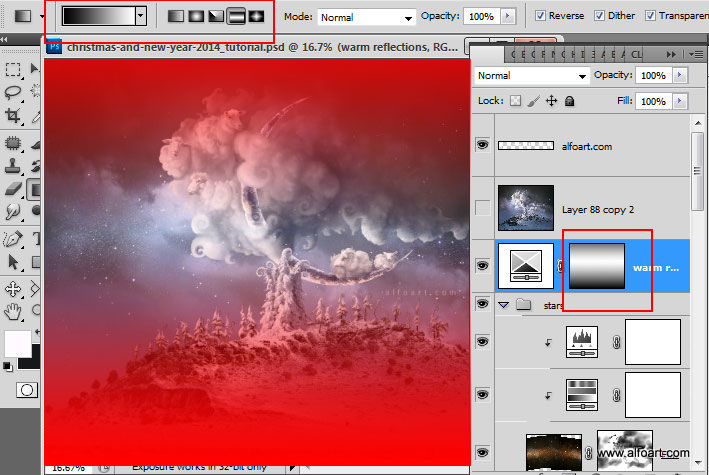
- Finally, add some warm shades/reflections to the whole scene.
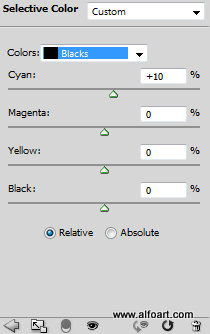
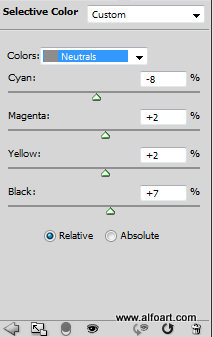
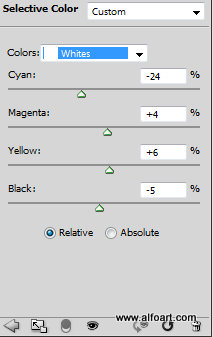
- Create Selective Color adjustment layer. Then fill adjustment layer mask with the Reflected gradient:
- Selective Color settings:
And here is the result!