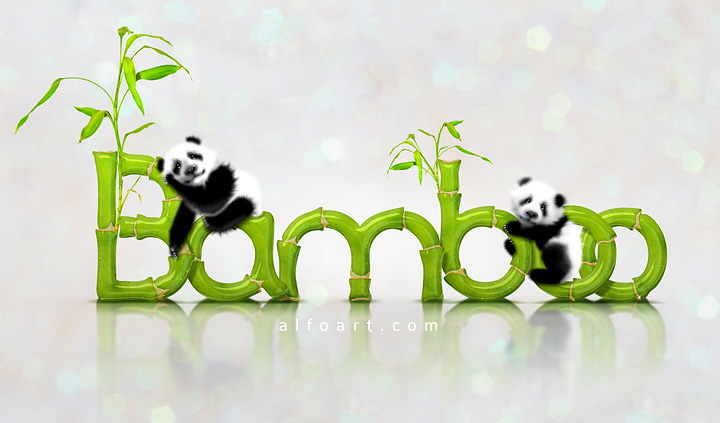
Learn how to create surreal street scene with the 3D models, water reflections, underwater textures, also learn how to create water line effect from scratch. You may get .psd* file of "Cute baby panda & Bamboo text effect". Photoshop tutorial by making a payment. Put the tutorial title in "Add special instructions to seller" line of PayPal and it will be sent to you shortly.
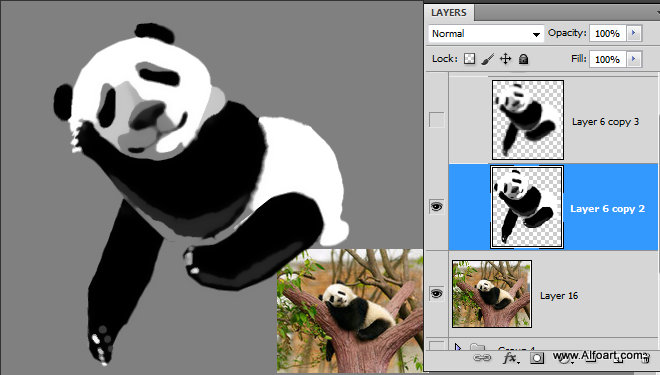
- I've created simple panda silhouette with thee several spots and 8 shades of gray, glack and white.
- The panda's body pose is from the real panda photo.
- You don't need to draw body from scratch, you may use any actual panda photo. Just separate animal image from background.
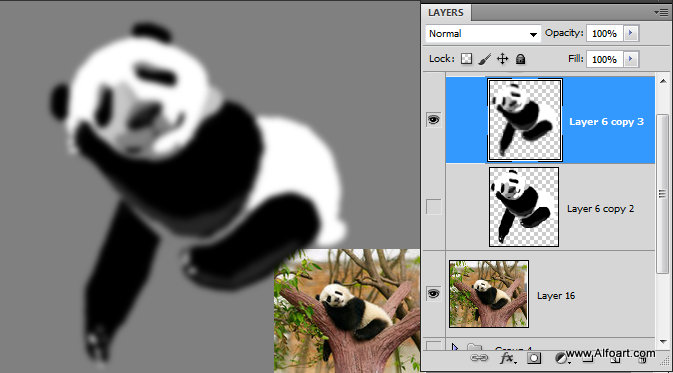
- Apply Gaussian Blur Filter to panda layer(~3-5px). The background should be transparent.
- Download hair brushes. Choose Smudge Tool and one of the hair brush. Adjust strength 70%. Move this tool from inside part to the panda color spots to edgest. Try different size brushes to find which one is working better for different areas.
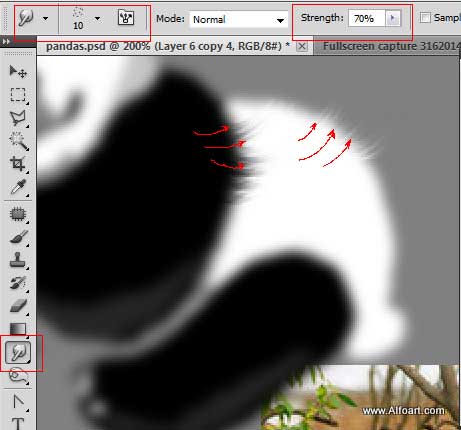
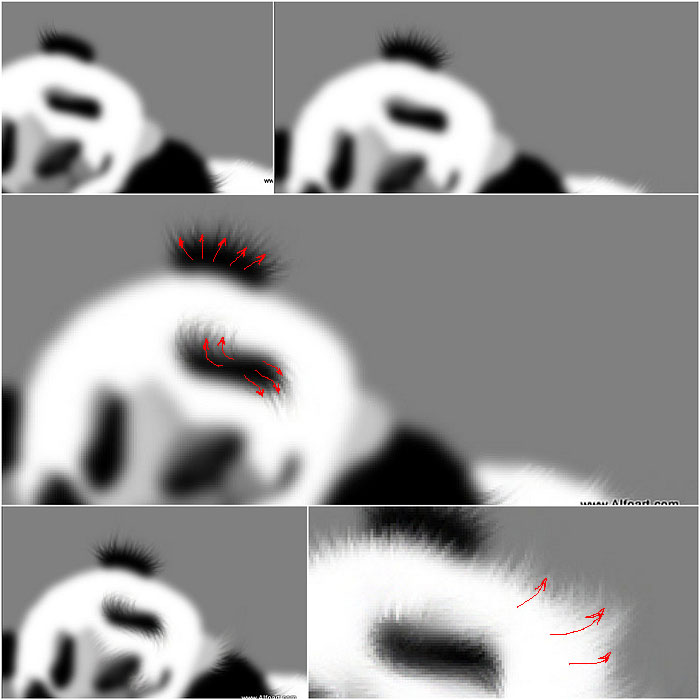
- After creating fur, add several sharp details.
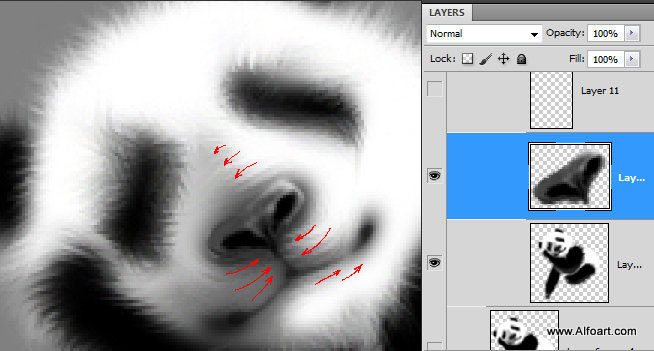
- You may draw nose with the small brushes or just paste nose from the panda photo or other animal photo with the similar anatomy.
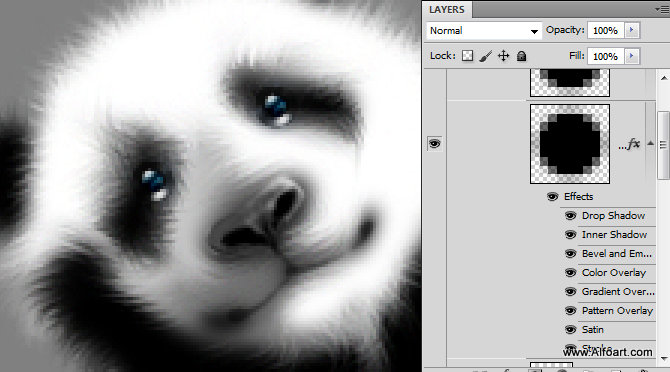
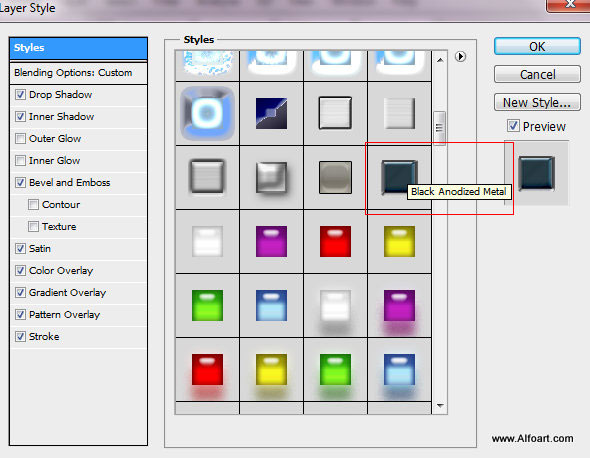
- Create small eyes with the regular Ellipse Tool, apply preset Photoshop style "Black Anodized Metal" to them.
- Draw small nails with the regular small brush (2-4px).
- Place pandas above the text layers.
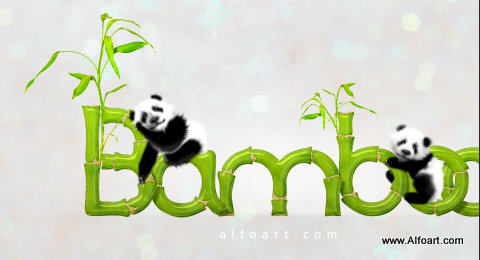
- Group all layers except the background. Duplicate the group. Merge duplicated group. Go to Edit > Transform > Flip Vertical.
- Move this layer down to create reflection. Place this layer below pandas & text group and above the background and white spot.
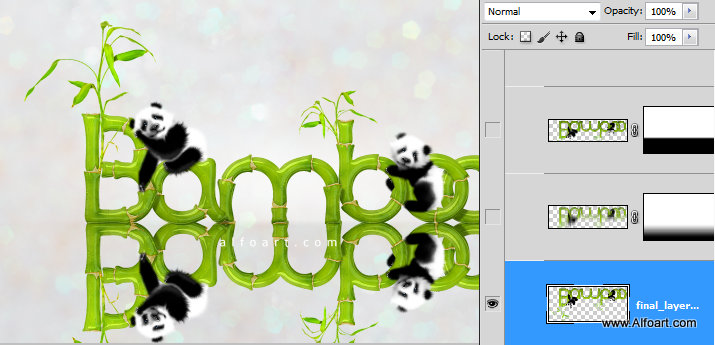
- Add Layer Mask to the reflection layer. Fill it with the black and white linear gradient.
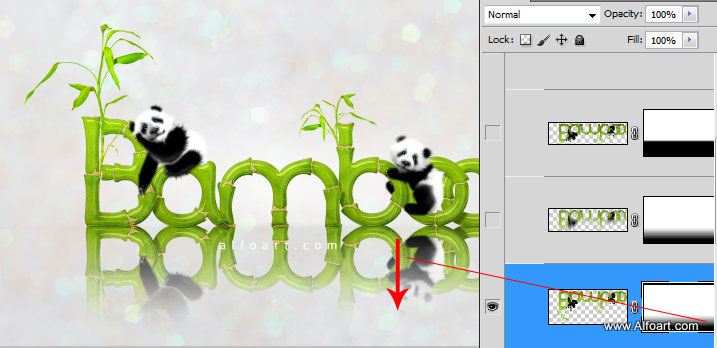
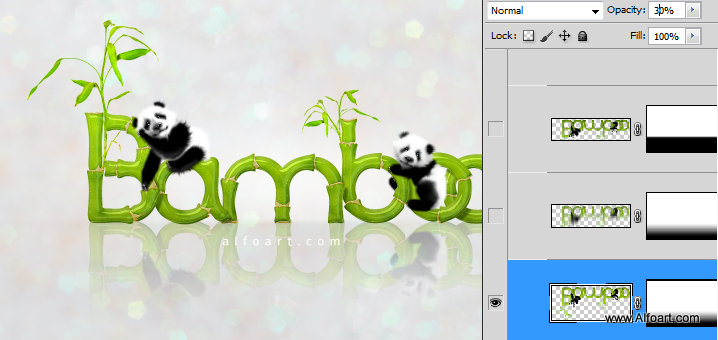
- Set Opacity 30% for the reflection layer.
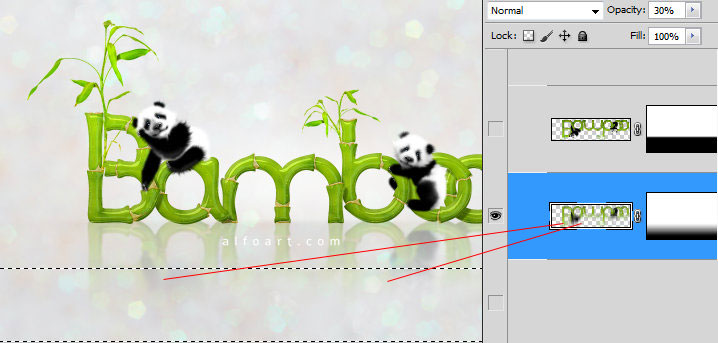
- Ctrl + Click layer Layer Mask, to load selection for the white part of the Mask Gradient. Go to Select > Inverse Selection in order to select bottom part of reflection. Make active reflection layer thumbnail (not the Mask).
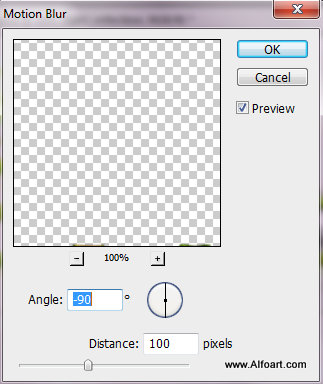
- Apply Motion Blur filter to the selected area of reflection.
- Duplicate reflection layer. Apply Multiply Blending Mode to it and Opacity 100%.
- Fill it with the layer mask with the Black and white gradient but in the very top part.
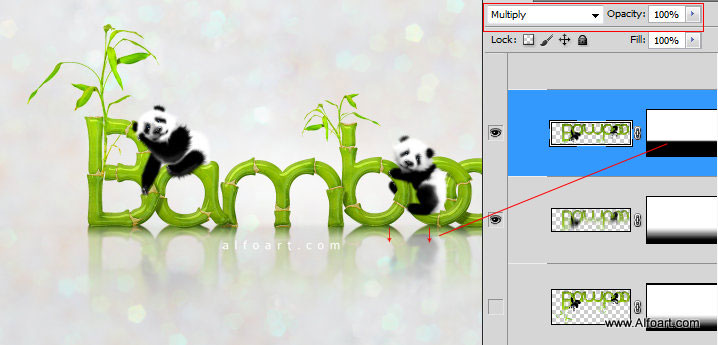
- Duplicate previous Multiply Blending Mode layer, remove and apply gradient Layer Mask.
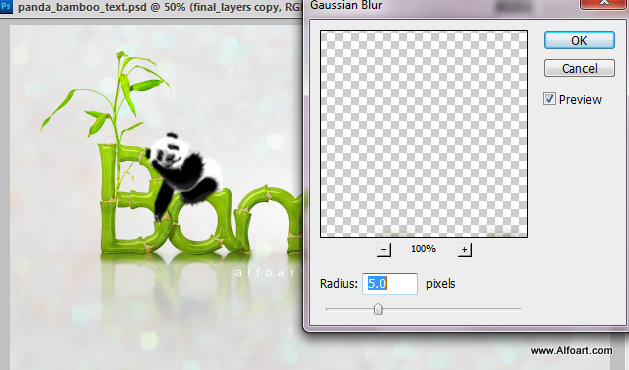
- Apply Gaussian Blur Filter to this layer.
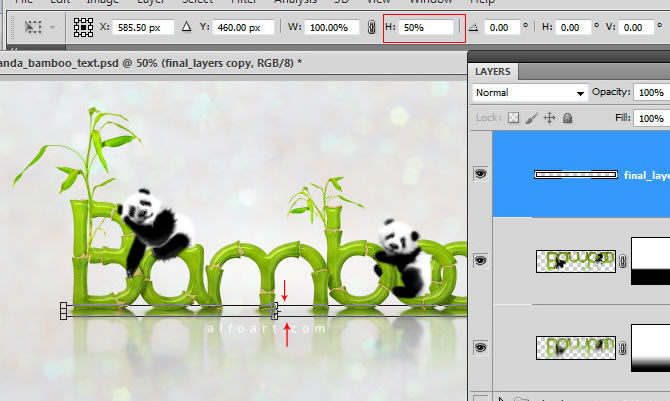
- Shrink this layer by vertical, make it 50%-60% smaller.
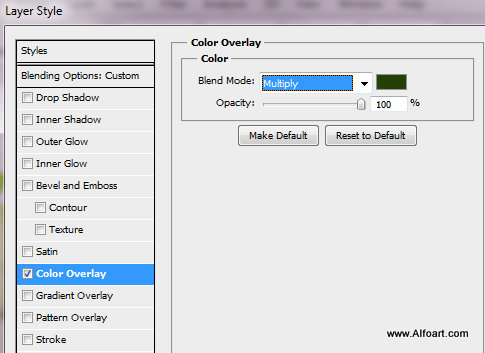
- Apply dark green color effect to this shape.
- Play with layer Opacity to find better setting for natural looking shadow:
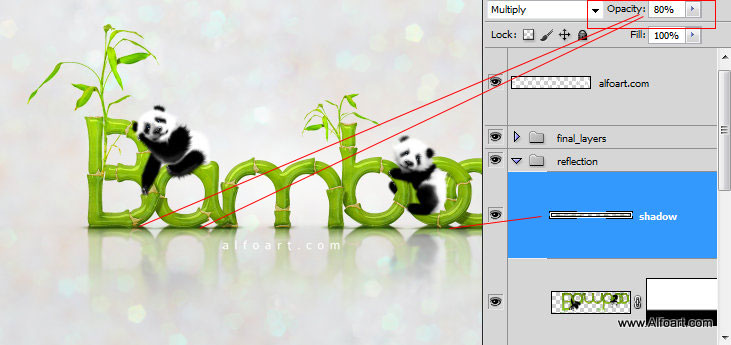
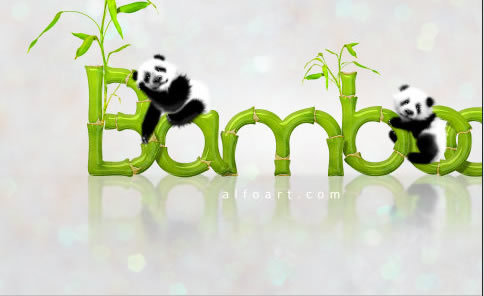
And here is the result!


