


|
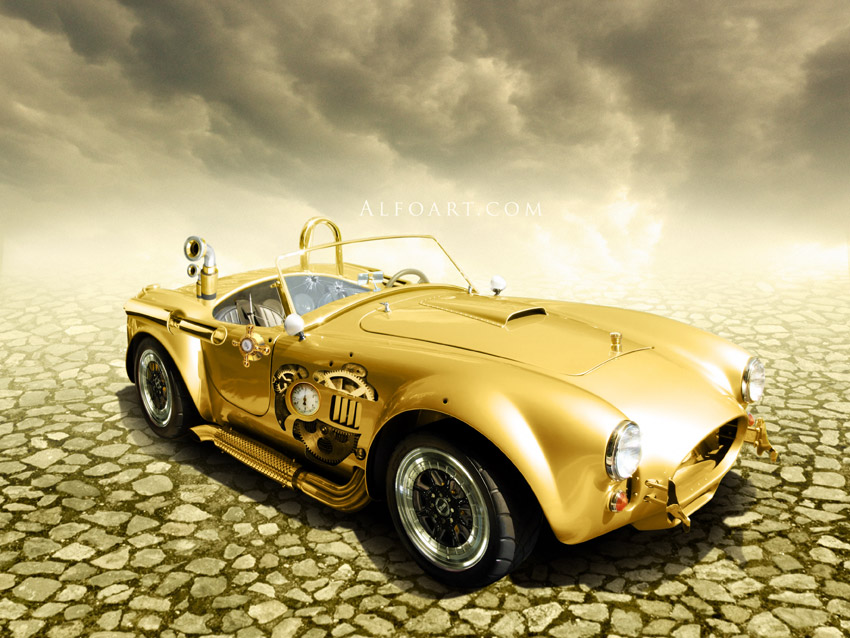
Click to enlarge the picture!
- Open car image in Photoshop.
- Separate car from background. Create car path silhouette using Pen Tool and Convert Point Tool. Load selection - Ctrl + Enter for it. Copy selected area and paste it into a new layer.
.jpg)
- Load selection for car once again, create a new layer and fill selected area with any color.
- Adjust Fill parameter about 0%.
- Apply following Color Overlay effect to created layer.
.jpg)
- You should get something like on the picture below.
.jpg)
- Add Layer Mask to this layer and erase some areas to get golden car with chrome details.
.jpg)
- Add new details, use transformation tools to change them shape - Distort transformation, Perspective transformation, Free and Warp transformation
.jpg)
- In order to get applicable color scheme of details change brightness, contrast, color balance using Image Adjustments such as Levels, Color Balance, Saturation, Photo Filter. For example, play with levels settings drug and move markers in levels histogram.
.jpg)
.jpg)