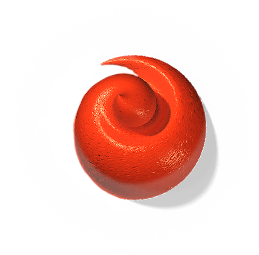
Spaghetti Text Effect
Learn how to create realistic pasta, noodles or spaghetti effect using Mixer Brush Tool. This pretty simple technique may help you to create different tubes, pipes, cords, ropes effects without using 3D software.
You may get large (3300 x 2400 px, 300px/in, stock images such as fork and green leaves are watermarked) editable .psd* file of "Spaghetti Text Effect." Photoshop tutorial by making a payment. Put the tutorial title in "Add special instructions to seller" line of PayPal and it will be sent to you shortly.

- Ketchup
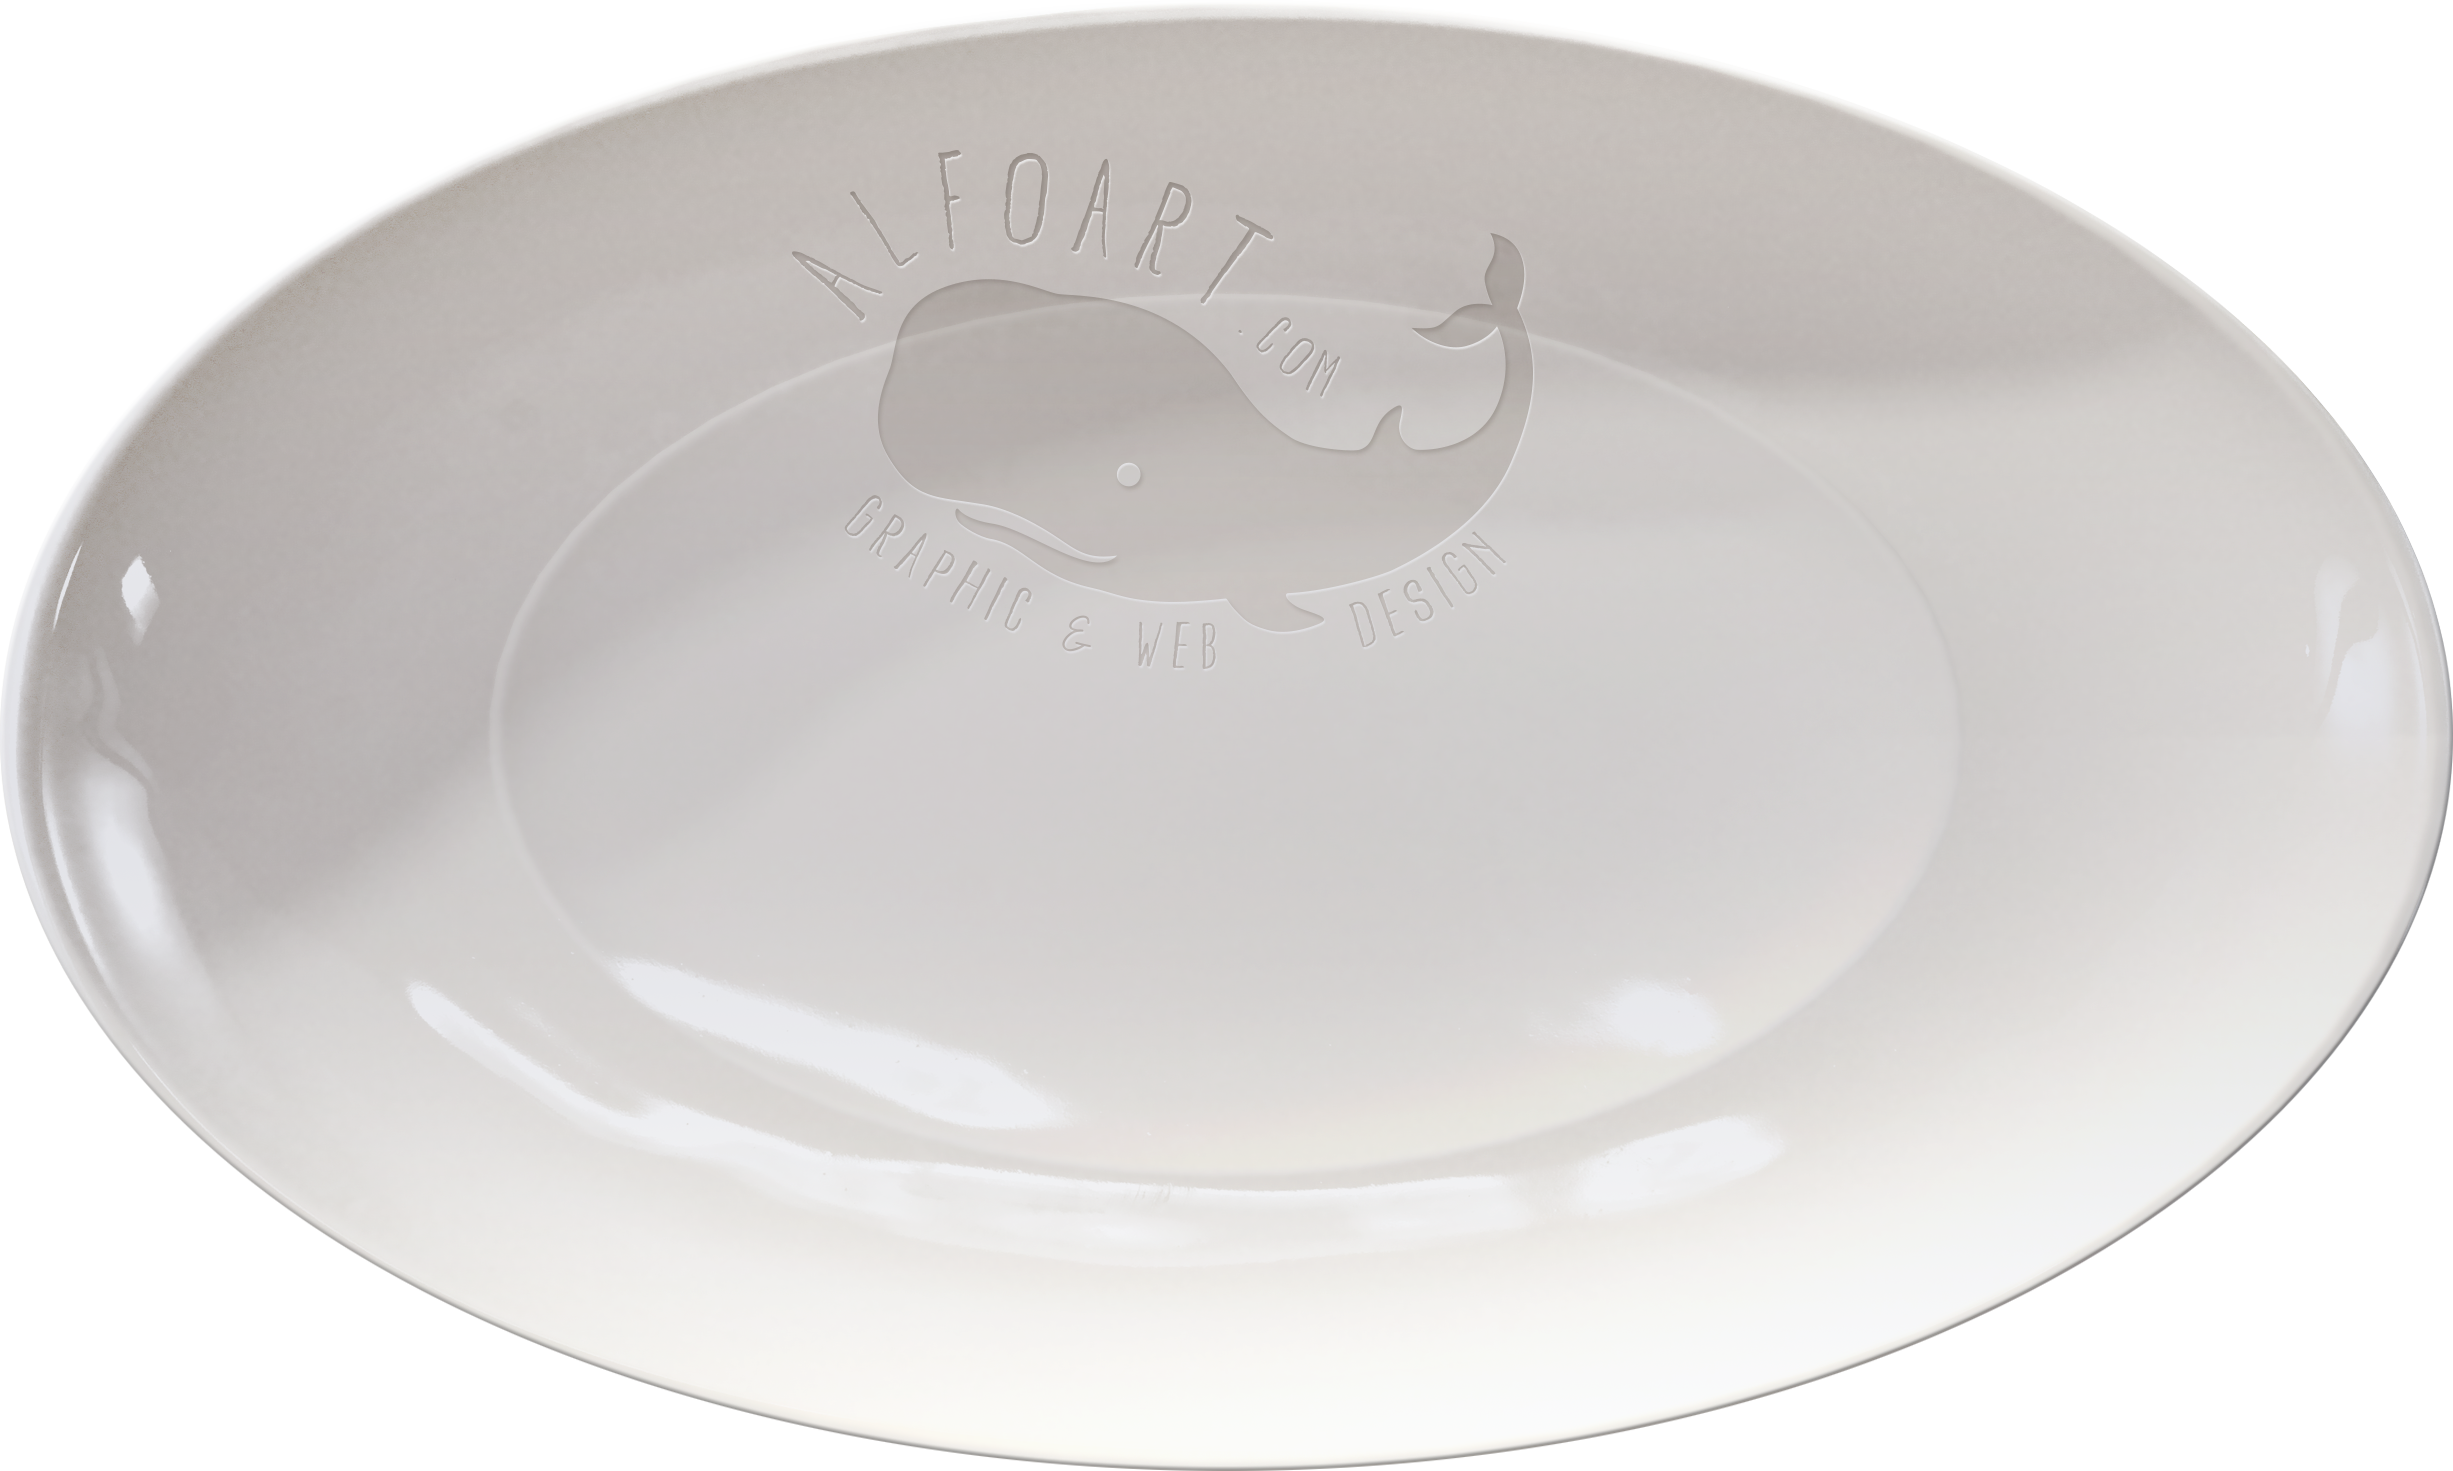
- Plate
- Shapes for mixer brush 1, 2
- Salt and pepper brushes
- Spaghetti white dots pattern
- Wood texture (image 2)
- Fork
- Basil
Used images and help files:
- Create a new Photoshop document 3300 px x 2200 px and resolution 300 pixels/in. Some of layer style effects and "spaghetti" thickness depend of the PS document size and resolution.
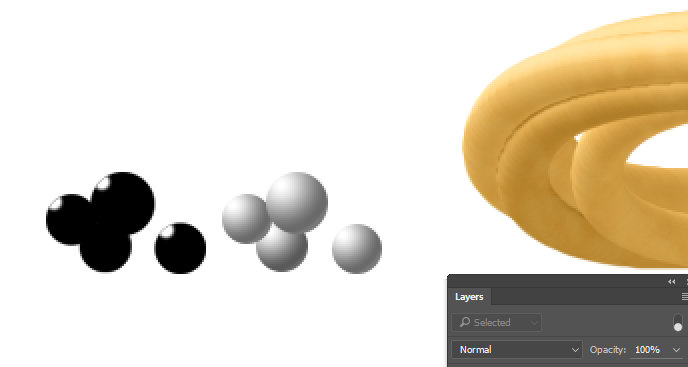
- Create several circles with Ellipse Tool. Make them in separate layers first.
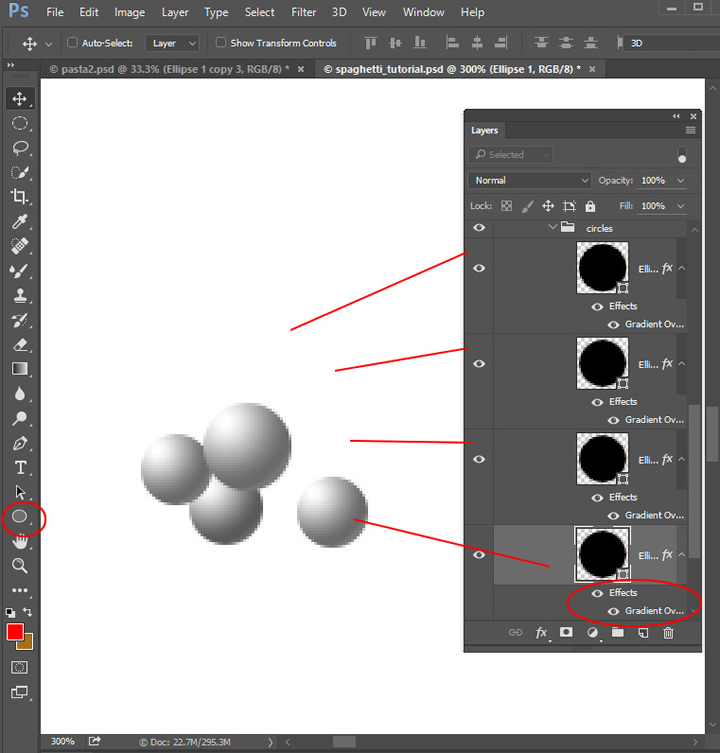
- The diameter of each circle is around 30 px. You may use little different sizes to create more natural effect.
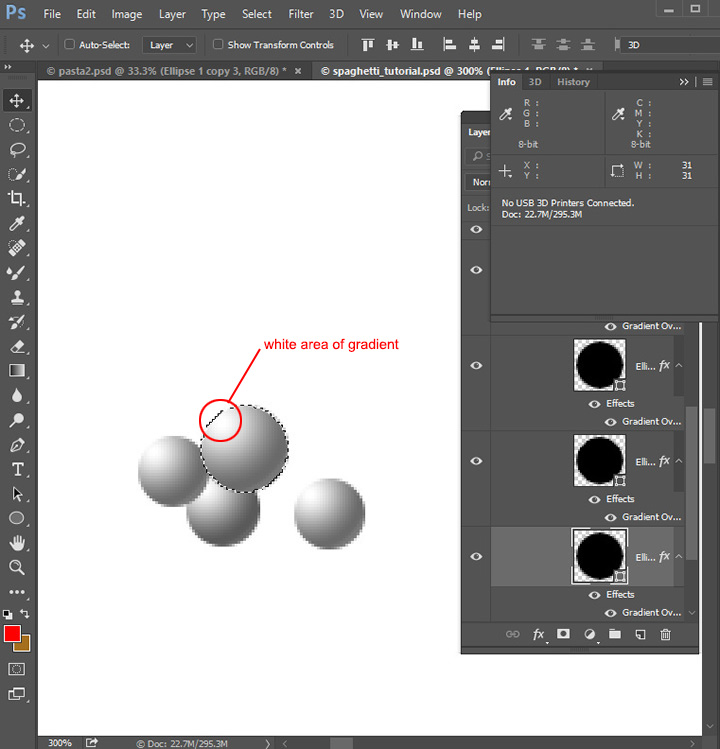
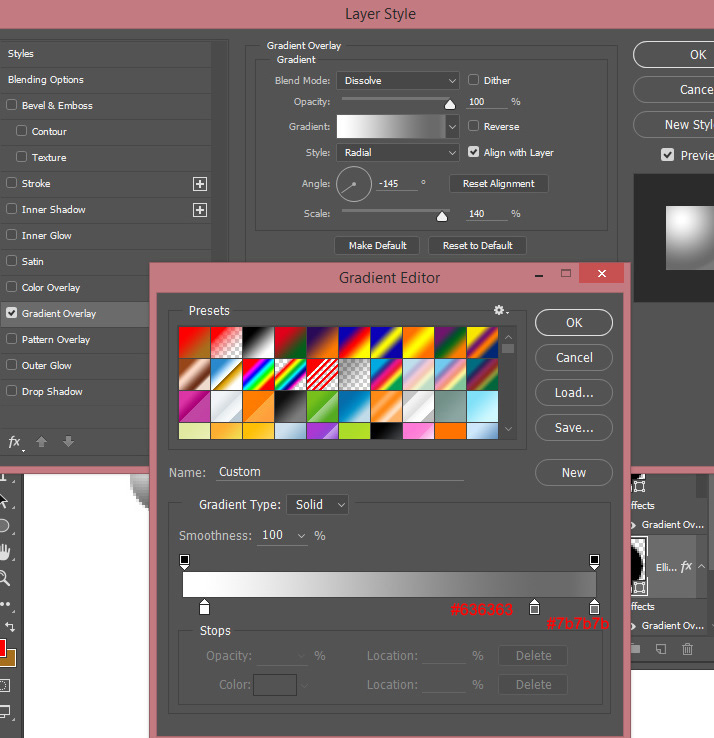
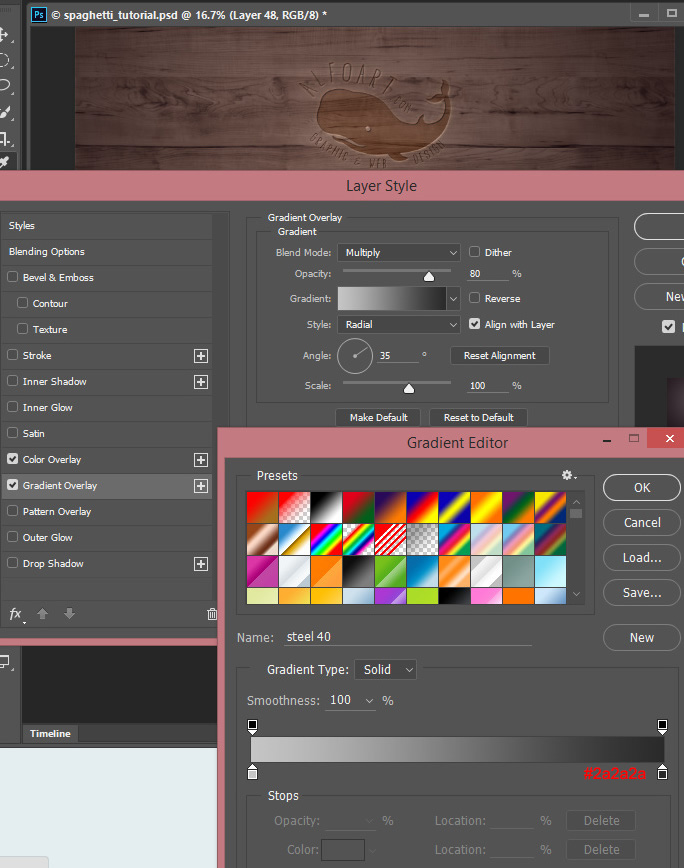
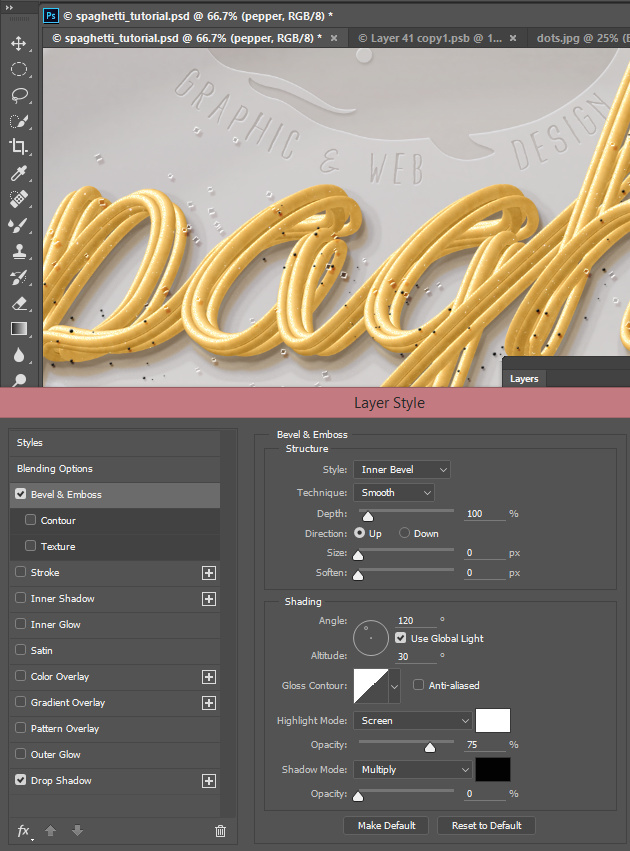
- Apply Gradient Overlay layer style effect to each circle. Try to move gradient with the mouse above the circles to move light area of the gradient closer to edges of circles.
- Then merge the circles. You can download my circles shape here.
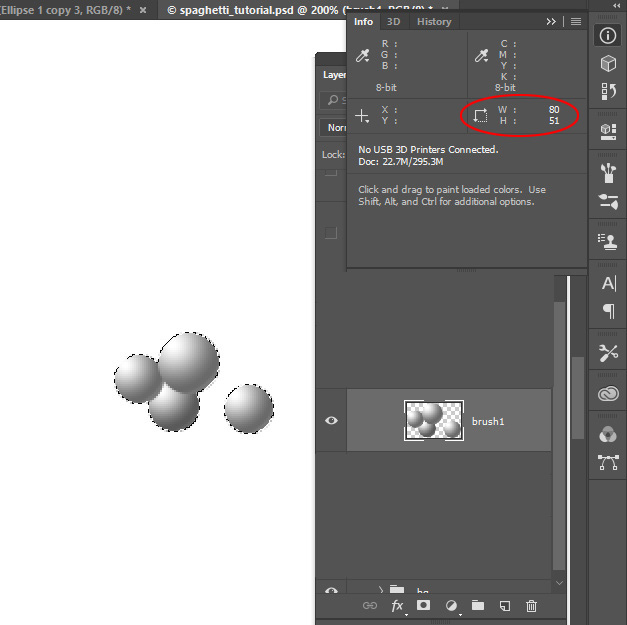
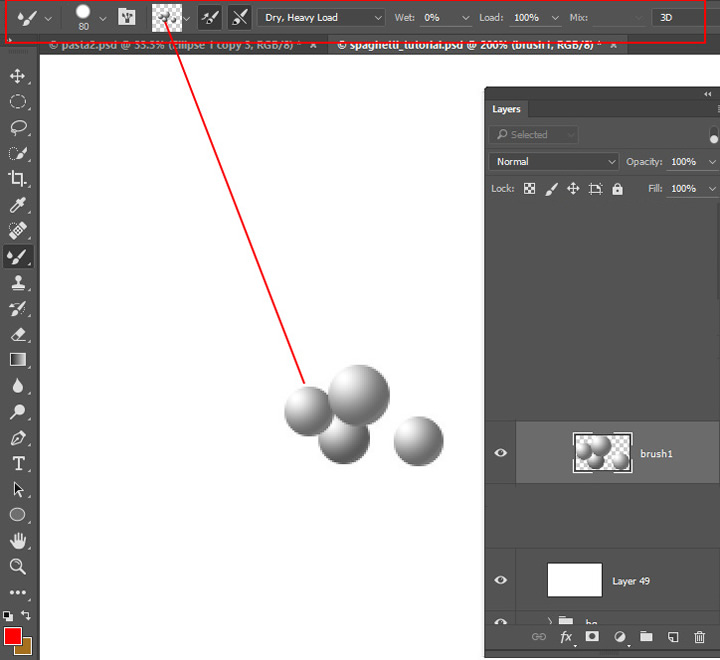
- Choose Mixer Brush Tool - Dry, Heavy Load, wet 0%, Load 100%, use the same size as the size of all circles shape. I used 80px. Do not check "Sample All Layers" box.
- Click + Alt above the shape to capture circles shape as a brush shape. Find more info about the Mixer brush https://helpx.adobe.com/photoshop/using/painting-mixer-brush.html
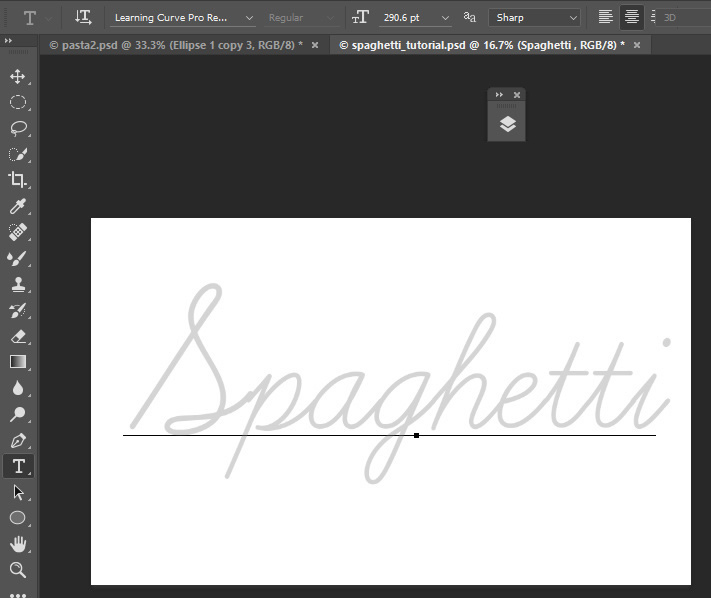
- Choose Type Tool and type the text in a new layer. I used Learning Curve font.
- Create a new empty(!) layer above the text layer.
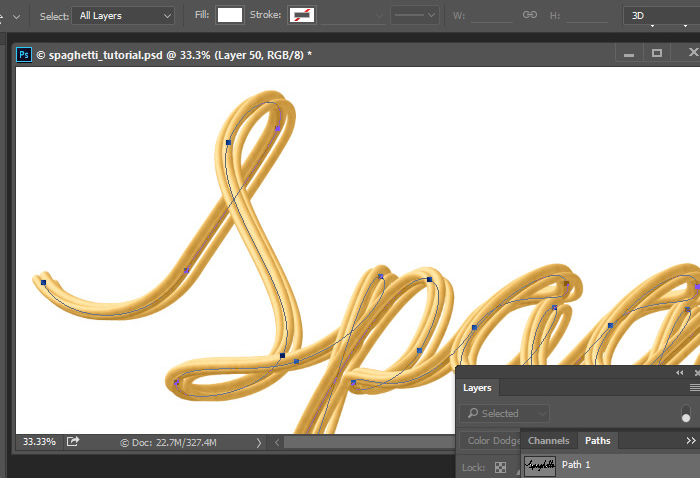
- Create one single path using Path Tool. Try to repeat the shape of letters.
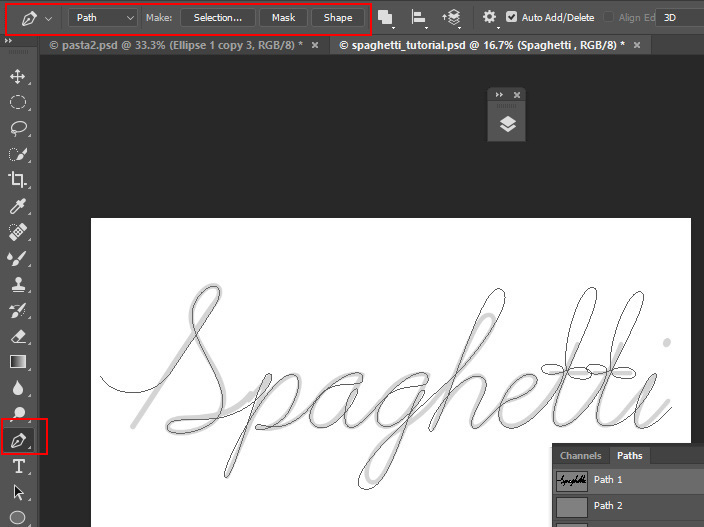
- Here are all points of the path.
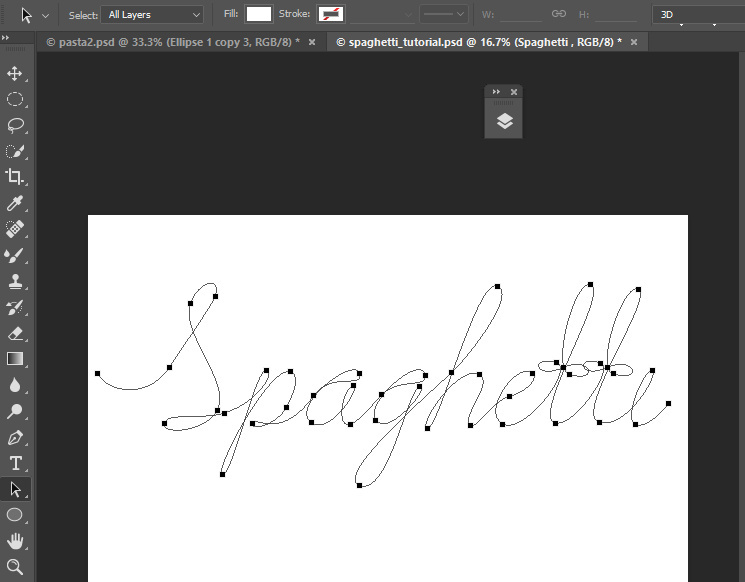
- Keep active path shape, right click the path and choose "Stroke Path"
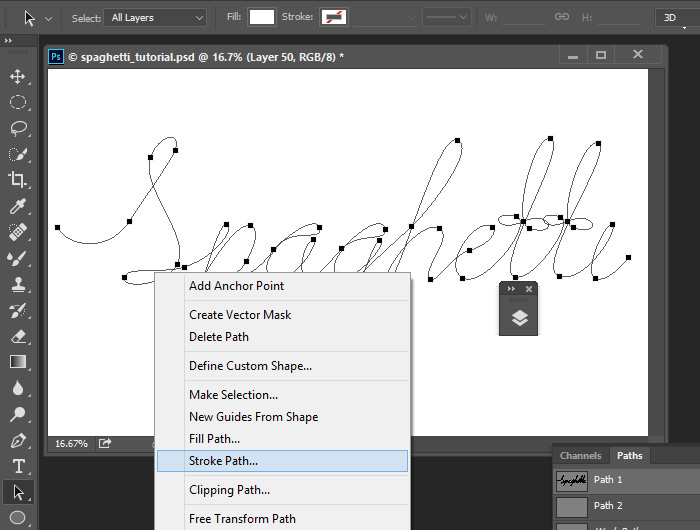
- Choose "Mixer Brush Tool, do not check "Simulate Pressure", click "Ok".
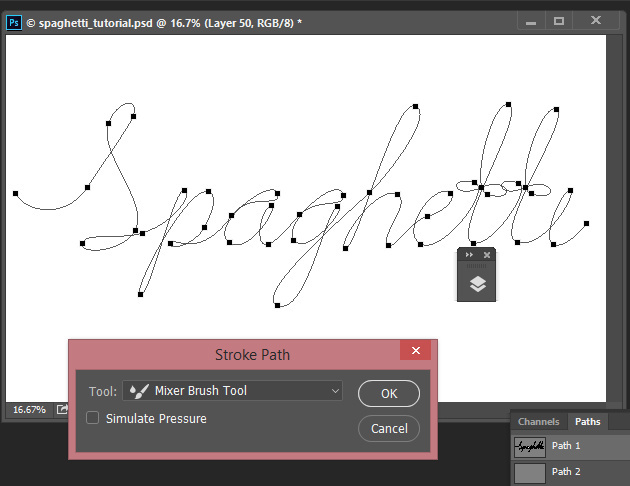
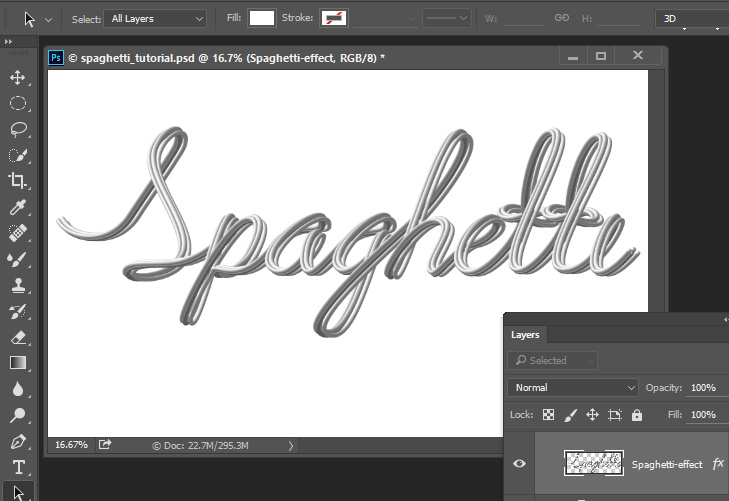
- And here is the result of applying Mixer Brush Tool. Do not delete the path, keep it in "Paths" palette.
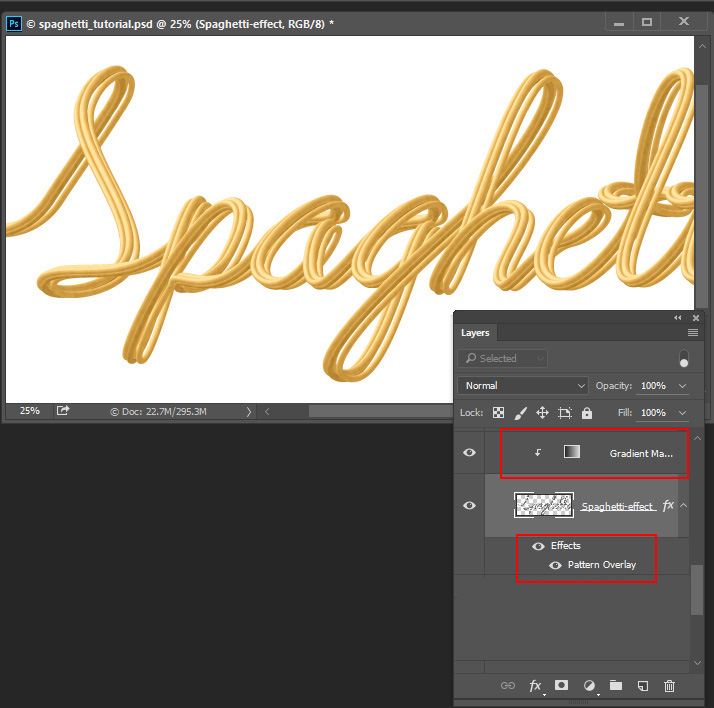
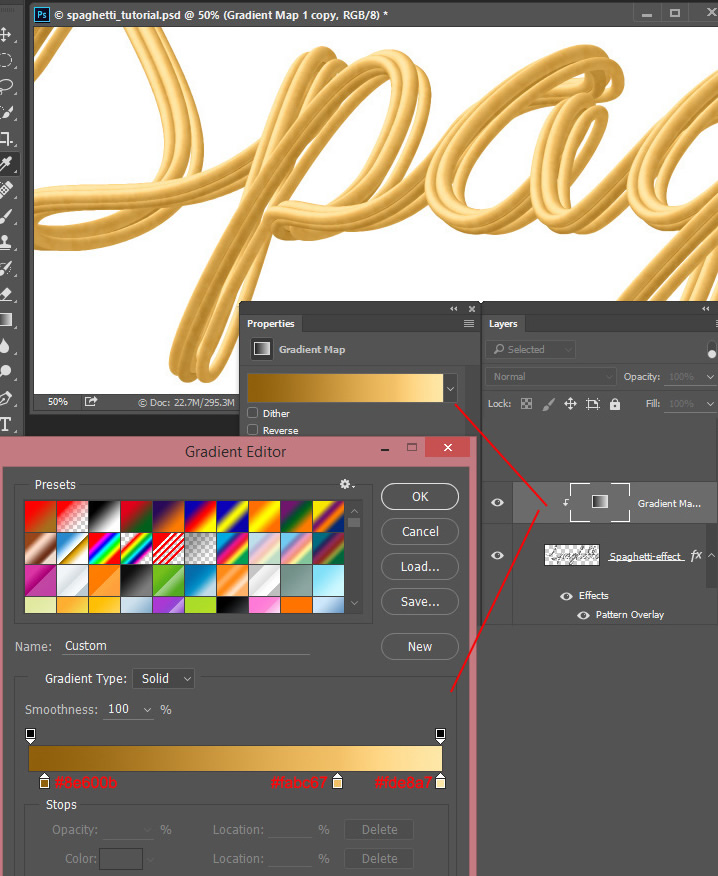
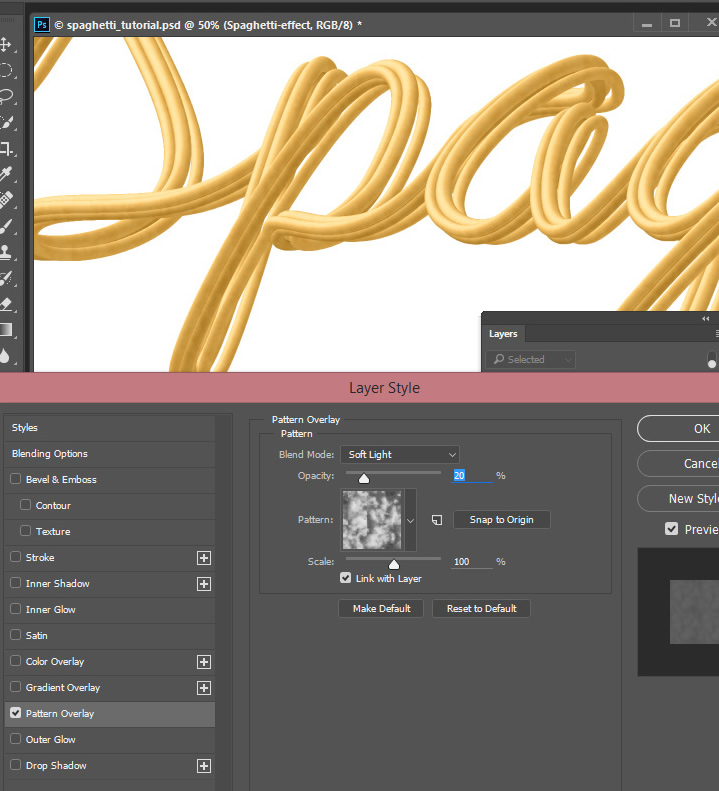
- Add new "Gradient Map" adjustment layer above the "Spaghetti" shape and apply Pattern layer style effect.
- Here are the settings for the Gradient map adjustment layer:
- Apply preset "clouds" pattern to the spaghetti shape to create more natural impure texture.
- In order to add little gloss to Spaghetti, return to the circles shapes.
- Duplicate circles shape, fill it with black color and put small white spots, they will create gloss/shiny lines above the spaghetti shape.
- Choose "Mixer Brush Tool" again and sample new circles image.
- Make path active again.
- Crate a new empty layer above the previous "Spaghetti" layer.
- Right click path, choose "Stroke Path" and Mixer Brush Tool like in previous steps
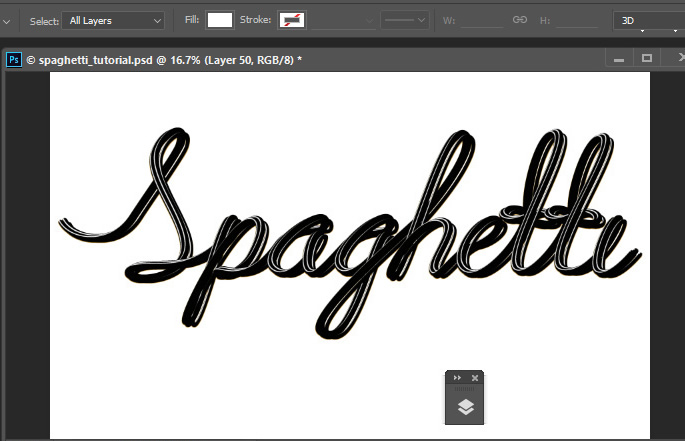
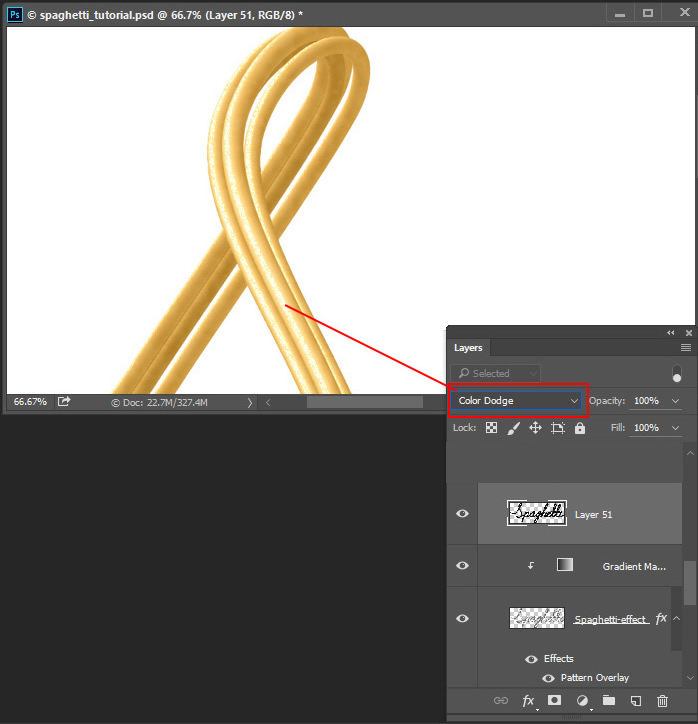
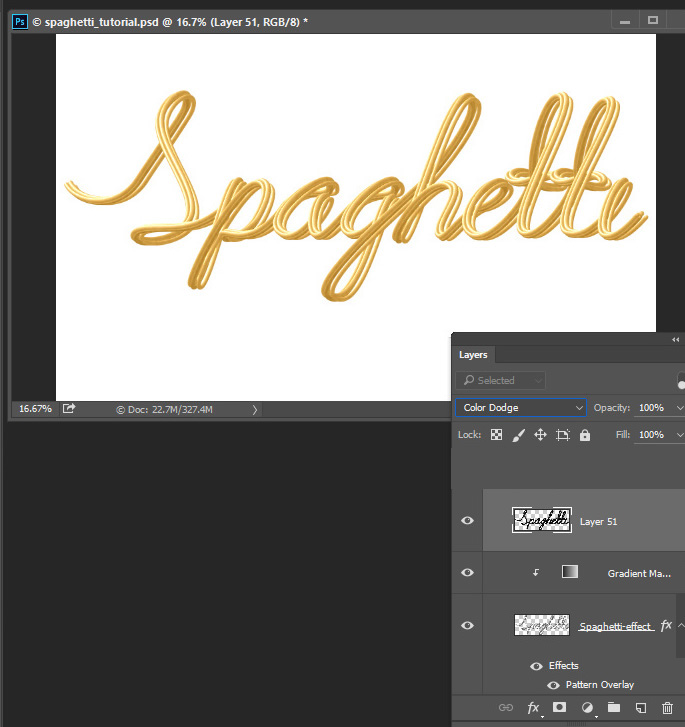
- Here is the result of applying second brush:
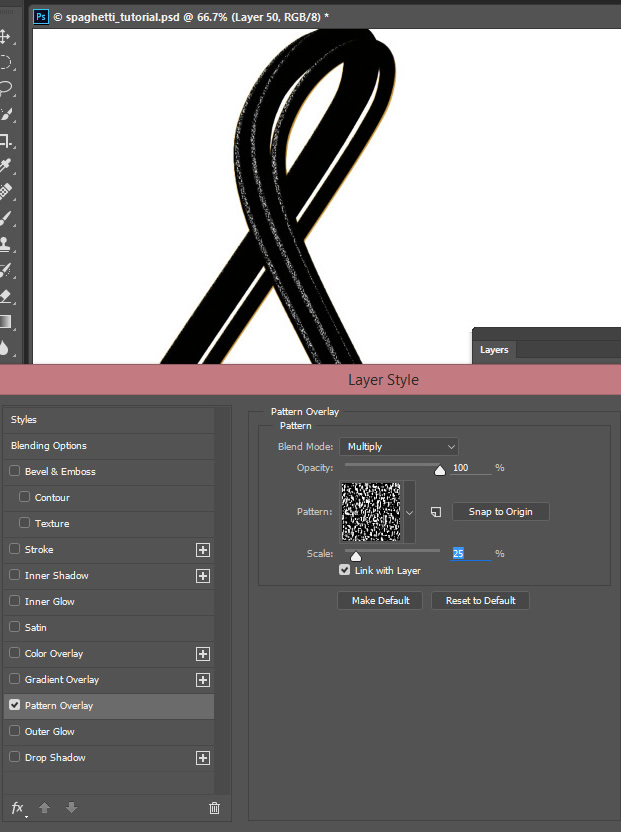
- Add Pattern layer style effect to created layer to add some noisy texture. Use "Frozen Rain" preset Photoshop pattern.
- Merge patterned layer with a new empty layer to release the layer style effect.
- Apply "Color Dodge" Blending Mode to this layer.
- Here is the result of all previous actions.
- Actually the Spaghetti effect is done, there are some more steps about background.
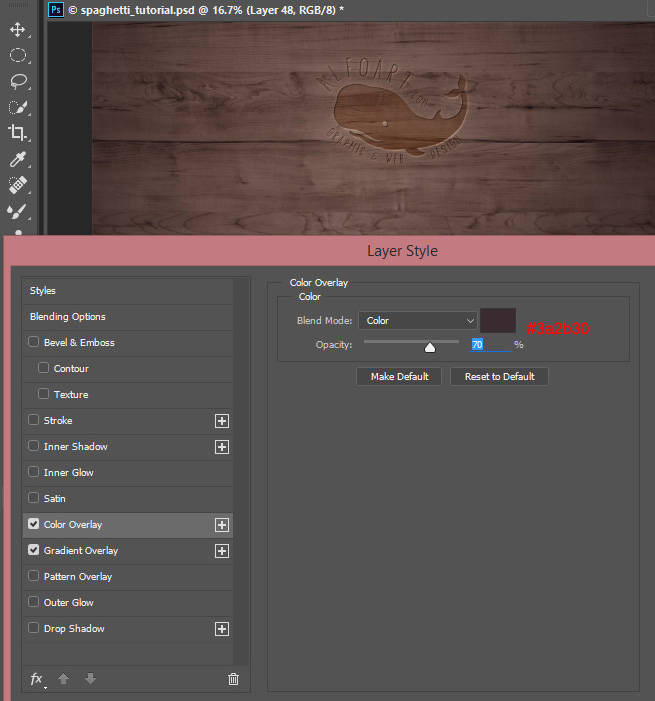
- Insert wood texture below spaghetti layers.
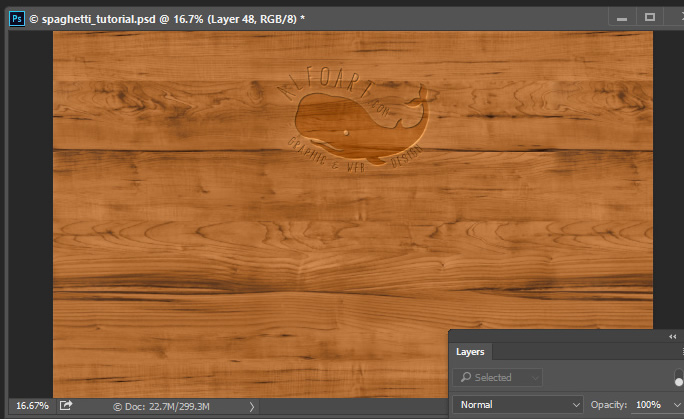
- Add some layer style effects to the wood layer.
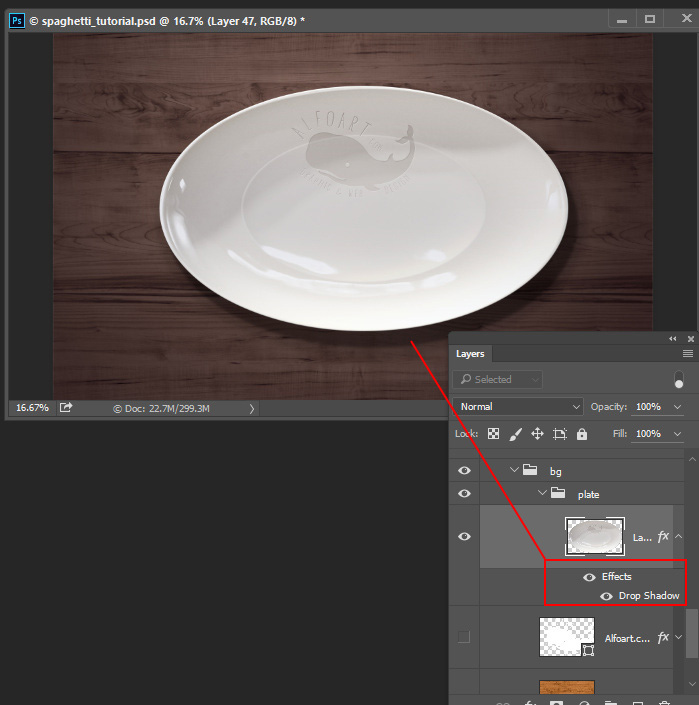
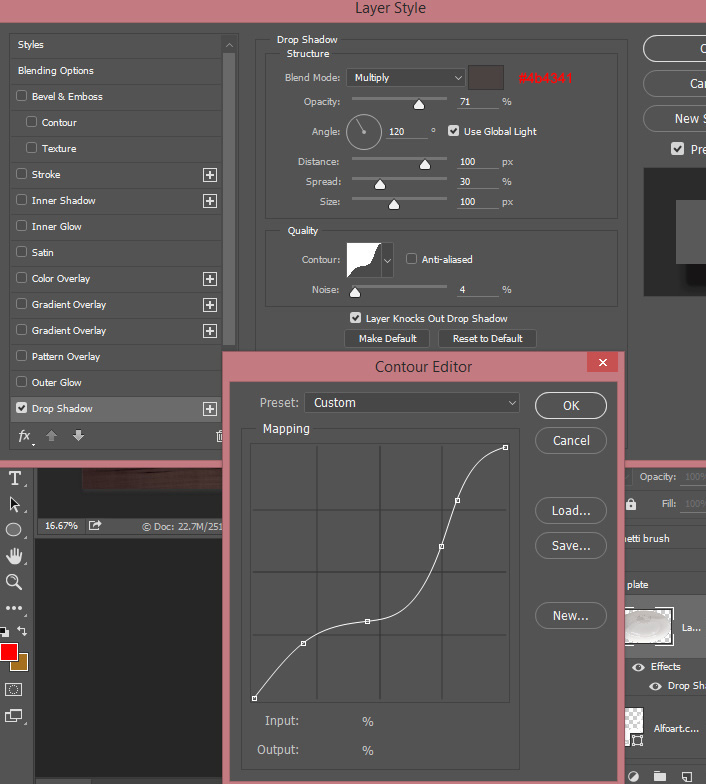
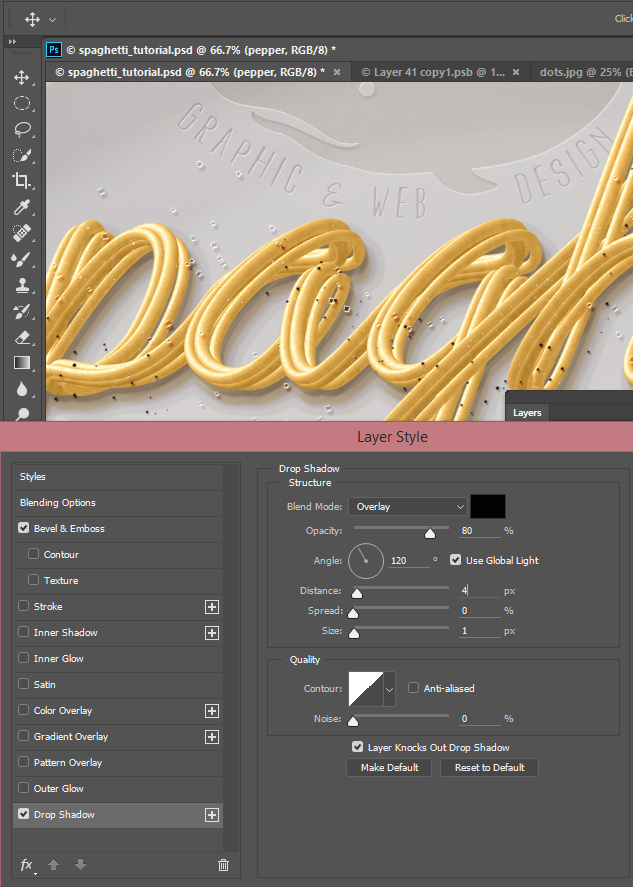
- Insert plate image and add Drop Shadow layer style effect.
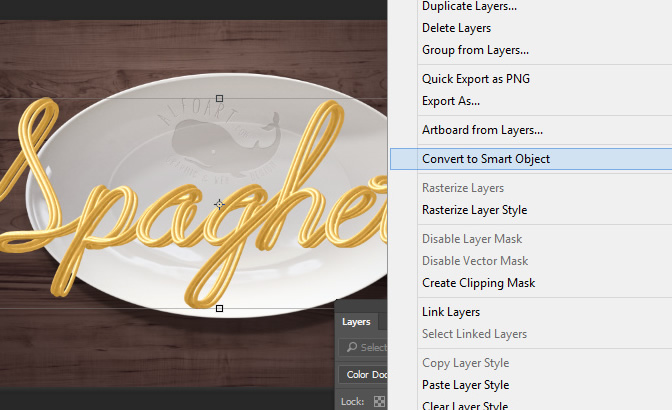
- Return to "Spaghetti" layers. Select all of them (spaghetti layer, Gradient Map and gloss layer)
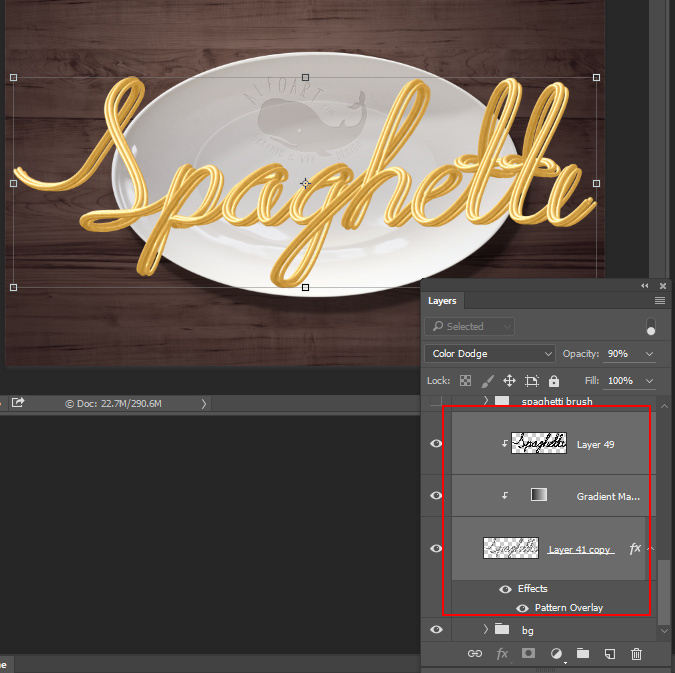
- Convert selected layers to Smart Object (Right click > choose "Convert to Smart Object").
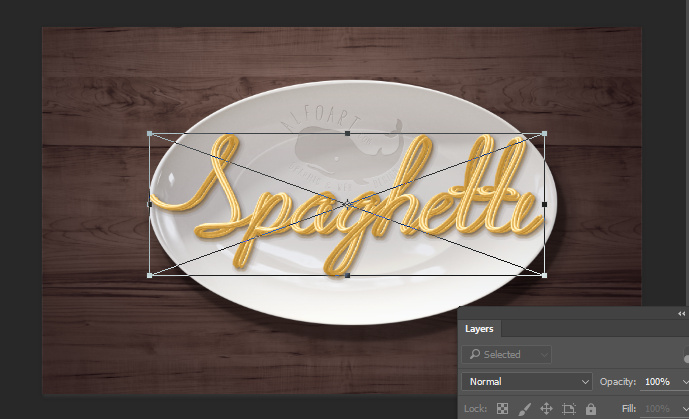
- Transform "Spaghetti" smart object to fit it into plate area. Edit > Free > Transform.
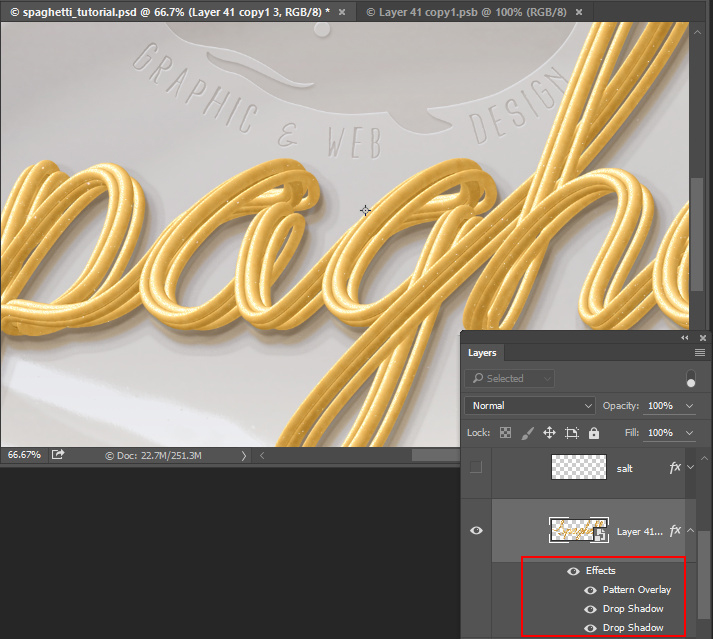
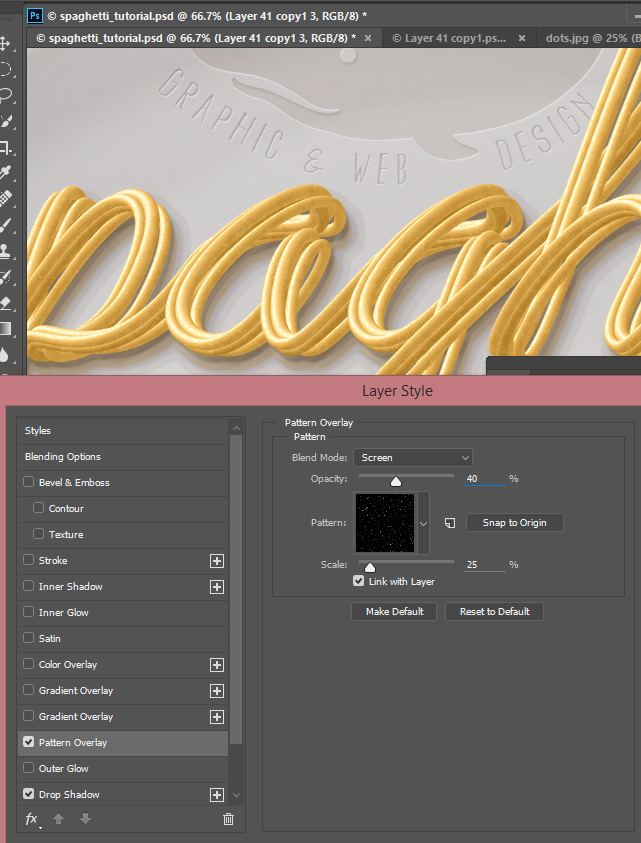
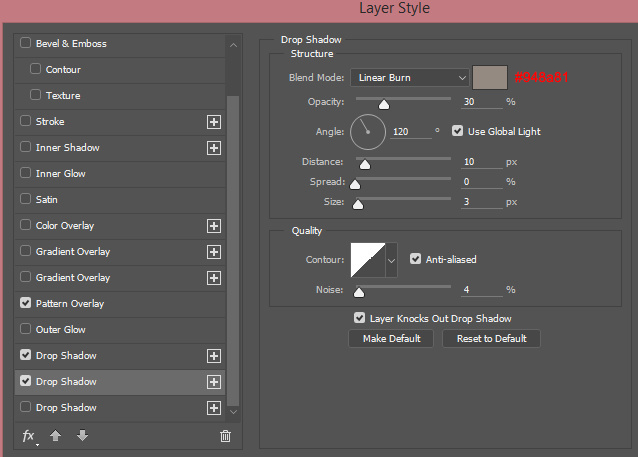
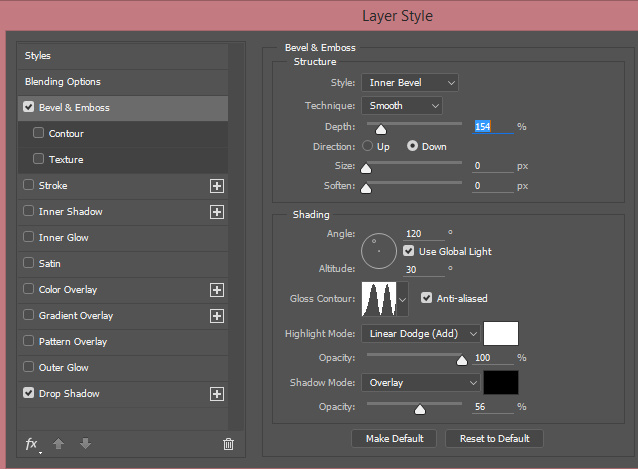
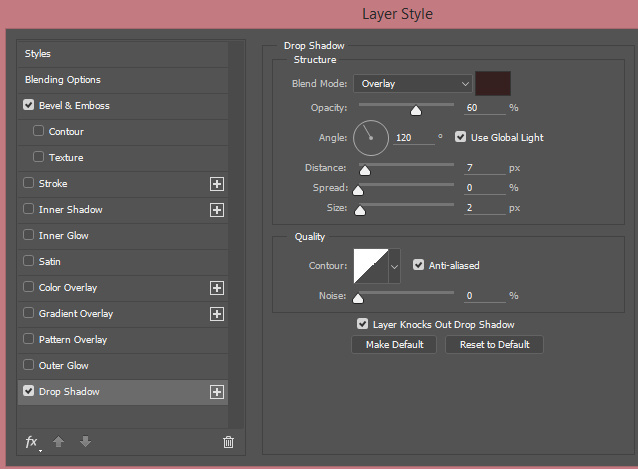
- Add some layer style effects - graded drop shadow effect and granular pattern (small white dots).

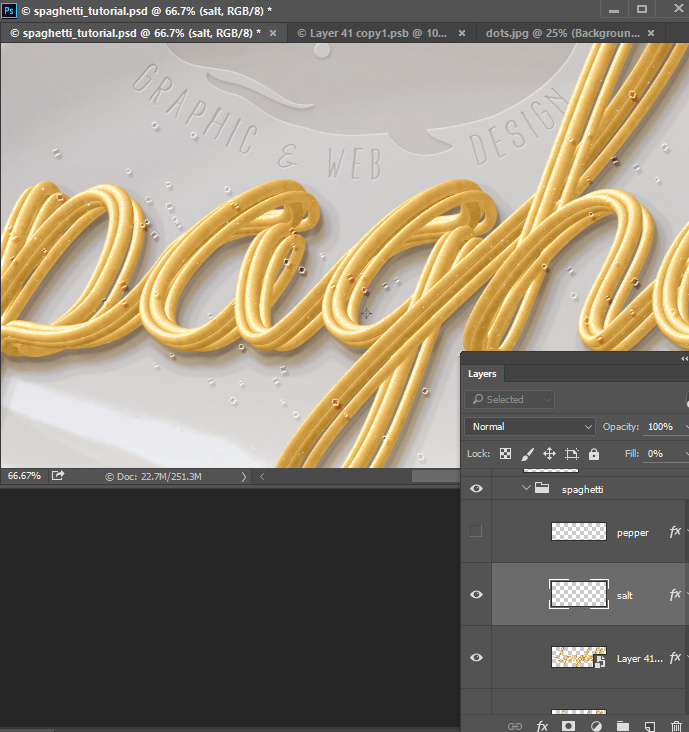
- Download "Salt & Pepper" brushes and sparkle some salt dots around.
- Adjust Fill = 0%, add layer style effects to the "Salt" layer.
- Sparkle some black pepper using the brush from the same set.
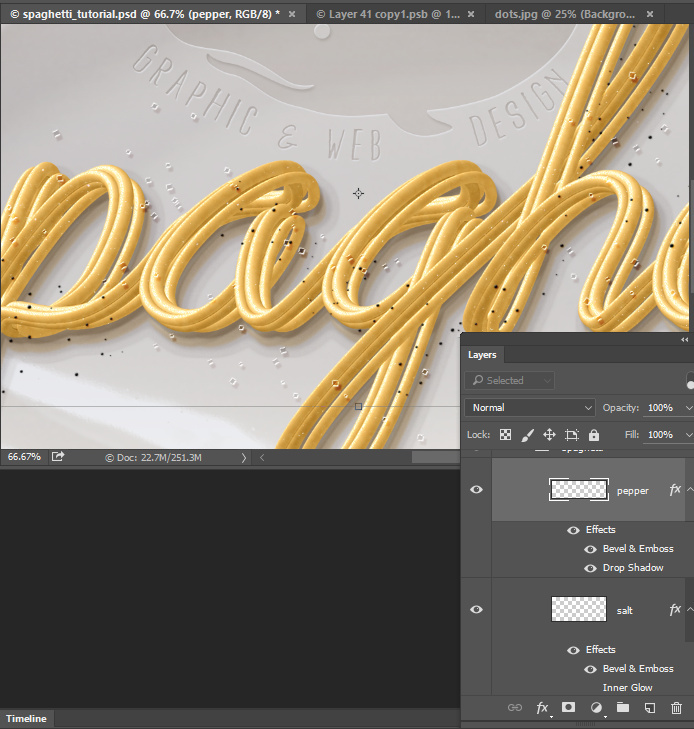
- Apply layer style effects to the pepper layer.
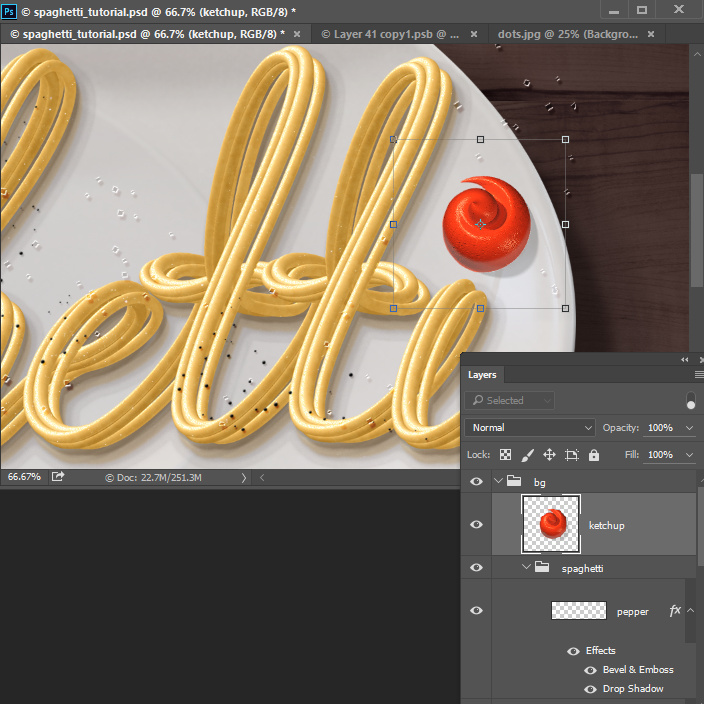
- Insert a drop of ketchup.
- Insert basil leaves. Erase whole background around green leaves below "Spaghetti" smart object.
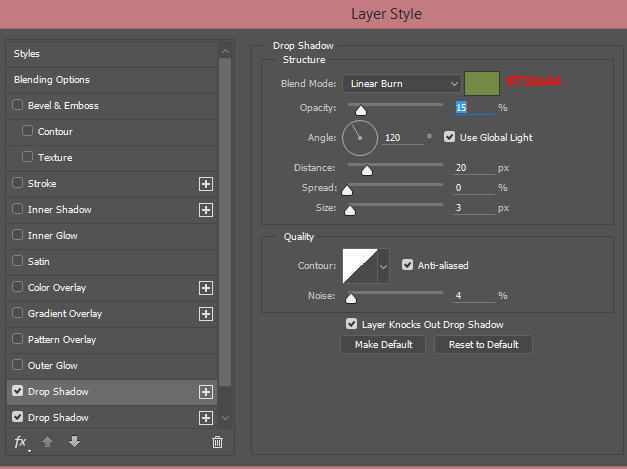
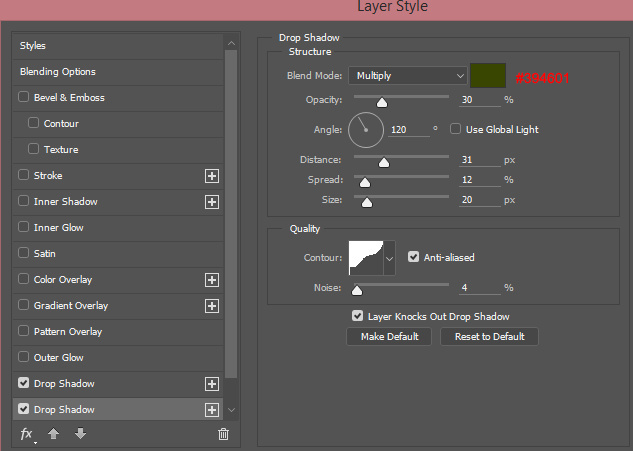
- Add drop shadow layer style effect very similar to the drop shadow of spaghetti.
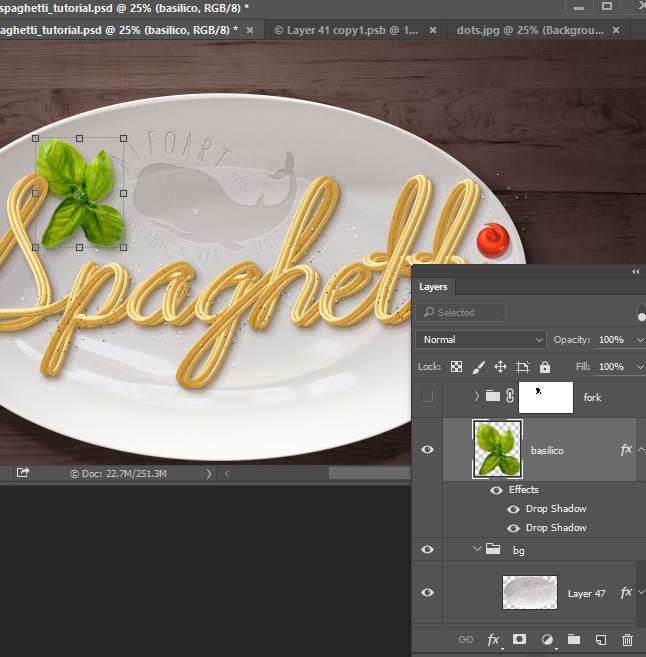
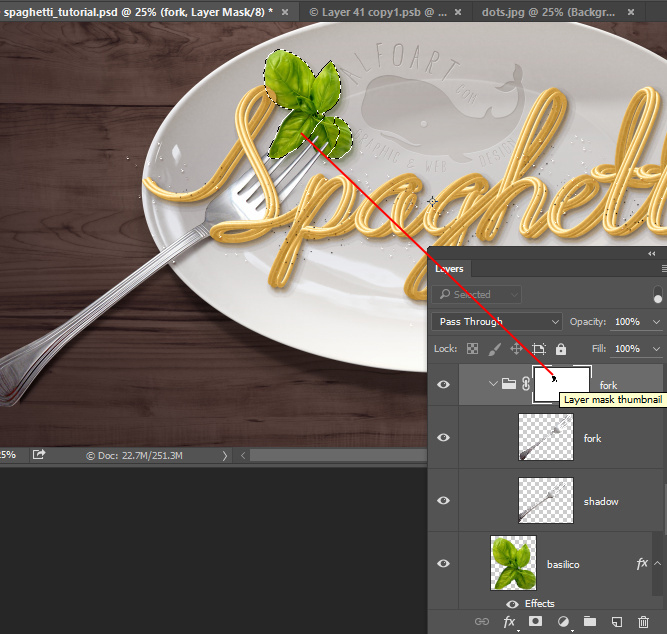
- Insert fork image. Put it below spaghetti but above basil leaves.
- Duplicate fork layer.
- Use the bottom copy of fork to create shadow. Do not remove background from this layer, only apply "Multiply"Blending Mode.
- Keep the top copy of fork as a regular layer (normal Blending Mode) but erase all background including shadow.
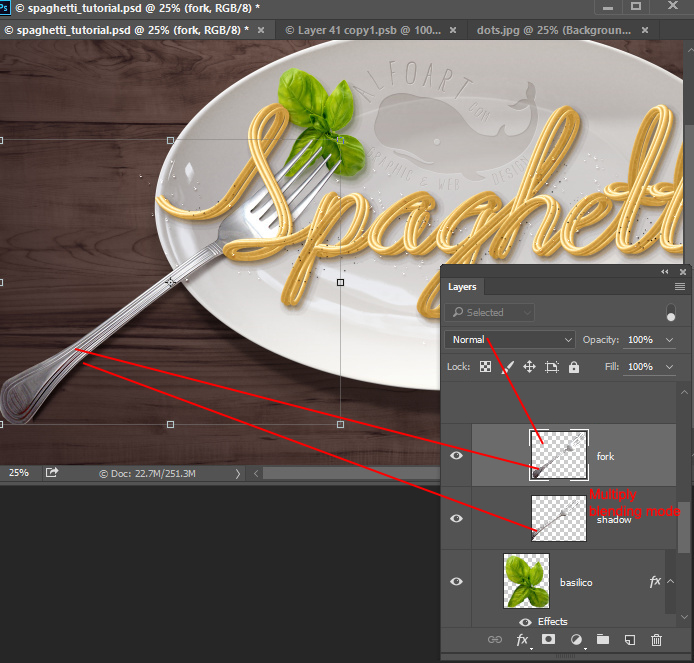
- Group fork layers, add layer mask to the group.
- Select the leaves shape (Ctrl + click leaves thumbnail). Then process layer mask in the selected area of left green leaf with black brush. Male it like the part of plant covers the fork.
And here is the result!