You may get .psd* file of "Halloween Text Effect". Photoshop tutorial by making a payment. Put the tutorial title in "Add special instructions to seller" line of PayPal and it will be sent to you shortly.
Click to enlarge the image.
- Large pumpkin - Mark Anderson
- Fire
- Pumpkin brushes
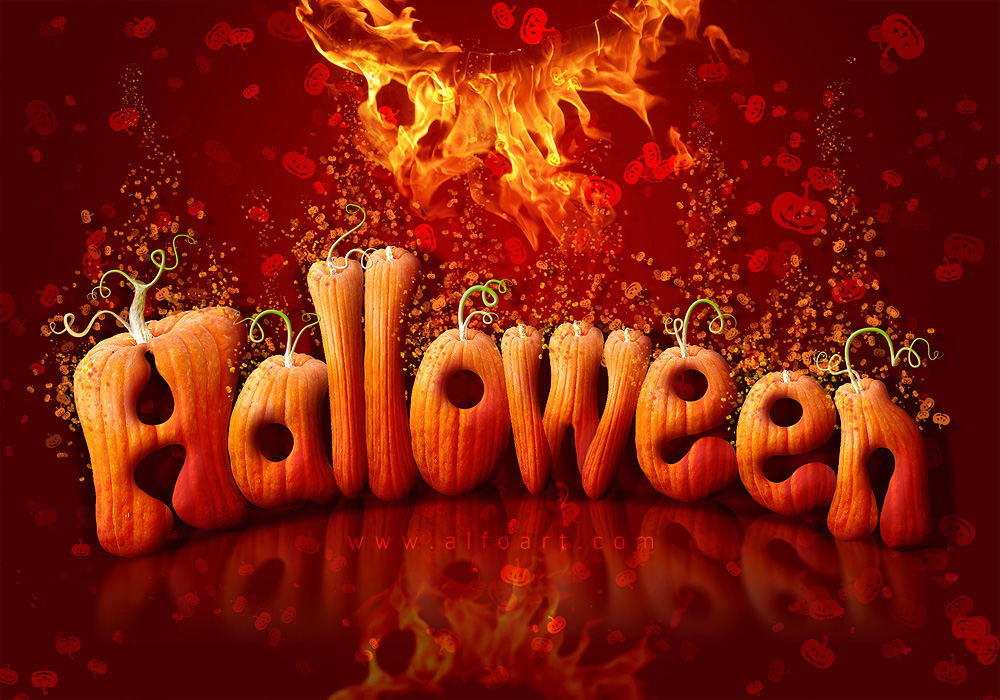
- Large Image for the wallpaper
Used images:
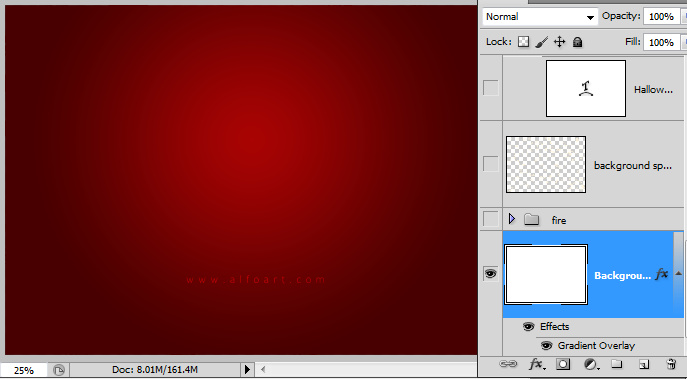
- Open painting image, adjust resolution - 72px/inch 1400px height and 2000px width. You may choose different size, but some tutorial settings are depending of image size and resolution.
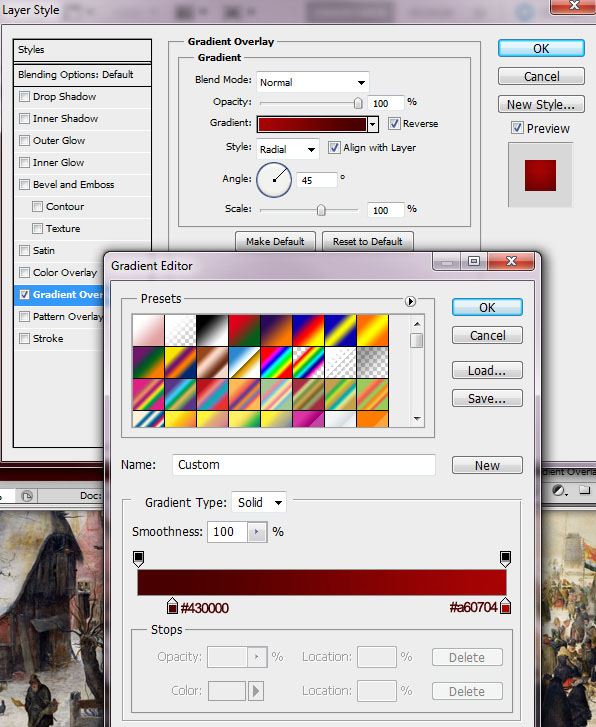
- Fill first layer with the radial gradient.
- Use following settings:
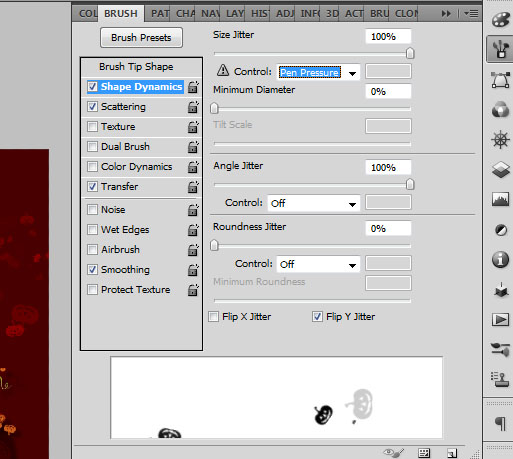
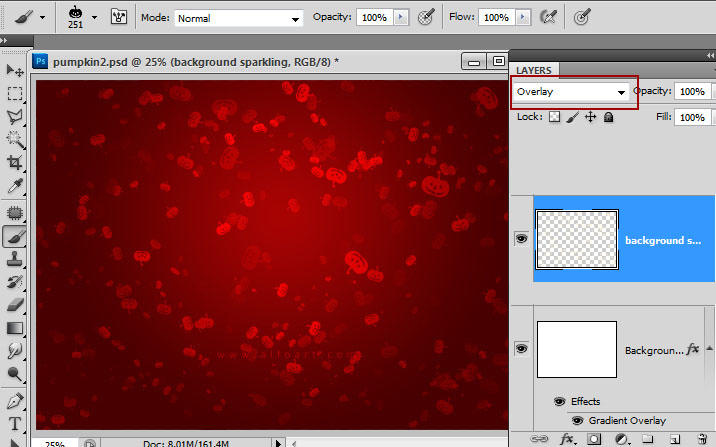
- Download pumpkin brushes and use one of them with the Shape Dynamic, Scattering and Transfer settings to fill out all background area with the pumpkins in a new layer.
- Apply Overlay Blending mode effect to this layer:
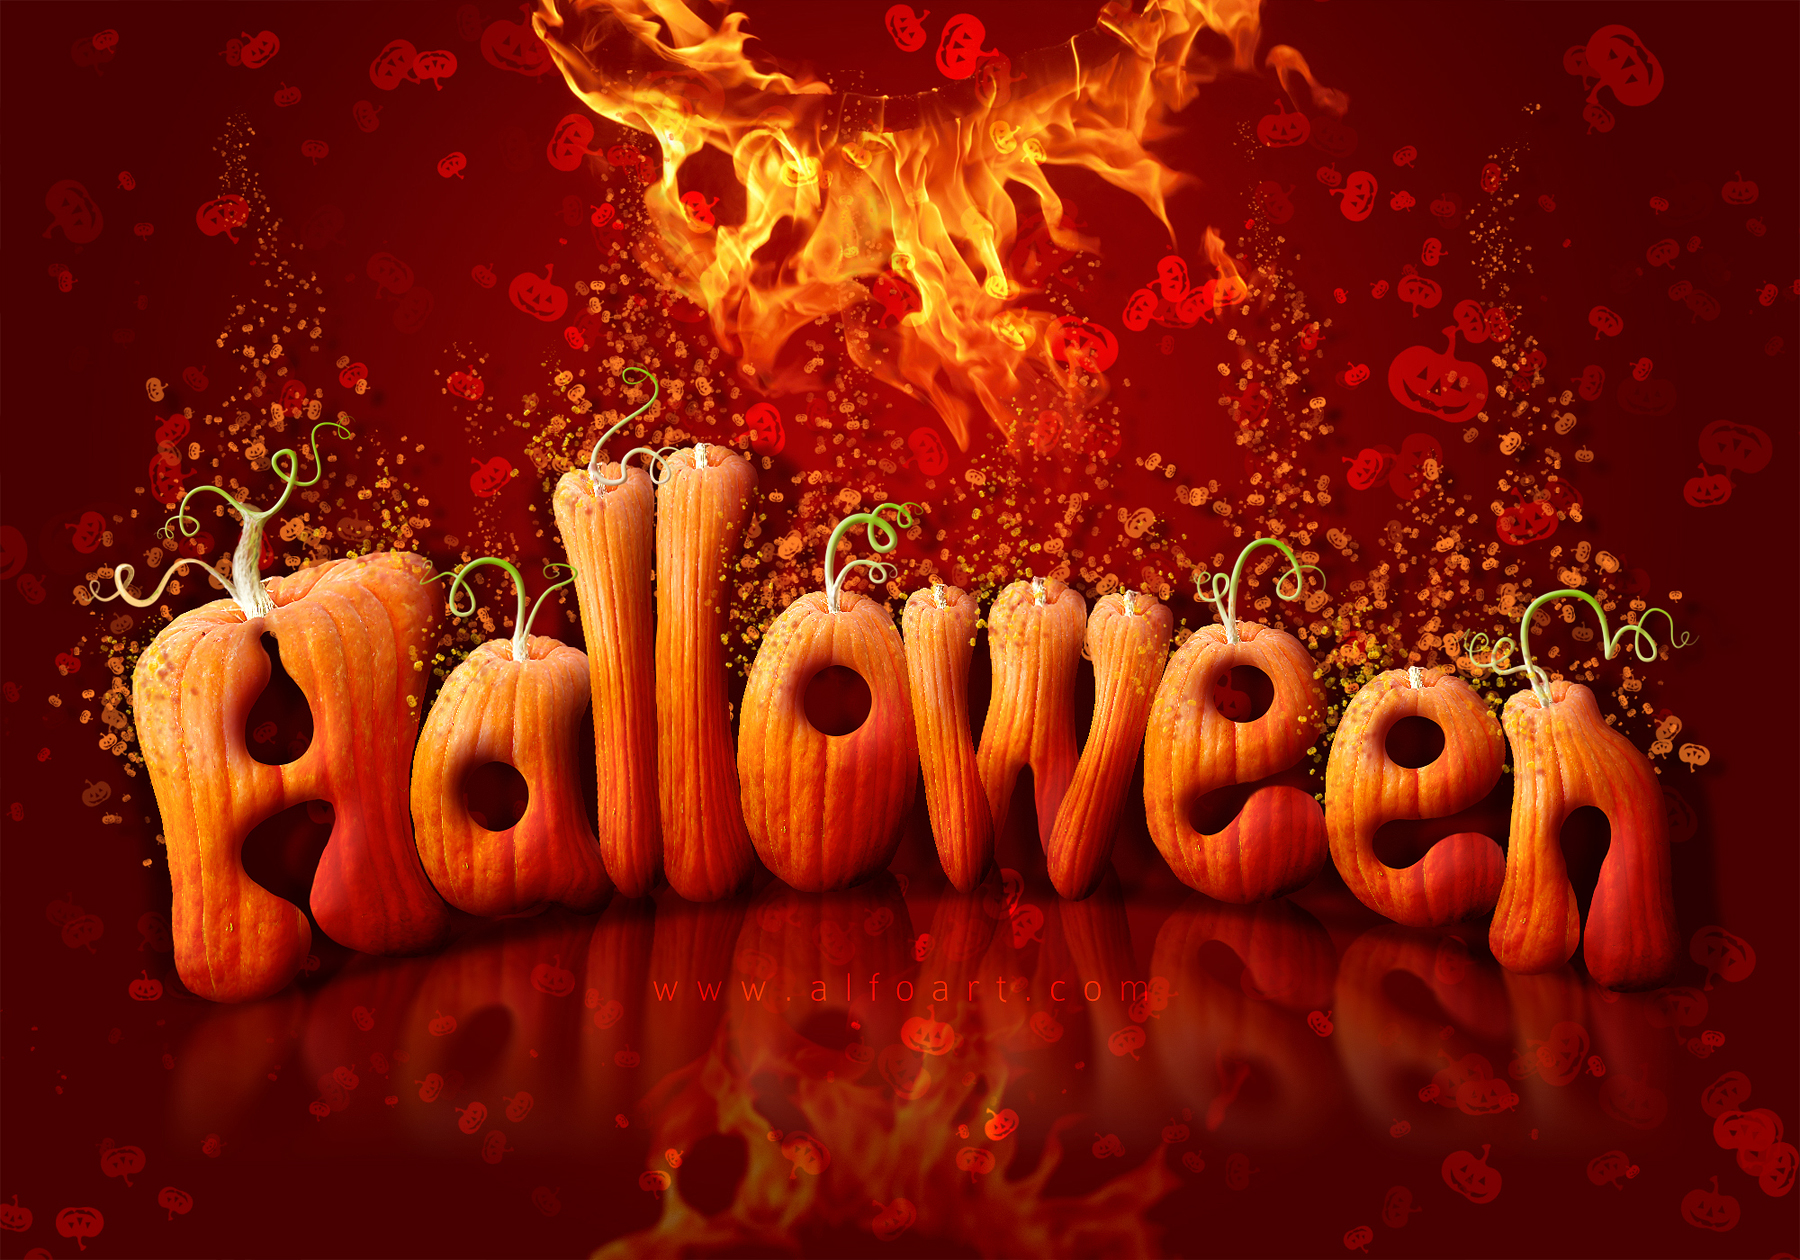
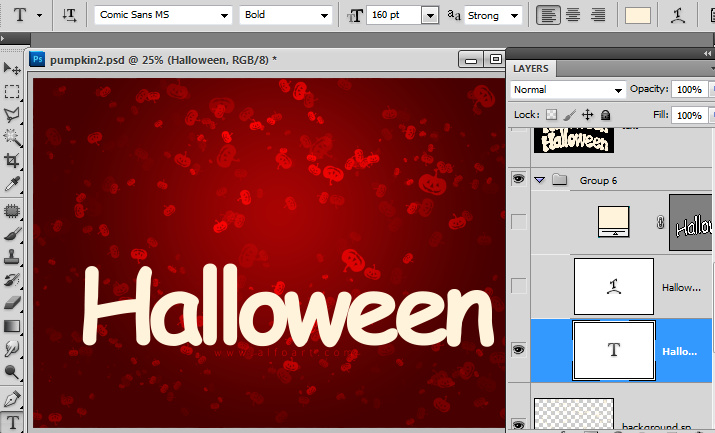
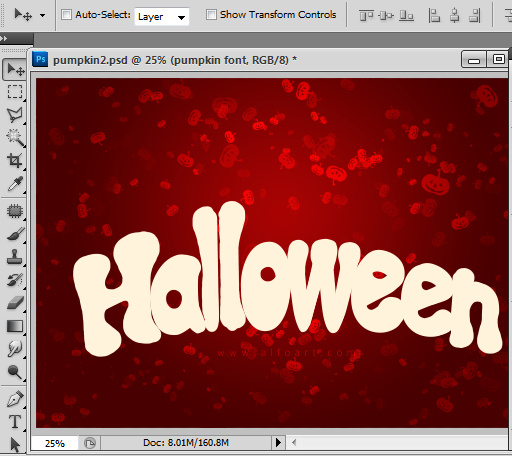
- Type the word "Halloween", you may use any Bold, rounded font. I used "Comic Sans MS".
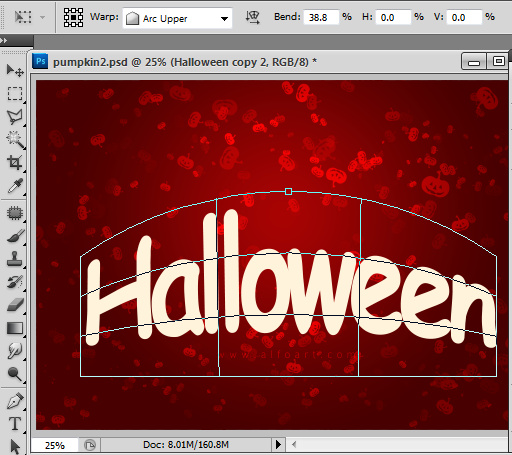
- Go to Edit > Transform > Warp and apply Arc Upper transformation to the sign.
- Then choose regular round brush with hard edges to add bolder silhouette for the letters.
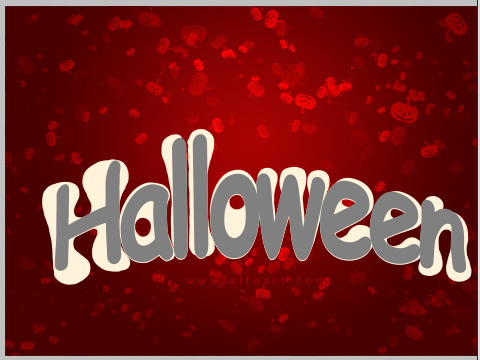
- You should get something similar:
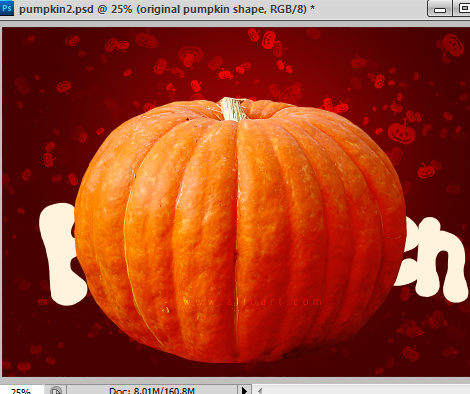
- Separate pumpkin image from background, retouch spots and small defects with the Patch and Clone Stamp Tools. Also you may Increase Hue/ Saturation settings, go to Image > Adjustments > Hue/Saturation, move Saturation marker right a bit and Hue left to -7 or ~-10. Play wit the Image > Adjustments > Color adjustments, move markers from cold shades to warm.
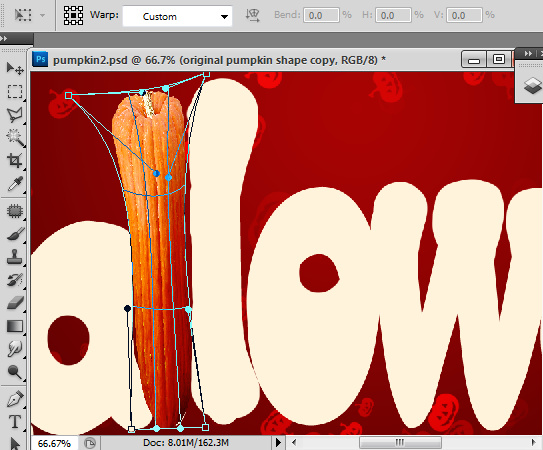
- Duplicate pumpkin shape, transform the duplicated layer to ellipse using simple Free Transformation and place shape above the on of the letters - "a", for example.
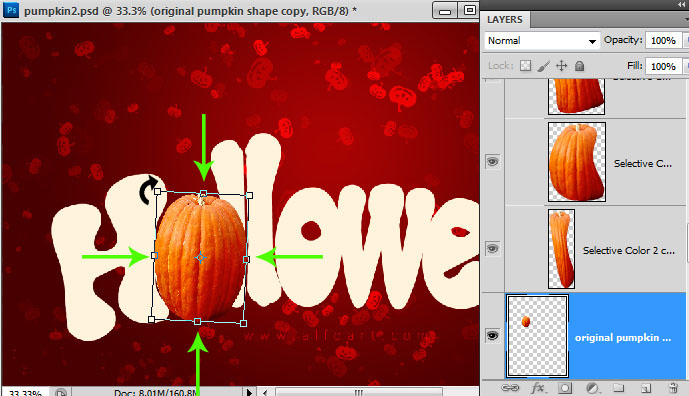
- In order to make pumpkin shape closer to letter silhouette under it, apply Free Warp transformation. Drag corners handles and corners to change the shape.
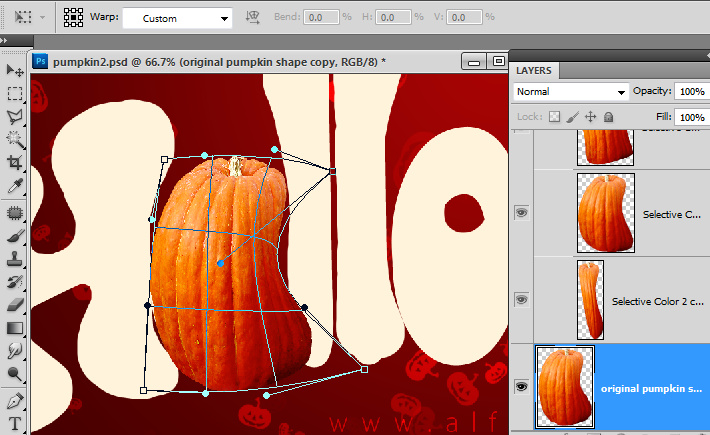
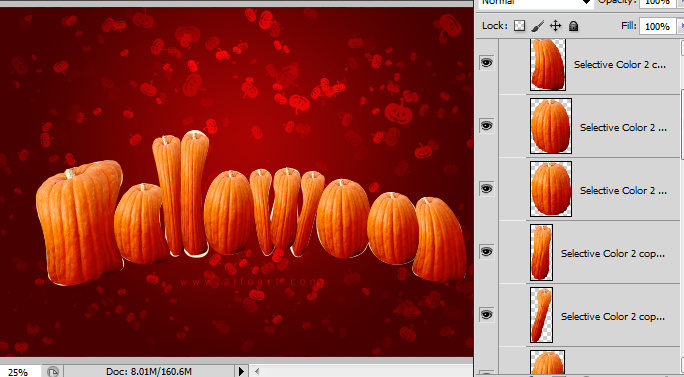
- Make the same actions for the second duplicate of the original pumpkin shape.
- Repeat similar actions to create pumpkin shapes for other letters.
- Add layer masks to the pumpkin shapes layers.
- Load selection for the original letters, go to Select > Modify > Expand (5).
- Then erase selected area of the letters holes with the black brush when the layer mask of each letter is active.
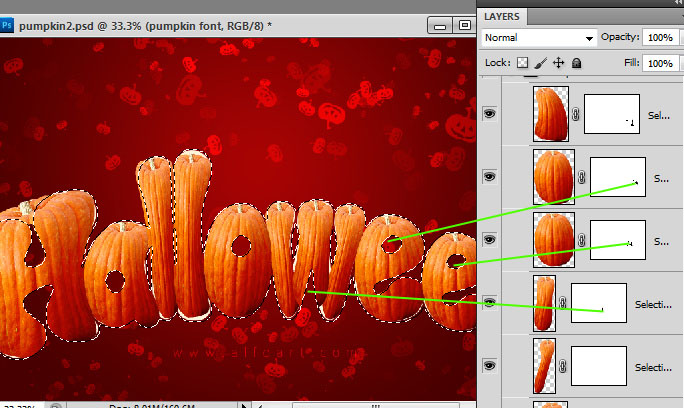
- Remove and apply layer masks to corrected letters shapes.
- Return to the white original letters and duplicate it. Move duplicate down like on the screen shot below.
- Create a new black layer below both of original text layers. You may merge them - white sign layer plus duplicate of sign plus black background. Name this merged layer - "text".
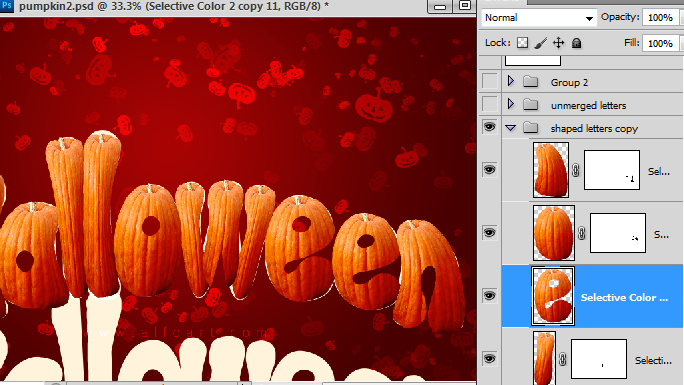
- Return to the one of the pumpkin shapes, "e", for example.
- Go to Filter > Liquefy.
- Make visible only current layer and "text" layer below:
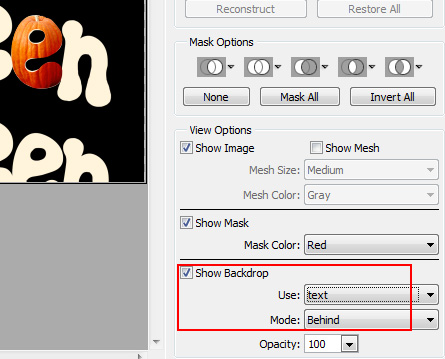
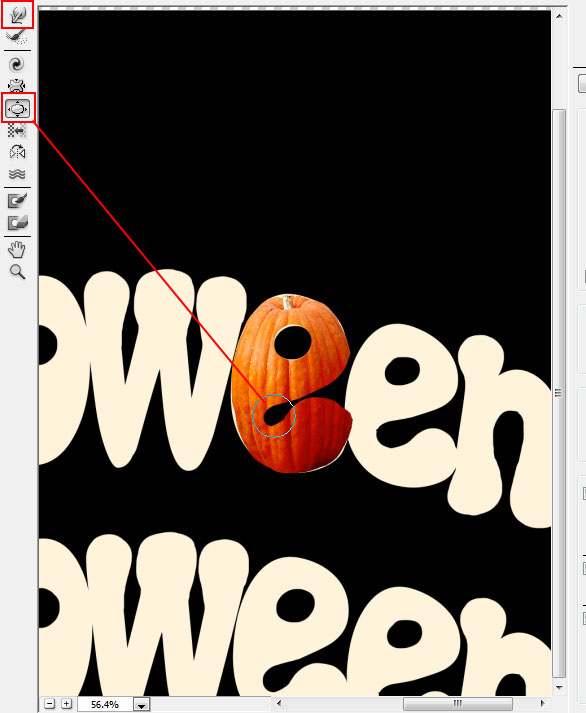
- Then try to correct pumpkin shape very close to the original letters using Forward Warp Tool and Bloat Tool.
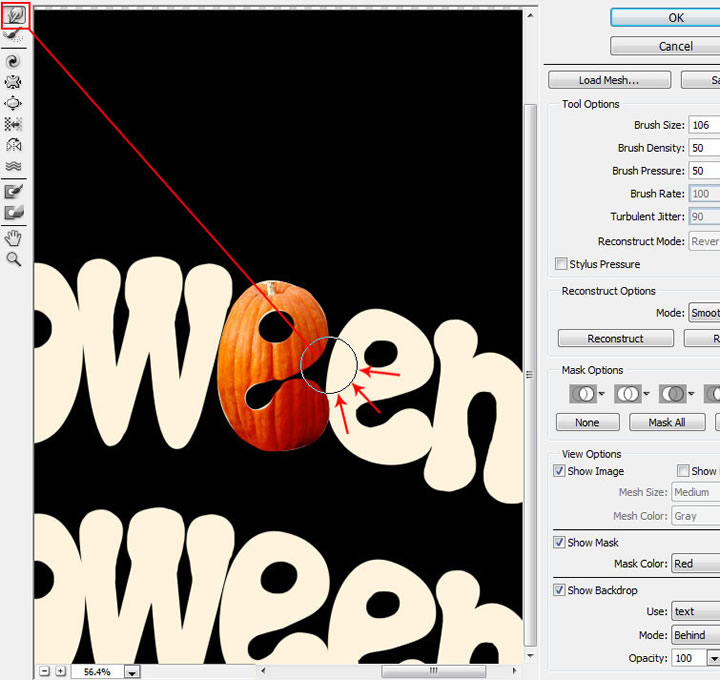
- Correct all other letters with liquefy filter as well.
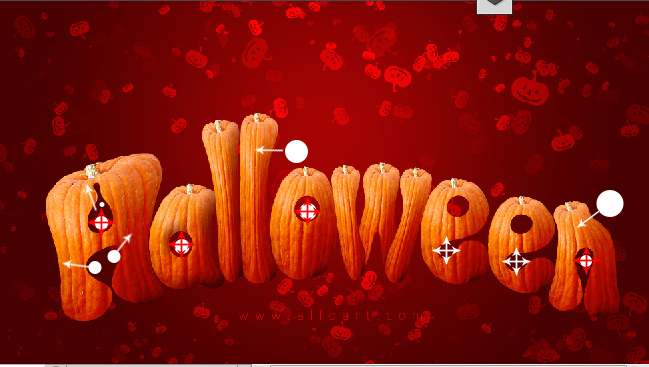
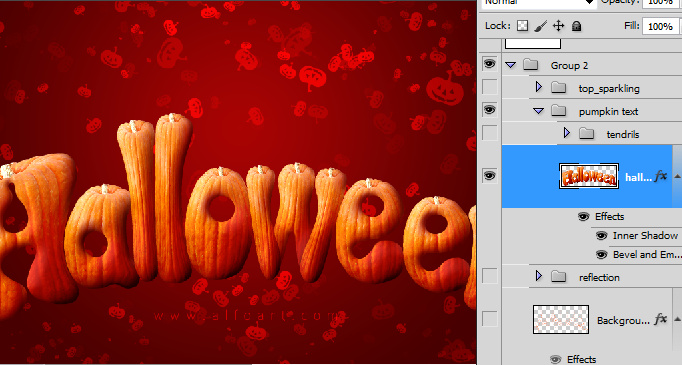
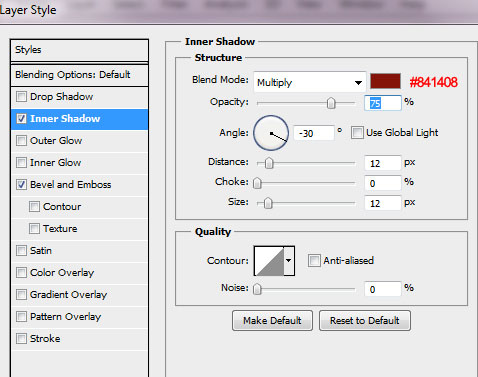
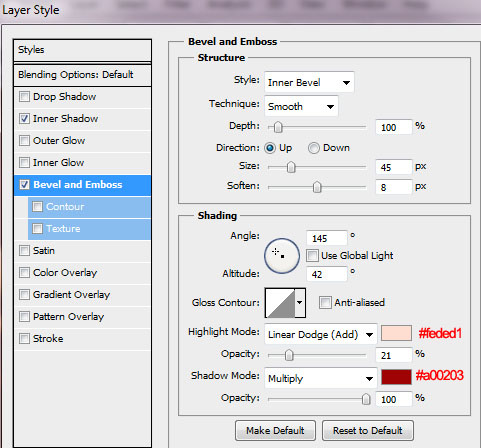
- Merge all pumpkin shapes layers and apply Inner Shadow and Bevel Emboss effects.