Learn how to create magic photo manipulation with big curly cloud, the crescent above the winter landscape and Christmas trees. You may get large (10 x 8 in, 300px/in) editable .psd* file of "Christmas Dream" Photoshop tutorial by making a payment. Put the tutorial title in "Add special instructions to seller" line of PayPal and it will be sent to you shortly.
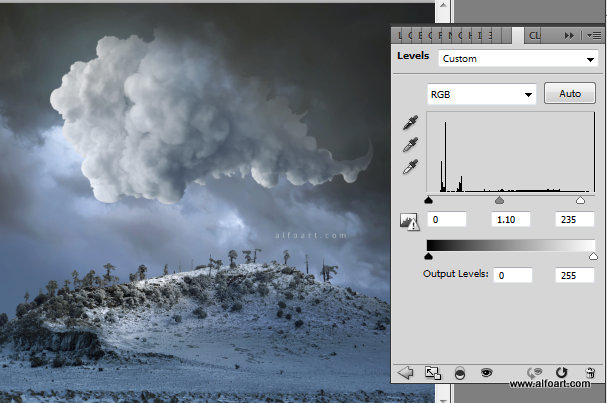
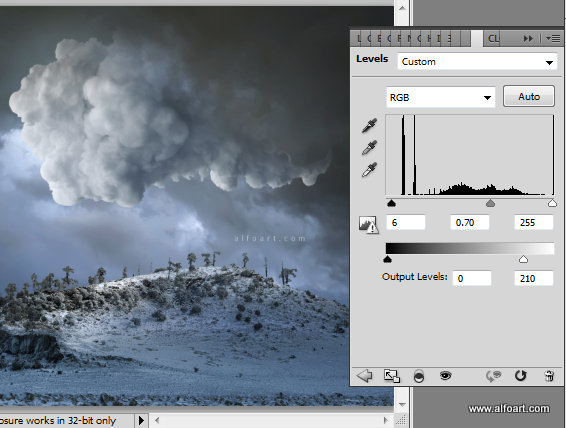
- To make cloud more contrast, create Levels adjustment layer/clipping mask.
- Use these settings
- Make created adjustment layer visible in the bottom part of the cloud and in some front areas of the cloud.
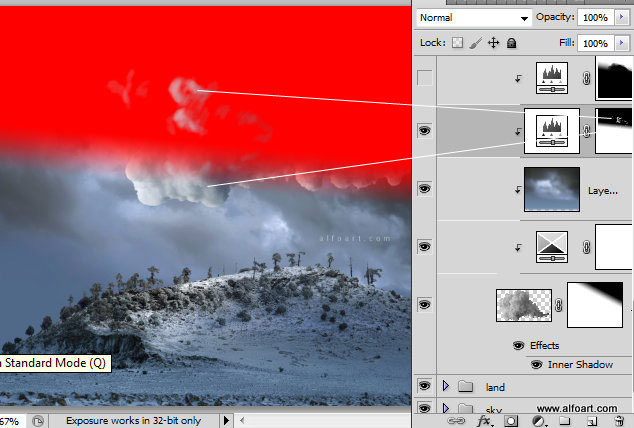
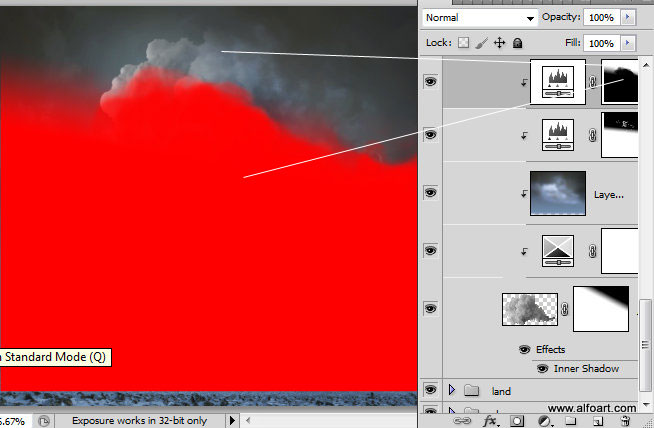
- In order to make the top part of cloud darker (closer to the dark sky background), add another Levels adjustment layer/clipping mask with following settings:
- The last Levels adjustment layer should be visible only in the top part of the cloud:
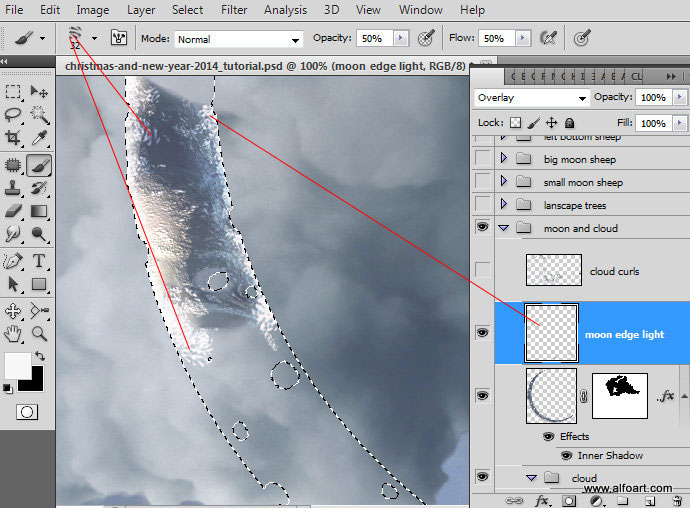
- Insert crescent image.
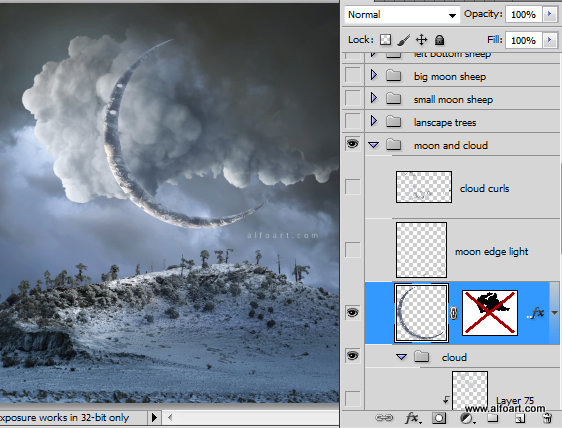
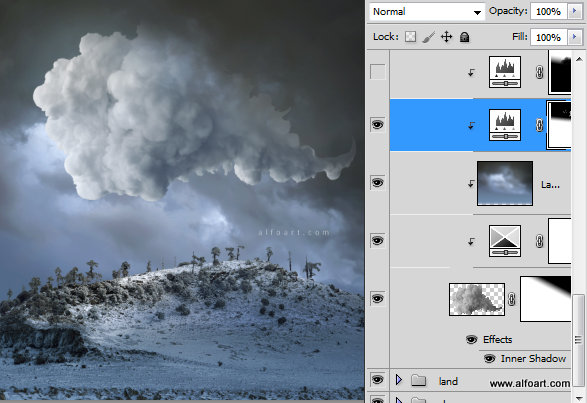
- Add "Inner Shadow" layer style effect to this layer.

- Erase some areas of the crescent to create clouds covering effect.
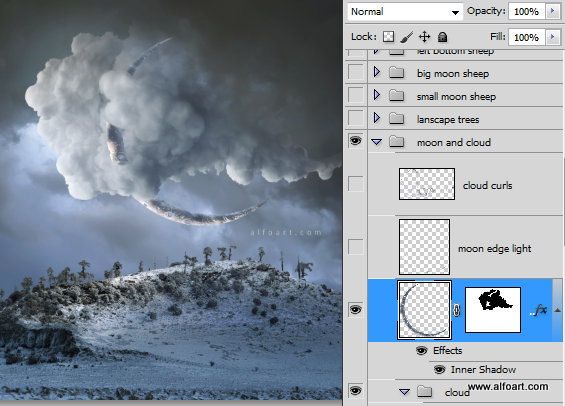
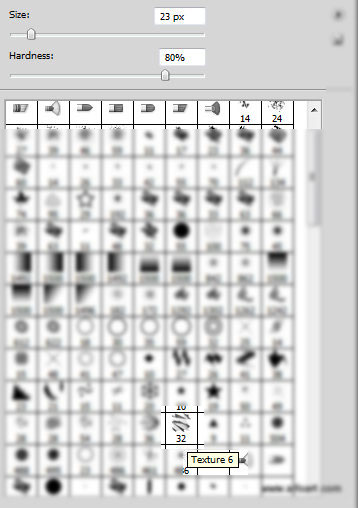
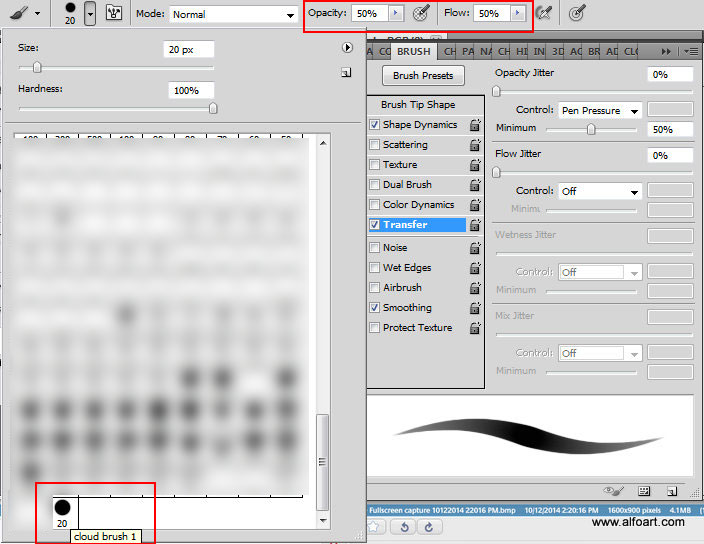
- Choose Photoshop preset "texture 6" brush, you may find this brush here, use white or light blue shades color.
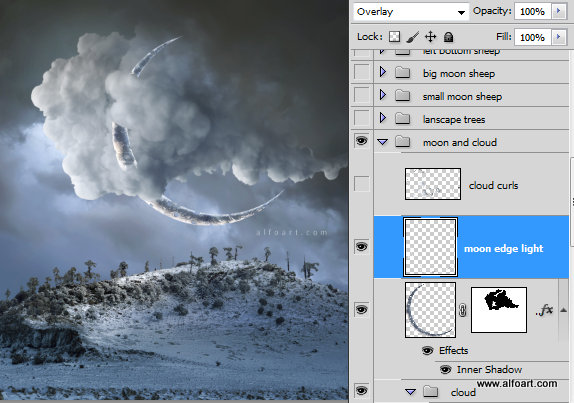
- Create a new layer, apply Overlay Blending Mode to this layer, load selection for the crescent an process edges with the texture brush.
- Here is the result of applying texture brush:
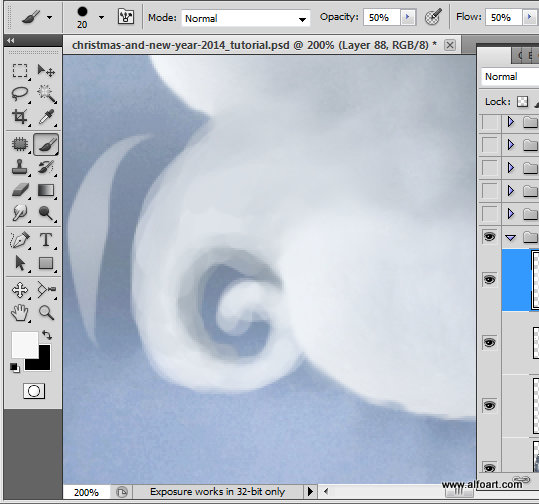
- In order to paint cloud curls, create a new layer, download brushes and use translucent clouds brushes. In order to find the right color easily, do not change the tool, keep the brush and use command alt + click to take right shade from the cloud area.
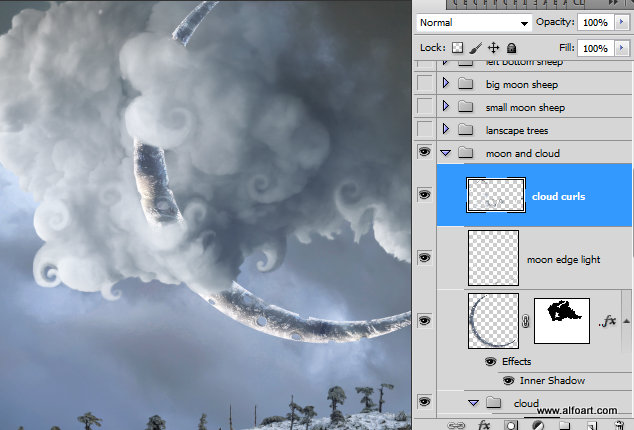
- Here is the result of using cloud brush:
- Use soft cloud brush for smooth areas.
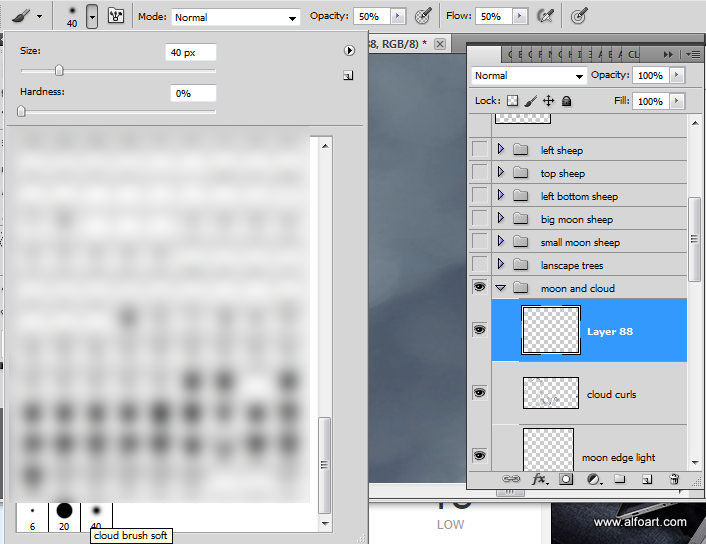
- Here is the result of using soft cloud brush. Play with brush Opacity settings to get smoother curls:

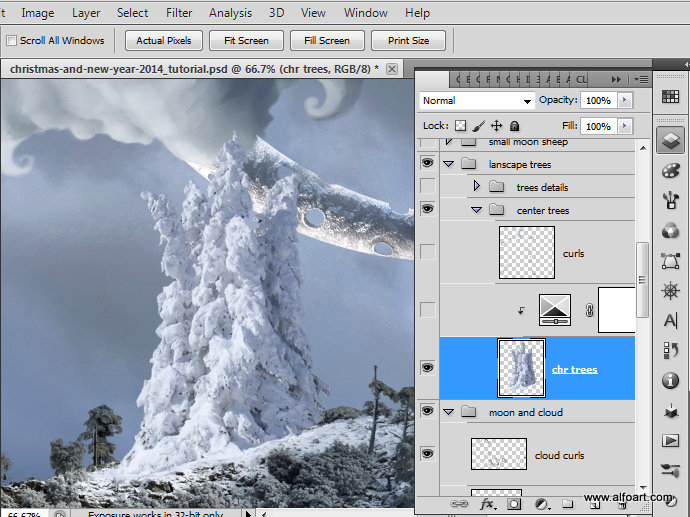
- Insert Christmas trees image:
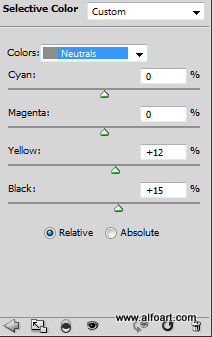
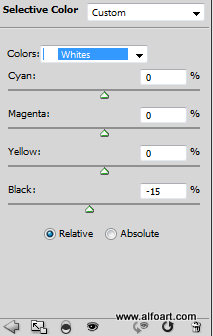
- Apply Selective Color adjustment layer/clipping mask to this layer:
- Use settings from screen shots below:

- Create a new empty layer. Choose "trees top brush".
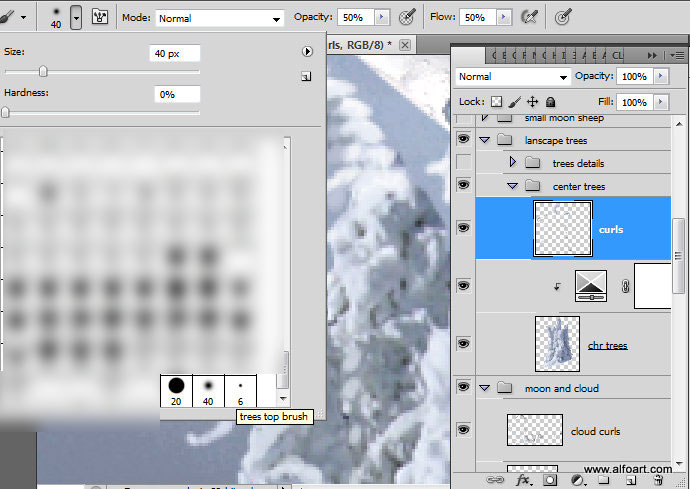
- First, draw the dark blue side of curls. Move brush from center/trunk area to outside. Then chose a little lighter brush for area between shade and light. Use light color to draw the light side of branches.
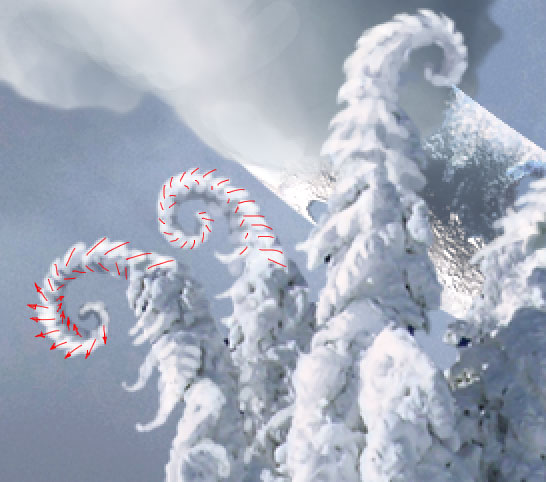
- In order to create curled branches around the landscape choose small round brush (3 - 5 px) 100% Opacity.
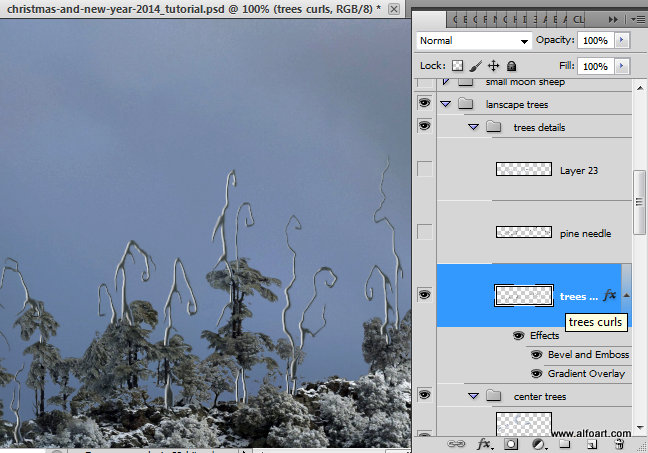
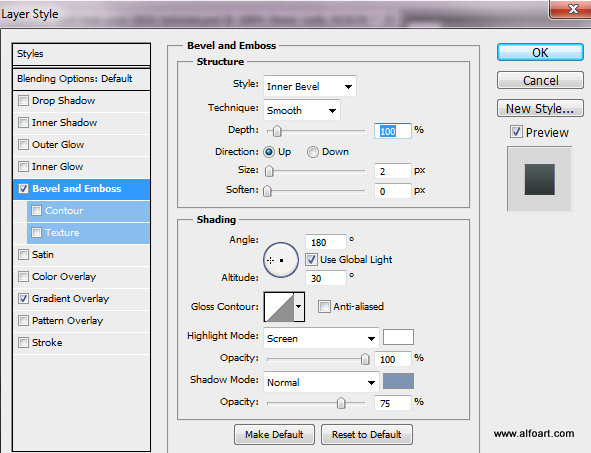
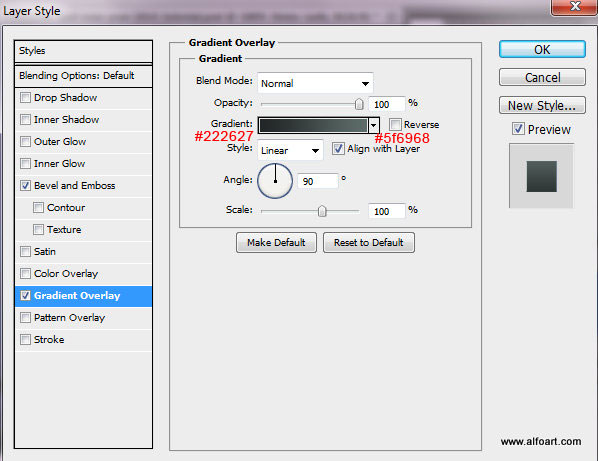
- Apply following layer style effects to the curled trees:
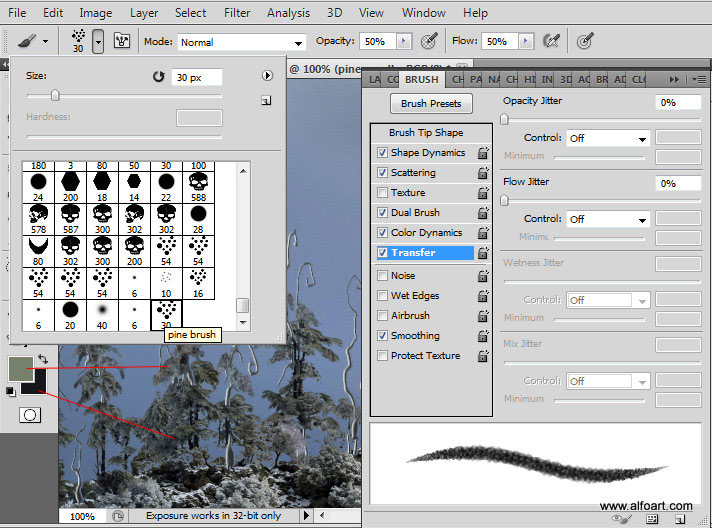
- You may add more dark green fir needles to the trees by using the "pine brush". But first, set foreground and background colors. The foreground color should be similar to the light shades of the original trees and background color should be similar to dark shades of the trees.
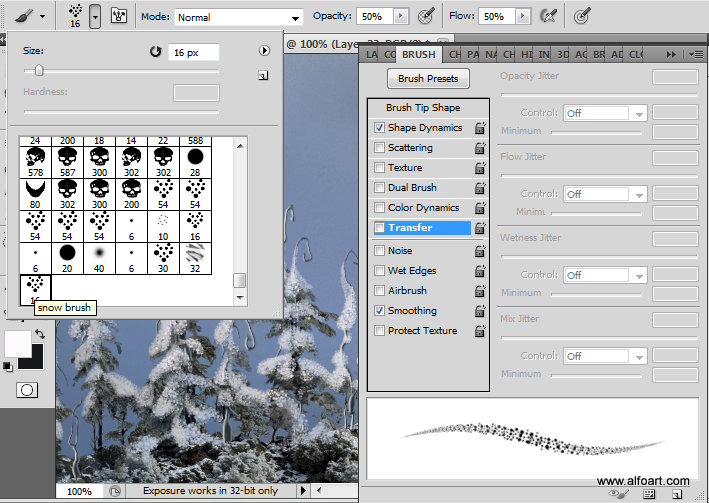
- Use "snow brush" to cover the trees with the snow. Use very light shade of blue for the left side of the snow cover and little darker shade for the right side.